10 Best Automation Tools for Graphic Designers

The most useful design automation tools do more than speed up a single edit. They remove a repeatable production task: updating campaign copy across templates, preparing several delivery sizes, maintaining a connected color system, catching print errors, or notifying reviewers when proofs are ready.
Those are different problems, so they deserve different tools. This list includes built-in design-app features, specialized Photoshop plugins, an asset-management app, and a workflow automation service. Each recommendation is the best fit for a particular job—not a claim that one tool should run your entire design process.
Choose by the work you repeat most often:
- For design-system consistency and vector production, start with Figma Variables or Illustrator Actions.
- For Photoshop template and image production, choose the specialized text, cropping, resizing, sharpening, or watermarking tool that matches the task.
- For asset retrieval and production checking, look at Eagle and InDesign Live Preflight.
- For requests, notifications, and handoffs between apps, use Zapier.
The five Photoshop plugins below are separate tools available through Adobe Exchange, not one automatically connected processing pipeline. Before building a large workflow, test a small representative batch and decide what counts as a successful output.
1. Figma Variables: Best for Connected Design-System Updates
If the same color, spacing value, or corner radius appears throughout a design, changing each occurrence individually is unnecessary maintenance. Figma Variables connects those properties to reusable values. Modes let the same variable hold different values for contexts such as light and dark themes.
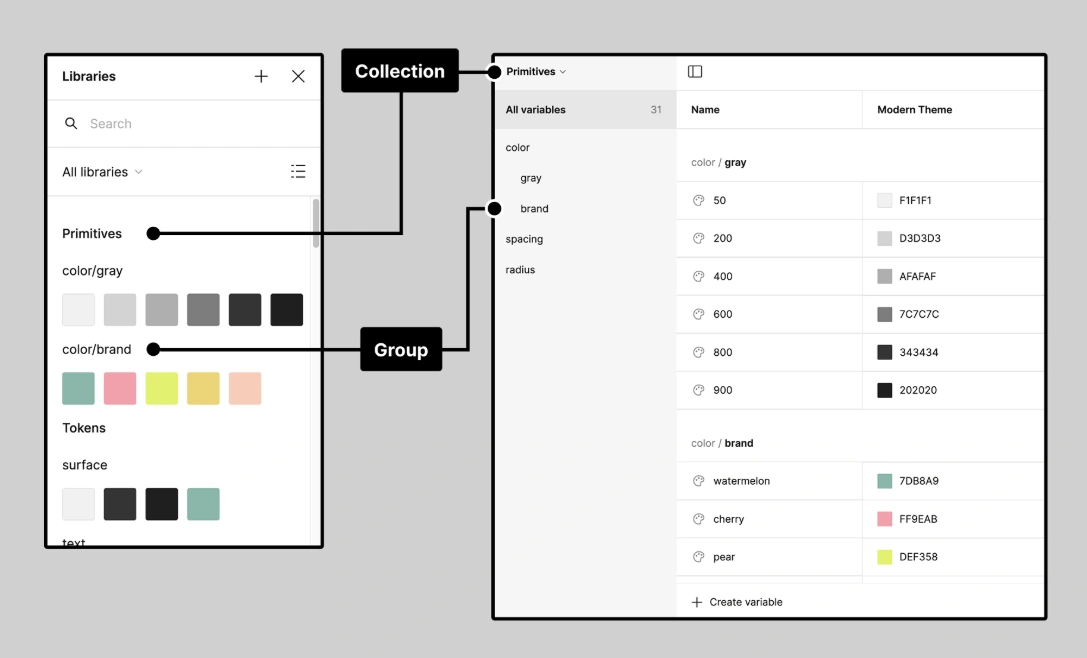
This is particularly useful for interface designers and teams maintaining reusable components. Instead of correcting dozens of cards after a brand update, you change the underlying variable and let bound properties respond.
A useful starting structure separates raw values from their purpose. A primitive variable might represent a particular blue; a semantic variable such as “surface/action” can reference it. Components then use the semantic role rather than an arbitrary color name. That gives you a clearer place to change the design’s behavior when a theme needs a different treatment.
- Create a small collection for frequently reused colors and spacing values.
- Bind those variables to the actual fills, strokes, padding, and gaps in your components.
- Add another mode only when you have a real alternate context to maintain.
- Test the change on a representative screen before extending the system.
The important distinction is between a variable existing and a property being connected to it. Unbound values still require manual attention. Figma’s variable application guide explains the supported bindings and a useful troubleshooting detail: changing an auto-layout frame’s padding or gap with on-canvas controls can detach its number variable.
Variables are available across Figma plans, but the number of modes per collection depends on the plan. Check that limit before building a system around numerous client or theme variations. This tool automates consistency; it does not decide whether your color choices, spacing, or hierarchy are good.
2. Bulk Text Replacer: Best for Updating Photoshop Campaign Templates
Replacing a price is easy. Replacing a short headline with a longer one without breaking the composition is the harder task. Bulk Text Replacer addresses both parts: finding text across files and adjusting the changed text’s layout.
You define Original Text → Replacement Text pairs, then search all editable text layers or restrict a rule to an exact layer name. Text layers inside nested groups are included. Content matching can be case-sensitive or case-insensitive, require whole words, or match the entire layer.
For larger updates, import a CSV with exactly two columns headed ORIGINAL TEXT and REPLACEMENT TEXT. This is a replacement mapping—not a mail-merge system that creates a separate personalized document for every CSV row.

Use different layout rules for different kinds of copy
Auto-Preserve Layout keeps the replacement within the original rendered text width, allows line count and font size to change, and tries to bring the new rendered height close to the original. It then restores the original center position. That is useful for general template updates, but it is an approximation rather than a pixel-perfect guarantee.
For stricter production requirements, use Unique Rules For All and configure each replacement separately. For example:
- A headline can use Auto-Preserve Layout.
- A price can target the “Price” layer, keep its width constrained, require one line, and allow font size to adjust.
- A description can keep a fixed width and font size while allowing additional lines.
Two limitations matter when planning a batch. First, this works on editable Photoshop text layers, not lettering flattened into an image. Accepted inputs are PSD, PSB, TIFF/TIF, and PDF, but a supported extension does not guarantee editable text exists.
Second, replacement rules evaluate the captured original layer text. RED → BLUE followed by BLUE → GREEN is not a cascading replacement chain. Later rules matching the same original layer can supersede earlier changes, so separate intended targets whenever possible. Export to PSD or PSB when continued text editing is part of the workflow.
3. Adobe Illustrator Actions: Best for Repeatable Vector-Production Steps
Not every repetitive task needs another plugin. Illustrator Actions records sequences of commands that you can replay on individual documents or batches. It is a strong starting point for designers who repeatedly prepare similarly structured vector artwork.
Think of actions as production recipes: select a known object, apply an approved treatment, perform a required preparation step, and save a delivery version. They are especially useful when the sequence stays consistent even though the artwork changes.
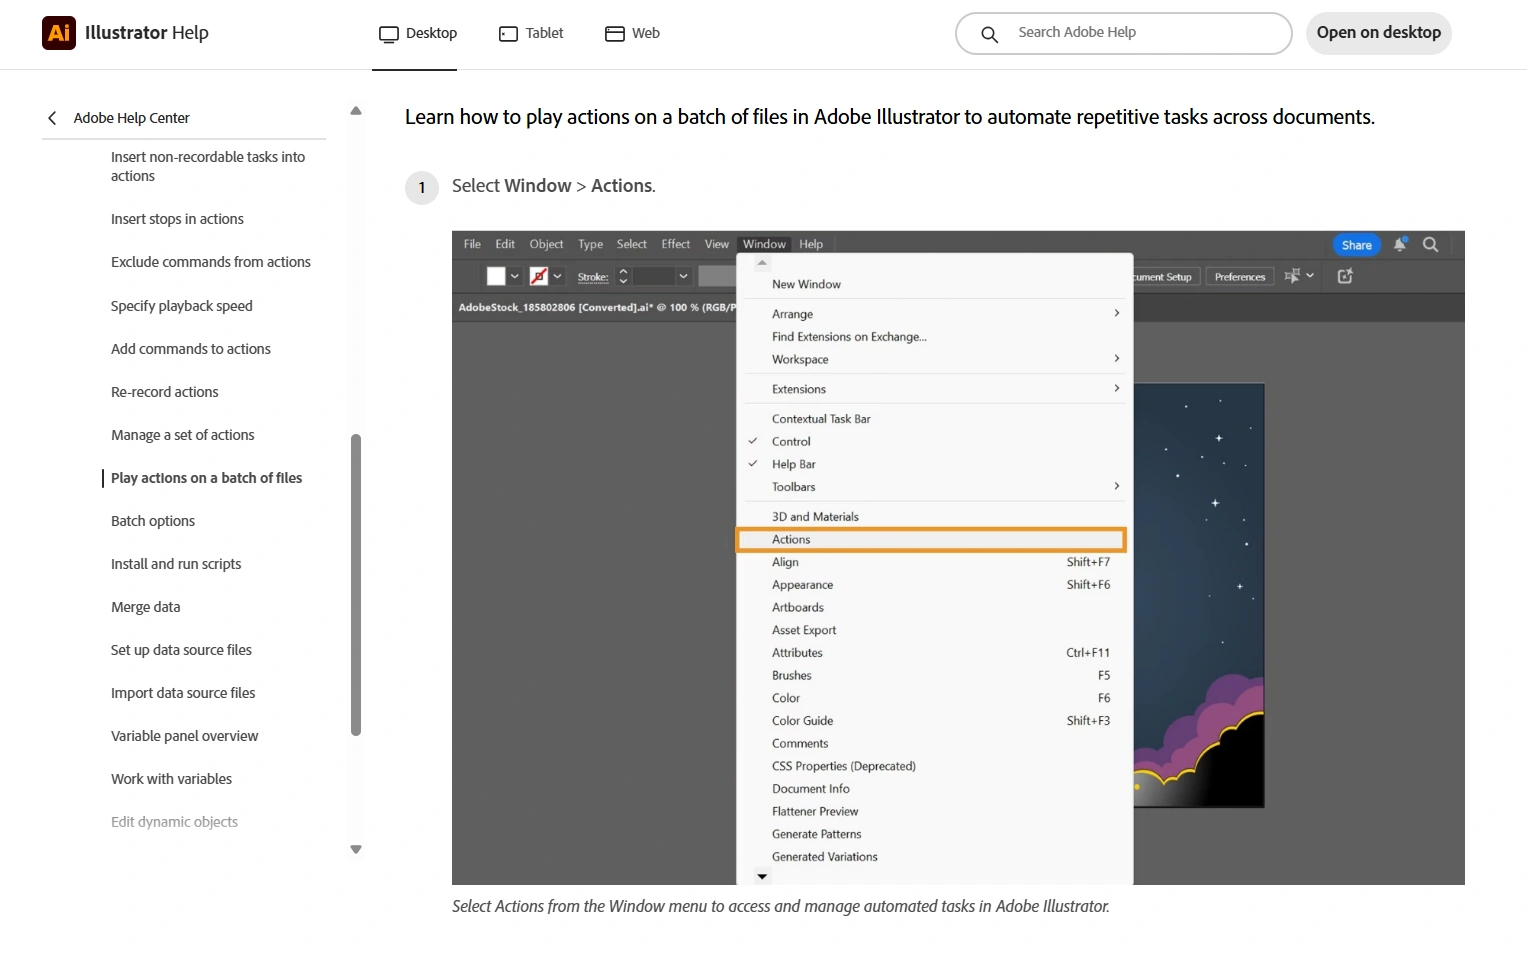
Start in Window > Actions, create a new action, record the required commands, and stop recording. Test playback on another document—not just the file used to create it. That second test exposes assumptions about selection, document structure, and saved settings.
A particularly useful capability is selecting a named object during playback. Illustrator’s non-recordable tasks guide explains how to name an object in the Attributes panel’s Note field and insert a Select Object step. This is more deliberate than assuming the correct artwork will already be selected.
Actions are not recordings of every possible mouse movement. Some operations cannot be recorded directly; supported menu commands may need to be added through Insert Menu Item. Inspect the recorded steps rather than assuming every operation was captured.
Once the recipe works, Illustrator’s Batch command can process a source folder, save results to another location, and log errors. Be careful when recording Save As: Adobe warns that entering a new filename records that name for subsequent playback.
Choose Actions when the sequence is stable and the documents are structurally predictable. For work that requires interpreting the composition differently every time, automate the preparation or handoff rather than the creative decision.
4. Bulk Image Cropper: Best for Crop Variants and Transparent-Asset Margins
Bulk Image Cropper is useful when one image collection needs several compositions—or when transparent assets have inconsistent canvas margins.
For a campaign requiring square, portrait, and landscape versions, configure separate aspect-ratio crop operations such as 1:1, 4:5, and 16:9. Each rule starts from the original image state. The landscape result is not cropped from the square result, which keeps multi-variant production predictable.
The nine alignment positions determine which region is retained. That makes it possible to favor the top, bottom, left, or right rather than always center-cropping. It is still an alignment-driven operation: inspect images with unusually placed subjects before applying one anchor across the whole folder.
The less obvious value is its three distinct transparency operations:
- Trim Excess Transparency caps outer transparent padding. An edge already below the maximum keeps its smaller margin.
- Add Transparent Padding enforces a minimum. An edge already above that minimum keeps its larger margin.
- Normalize Transparency tightly trims outer transparency, then adds the configured target padding.
For a logo or icon library that needs consistent breathing room, Normalize Transparency is the relevant choice. Its percentage padding is calculated from the tightly trimmed visible-content dimensions, not the original oversized canvas. These operations adjust transparent margins; they do not remove an opaque background.
Remember that aspect-ratio inputs specify proportions, not final pixel dimensions. A 4 × 5 crop does not automatically produce a 1080 × 1350 image. If exact delivery dimensions are required, resize the crop afterward.
For multiple variants, grouping exports into a subfolder for each crop rule is particularly useful. It keeps each composition available for its own downstream sizing and delivery settings instead of mixing every variant into one ambiguous folder.

5. Eagle: Best for Automatically Organizing Reusable Design Assets
Automation is not only about changing artwork. Finding an approved icon or the right reference image can also be repetitive work. Eagle is a Windows and macOS asset-management app whose Smart Folders automatically collect library items that meet your filtering rules.
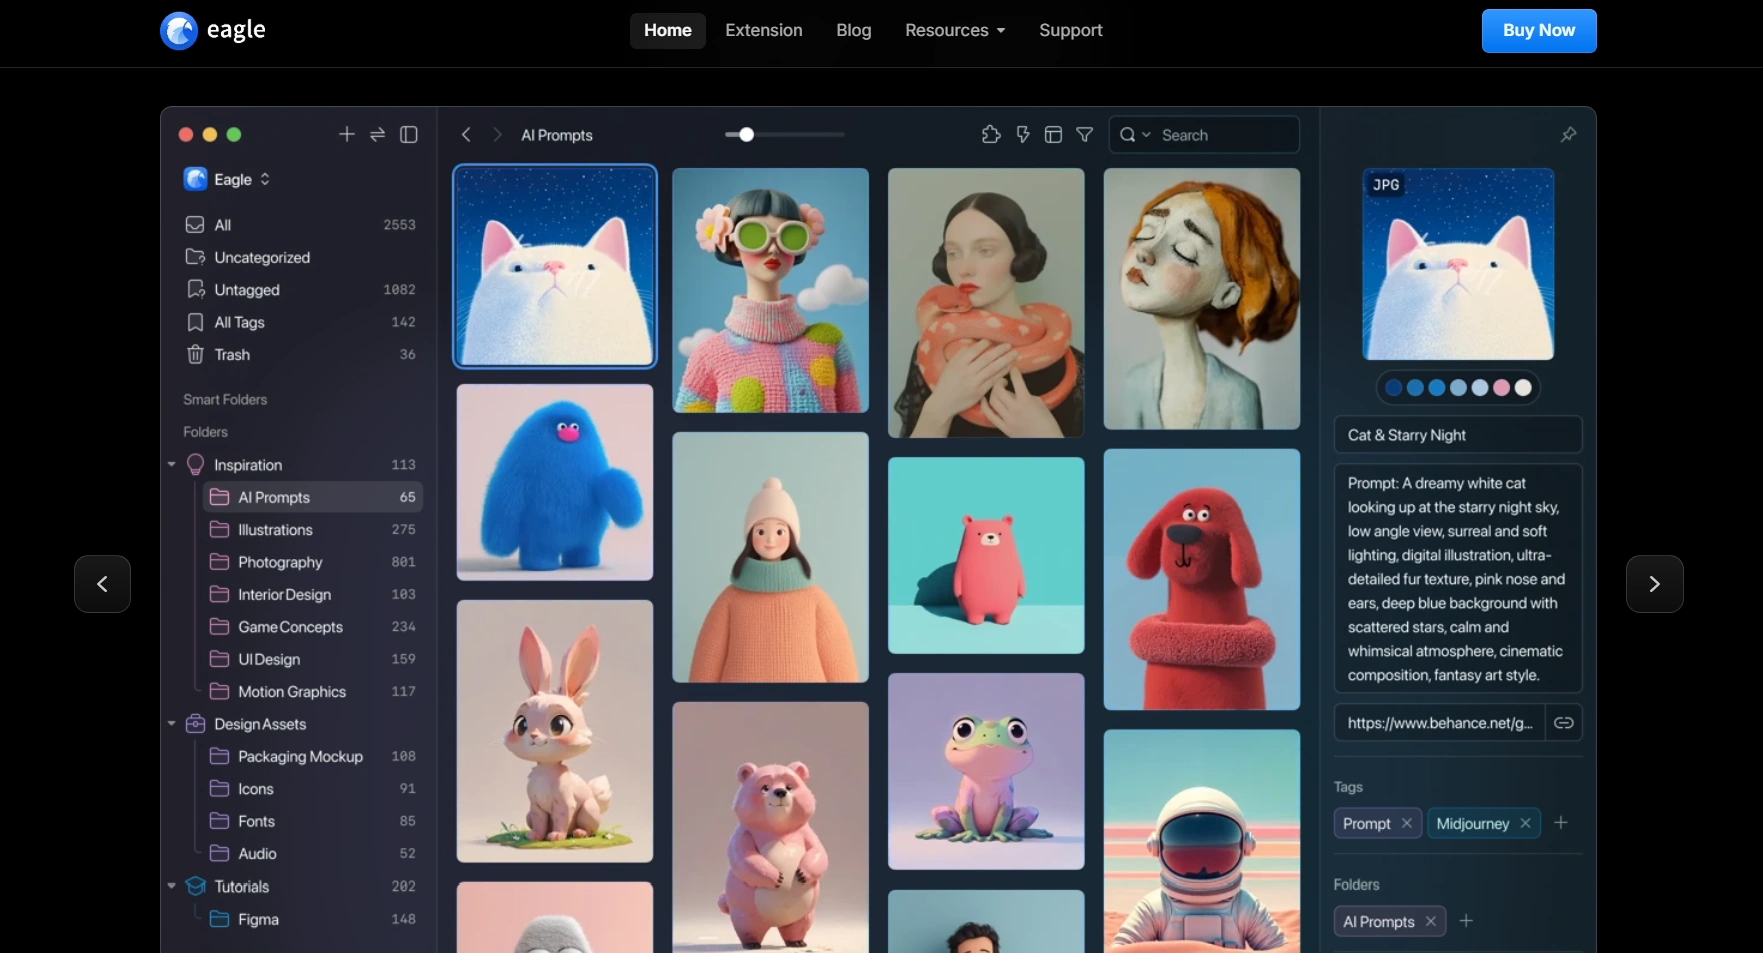
Unlike a conventional folder, a Smart Folder is a dynamic view. You do not manually move each matching asset into it. The collection updates as relevant assets enter the library or their metadata changes.
That makes Eagle useful for designers maintaining reusable illustrations, references, brand assets, and project resources. Its filters include attributes such as tags, names, colors, file types, dates, and dimensions.
A practical setup uses a small tagging vocabulary:
- Client or project: which body of work the asset belongs to.
- Role: logo, icon, texture, photograph, or reference.
- Usage status: approved, pending review, or reference-only.
Then create Smart Folders around recurring questions. “Approved icons for Client A” is useful during production. “References added this week” is useful during concept development. A color-filtered collection can help you retrieve visual references without remembering filenames.
Eagle’s Smart Folder filtering guide shows the available criteria and how they can be combined. Folder-based auto-tagging can also reduce repeated metadata entry when assets belong to a known category.
The constraint is the quality of your information. A visually similar asset is not necessarily approved for the same use, and a Smart Folder cannot compensate for missing approval metadata. Keep reference material distinguishable from production-ready assets.
Eagle is sold as a separate, one-time desktop purchase. Start with one active project rather than migrating your entire archive immediately. The useful test is whether your saved views reliably answer the searches you make during real work.
6. Bulk Image Resizer: Best for Producing Multiple Delivery Sizes
When a source collection needs several output sizes, formats, or resolutions, Bulk Image Resizer lets you configure those variants in one Photoshop batch. Each resize rule can have its own dimensions, DPI, resampling method, export format, and applicable quality setting.
The key is choosing the right sizing mode:
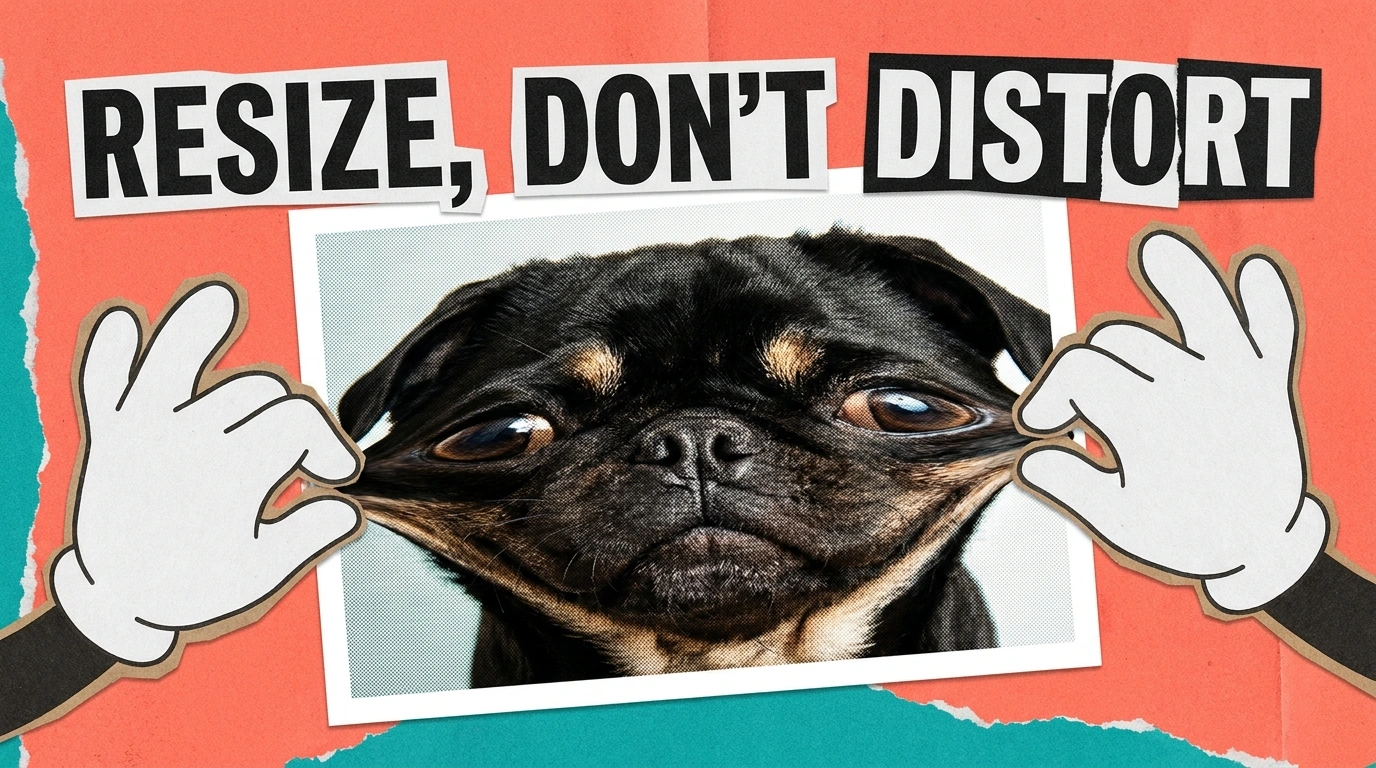
- Exact Width, Exact Height produces both requested dimensions, but can distort proportions.
- Exact Width, Auto Height preserves proportions while standardizing width.
- Auto Width, Exact Height preserves proportions while standardizing height.
- Maximum Longest Edge preserves proportions and sets the longest side to the selected value.
The last mode is useful for folders containing portrait, landscape, and square images. However, “Maximum” is not a downscale-only safeguard: smaller images can be enlarged to the target. Check your source dimensions if enlargement is not intended.
Multiple rules generate independent outputs from the original source state rather than progressively resampling the previous version. For example, one rule could create a fixed-width JPEG and another a smaller WebP. The plugin also exposes eight Photoshop resampling methods, so the batch does not have to use one hidden interpolation setting.
Use rule-specific export folders when the outputs represent different deliverables. Include actual dimensions in filenames so a file’s purpose remains recognizable outside its folder.
There is an important workflow trap when combining cropping and resizing: every source image receives every resize rule. If each crop variant requires a different final size, keep the crop results separated and run the matching resize setup on each folder. Otherwise, three crops combined with three resize rules produce nine versions per original, whether you need them or not.
These Photoshop batch tools process supported files directly inside the selected input folder; they do not recursively discover arbitrary source subfolders. Treat folder selection and output counts as part of the production specification.
7. InDesign Live Preflight: Best for Continuous Production Checks
Automating output without automating checks can simply produce mistakes in larger quantities. InDesign Live Preflight continuously monitors document conditions while you work, flagging problems such as missing fonts, modified links, overset text, and low-resolution images.
For editorial, packaging, brochure, and other layout-heavy work, this is a valuable built-in automation feature. Instead of relying on memory at the end of the job, you let a defined set of checks run throughout production.
Open Window > Output > Preflight, enable monitoring, and select the appropriate profile. The panel groups errors and lets you jump to affected content. Detection is automated; correcting the problem remains a separate task.

Make the profile match the deliverable
A green indicator means the document passed the active checks—not that it is universally ready for any printer or publication. Create a profile around actual requirements rather than assuming the default profile covers everything.
Useful profile decisions include:
- Whether missing or modified links should be reported.
- Which image-resolution requirements apply.
- Whether spot colors are allowed.
- Which page size, orientation, or page-count conditions matter.
- Which text problems need attention before handoff.
Ask your production partner whether they supply a profile. Adobe’s preflight profile guide explains how to create, import, export, and embed profiles. Exported IDPP files make the checking rules shareable across a team.
Embedding a profile lets it travel with the document, but does not force recipients to use it. Confirm which profile is active during final review.
Keep a visual proofing step as well. A technically valid document can still contain an awkward crop, poor hierarchy, or the wrong approved copy. Live Preflight is best used to take repeatable technical checks off your plate, leaving you more attention for decisions software cannot certify.
8. Bulk Image Sharpener: Best for Repeatable Output Sharpening
Bulk Image Sharpener automates Photoshop Unsharp Mask or Smart Sharpen across a folder. Its useful distinction is control over both the sharpening target and the way radius responds to image size.
You can sharpen the entire image, the Photoshop-detected subject, the detected background, an exactly named layer, or a top-level layer selected by stack position. Named-layer targeting is useful for consistently structured PSDs—for example, when every document contains a “Product” layer.
For mixed-resolution sources, Scale Radius To Image Size uses a 1000-pixel longest-edge baseline. A configured radius of 1.5 pixels becomes 4.5 pixels on a document with a 3000-pixel longest edge. With Smart Sharpen, the main, shadow, and highlight radii scale together; amounts and other non-radius settings remain fixed.
This makes one setup more adaptable, but does not guarantee equally good sharpening on every image. Judge the result at the intended viewing size and inspect high-contrast edges, fine textures, and noisy areas. As a practical output workflow, establish the delivery dimensions before tuning the final sharpening pass.
The fallback behavior deserves attention. If subject detection fails, or a requested named or positional layer is unavailable, that image falls back to entire-image sharpening. Do not assume a failed target means the image remains untouched.
Layer preparation also affects editable output. Entire-image sharpening merges visible layers; a targeted group is merged, and an ordinary targeted layer is prepared through rasterization. The original source file is preserved, but a processed PSD should not be mistaken for an unchanged layered master.
Size-based skipping can exclude documents above or below a longest-edge threshold. Skipped files are not exported, so include that behavior when checking the batch’s expected output count.

9. Bulk Image Watermarker: Best for Branded Previews and Proofs
Bulk Image Watermarker is useful when image delivery involves repeatable branding or proof overlays. It supports both text and image watermarks, with layouts ranging from a single positioned mark to repeated patterns and crosshatch overlays.
A practical two-rule setup could place a logo on every image and add a repeating “PREVIEW” watermark only when the filename contains “preview.” Both rules can qualify for the same image, producing one combined export.
That cumulative behavior is important. Unlike the Cropper and Resizer, multiple watermark rules do not generate independent variants. They form a stack on the same working image. If you need clean delivery files and heavily marked proofs, plan separate runs or separate source stages.
For subtle branding, Simple Watermark offers nine alignments, rotation, opacity, width, and independent edge padding. Percentage width adapts the watermark to differently sized images, using the document width as its reference. This is more practical for mixed resolutions than one fixed-size logo that appears oversized on small images and insignificant on large ones.
For proofs, Pattern Watermark repeats text or a logo across the image. Corner Lines and Crosshatch provide more extensive overlays when a small corner mark is not the desired presentation.
Conditional rules can use filename, orientation, and histogram-based average brightness. Brightness targeting can support light marks on darker images and dark marks on brighter ones, but average brightness is not the same as the brightness beneath a particular corner logo. Test local contrast rather than assuming a whole-image measurement guarantees readability.
Finally, an image with no qualifying watermark rule is not exported. Make sure the rule set covers every image you intend to deliver, and keep proof-specific naming clear enough that marked previews are not confused with final artwork.

10. Zapier: Best for Automating Requests and Handoffs Between Apps
Some of the best design automation happens outside the canvas. Zapier connects events in one app to actions in another, making it useful for intake, task creation, file notifications, and review coordination.
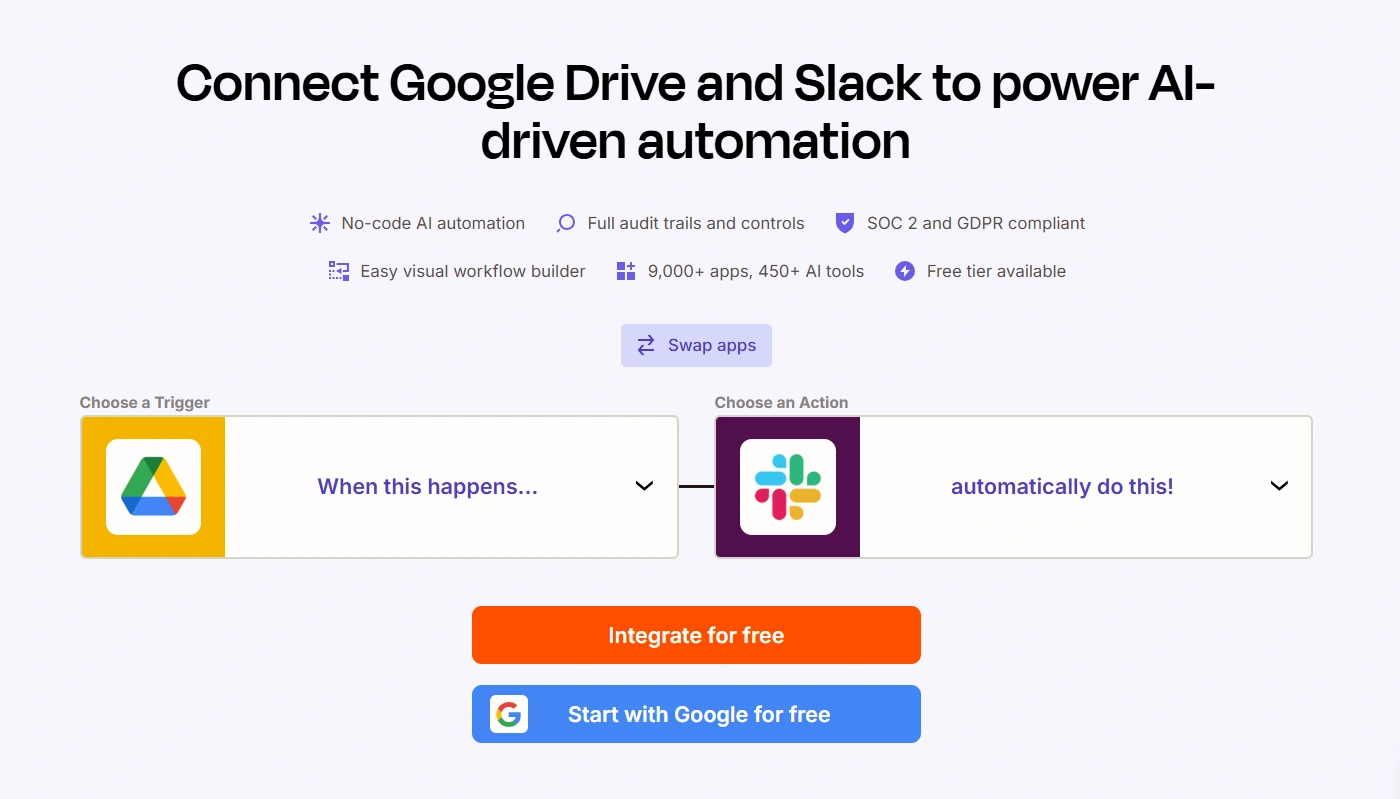
A good first workflow is simple: when a new proof enters a designated Google Drive folder, post its link to a review channel in Slack. Zapier provides this integration, so you do not need to build a custom file-notification system.
For incoming work, its Google Forms and Trello integration can turn a form response into a card. Map the client, deliverable, deadline, approved-copy link, and source-asset link into the card rather than merely creating an empty task.
The real benefit comes from defining a usable brief. A notification that says “new design request” still leaves someone hunting through messages. A structured task containing the required information removes that follow-up work.
Build safety into the workflow:
- Use a designated review folder or explicit status field instead of treating every uploaded file as ready.
- Require a human approval step before anything is delivered externally.
- Use a stable request identifier to help detect duplicate jobs.
- Test with sample files and an internal channel before notifying clients.
- Review failed runs and account permissions rather than assuming the workflow is unattended forever.
Zapier’s Filter step can stop a workflow unless defined conditions are met; filters require a paid plan. Also budget for actions, not just incoming requests: its task-usage explanation shows how successful external-app actions contribute to usage.
Watch for loops and duplicates. A workflow that writes back into the same source that triggers it can start again. Zapier’s duplicate troubleshooting guide covers broad triggers, overlapping workflows, loops, and retries.
Use Zapier to coordinate work around your design tools. Do not assume a cloud workflow can directly operate the Photoshop plugins listed here without a separately supported integration.
The best starting stack is usually smaller than this list. Choose one production bottleneck and one checking or handoff bottleneck. Build a test set containing normal files and likely exceptions, define the expected outputs, and measure the setup against the work it actually removes. Reliable automation is not the longest chain of tools—it is a repeatable process whose results you can verify.