7 Ways To Improve Your Real Estate Photography Workflow

A better real estate photography workflow is not simply a faster editing preset. It is a system that prevents avoidable reshoots, keeps a property’s images visually consistent, and removes repetitive finishing work without sacrificing accuracy.
Whether you photograph listings professionally or you are an agent shooting your own properties, the biggest gains often come from improving the handoffs: seller to photographer, camera to editing software, edited master to delivery folder, and delivery folder to listing platform.
These seven improvements follow that process. Some apply to every property. Others, such as upscaling seller-supplied images or adding branding, belong only where the assignment actually requires them.
1. Standardize the Brief and Get the Property Camera-Ready Before You Arrive
Start by replacing scattered texts and last-minute requests with one reusable job brief. The goal is to arrive knowing what you need to photograph, how you will access it, and what the client expects to receive.
Your brief should answer:
- What is the property address, and who is responsible for access?
- Which rooms, outbuildings, outdoor areas, and distinctive features must be covered?
- Are there occupied rooms, pets, tenants, alarms, or restricted areas to account for?
- Does the assignment include twilight photographs, vertical social-media images, or detail shots?
- Where will the images appear, and what are those destinations’ current file requirements?
- Who approves the photographs, and when is the delivery deadline?
- Are branded marketing copies needed, and whose branding should they carry?
That last question deserves an explicit answer. An agent’s social-media campaign and a photographer’s portfolio are different uses. Agree on permitted uses and branding rather than assuming every finished photograph should carry your website address.
Give the Seller a Specific Preparation Checklist
“Please tidy up” leaves too much open to interpretation. Instead, ask for clear countertops, made beds, clean mirrors, concealed charging cables, and removal of personal paperwork. Arrange for vehicles and bins to be moved before the exterior session, and establish how pets and occupants will stay outside the active shooting area.
The National Association of REALTORS® offers a useful seller photo-shoot preparation handout. One especially practical suggestion is: “Snap practice pictures with your own camera.”
Turn that into a readiness check. Ask the agent or seller to send quick phone photographs of the main rooms before the appointment. You are not evaluating their photography; you are checking whether the kitchen is clear, the furniture arrangement is workable, and the promised spaces are accessible.
On arrival, walk through the property before unpacking everything. Resolve obvious issues once, then begin shooting. Moving the same clutter from room to room after every camera setup is precisely the kind of preventable work a good preparation process eliminates.
2. Plan Around the Light and Shoot a Repeatable Coverage Sequence
Do not let the order of your appointments decide the quality of your exterior photographs. Before confirming a time, check the property’s orientation and think about which elevation matters most: the front entrance, a rear entertaining area, a waterfront view, or another selling feature.
SunCalc lets you inspect the sun’s position for a location, date, and time. Use it to compare possible shooting windows, then consider the actual surroundings. A favorable sun angle on a map does not account for every neighboring building, tree, or overhang, so treat it as planning support rather than a guarantee of good light.
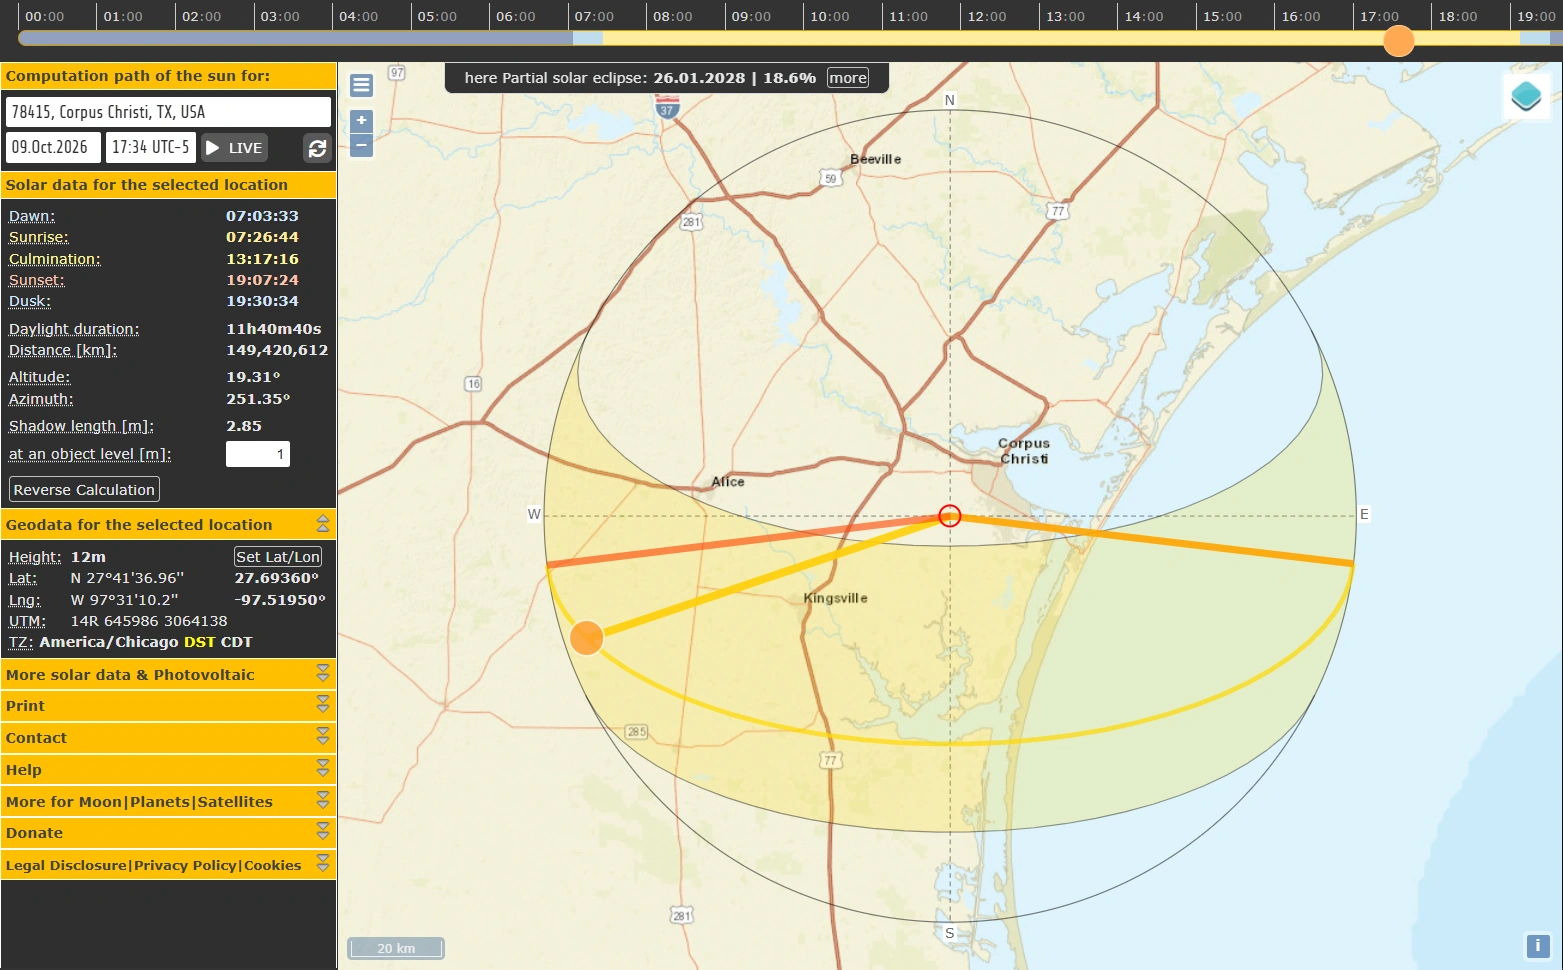
Build your route around the time-sensitive photographs. If the front exterior is best early in the appointment, shoot it first. If it will improve later, complete the interiors while you wait instead of repeatedly checking the driveway.
Separate Coverage From Optional Variations
For each property, make a minimum coverage list before experimenting with additional compositions. A practical sequence might include the main exterior, entry, living spaces, kitchen, bedrooms, bathrooms, outdoor living areas, and agreed distinctive features.
Within each room, capture a clear establishing view first. Add another angle when it explains something the first image does not, such as the connection between a kitchen and dining area. Avoid collecting nearly identical viewpoints merely because you have time to press the shutter again.
Use a tripod and check the camera’s level before each setup. Adjust camera height and position to balance the room rather than tilting aggressively to squeeze everything into the frame. For agents using phones, follow the same discipline: stabilize the phone, clean the lens, and inspect the edges of the image before moving on.
Where exposure brackets are needed, keep the composition unchanged and avoid varying aperture between frames. Nikon’s HDR capture walkthrough explains a tripod-based approach in which aperture remains fixed while shutter speed changes across the bracket.
Before leaving a room, check three things: focus, coverage, and distractions. Before leaving the property, compare your photographs with the coverage list. A missing bathroom photograph is much easier to fix while you are still standing outside its door.
3. Edit by Room and Lighting Condition Instead of Treating Every File as a New Job
A property shoot contains repeated conditions, but not identical conditions. Several living-room angles may share the same light and color balance; a windowless bathroom may need an entirely different treatment. Organize your editing around those groups.

Create a Reliable Handoff From Capture to Editing
Use one property identifier throughout the job, and separate camera originals, editable masters, and delivery files. A simple structure might contain folders named 01-originals, 02-edited-masters, 03-listing-unbranded, and 04-marketing-branded.
Keep a separate backup of the source photographs before clearing your memory cards. If you use Lightroom Classic, remember that its catalog backup is not a backup of the image files. Adobe’s catalog-backup guidance explicitly distinguishes those responsibilities.
Then cull before doing detailed work. Select the compositions that explain the property best, check focus, and eliminate redundant angles. Do not spend time perfecting a frame you will later reject because another photograph communicates the room more clearly.
Use Representative Images to Establish Consistency
Choose one representative photograph from each lighting group. Establish its overall brightness, white balance, contrast, and treatment of windows. Apply only the adjustments that genuinely belong across that group.
In Lightroom Classic, the Copy Settings controls let you choose which edits to transfer. This is more useful than copying every setting indiscriminately. White balance may transfer well between two views of the same room; a perspective correction or local adjustment may not.
Review the images together after transferring settings. Watch for the same paint appearing neutral in one frame and yellow in the next, abrupt brightness changes between connected rooms, and inconsistent window treatment. Aim for a coherent set, not identical slider values.
For bracketed interiors, Adobe’s Lightroom Classic HDR merge instructions explain alignment and deghosting controls. Inspect moving foliage, curtains, and reflections rather than applying strong deghosting to every merge automatically.
Finally, retain an editable master before finishing. For the Photoshop batch stages below, prepare a dedicated folder of edited TIFF, PSD, or other supported image files. The three plugins discussed here do not list camera RAW extensions among their supported inputs, so do not point them directly at an unprocessed camera-card folder.
4. Create a Selective Rescue Process for Low-Resolution Property Images
Seller-supplied photographs can be useful when they show an unavailable seasonal view, a previous landscape condition, or a space you cannot immediately revisit. But before enlarging anything, ask for the original file and confirm that its use is permitted.
Make the request specific: “Please upload the original photograph from your phone or camera, rather than a screenshot or a copy downloaded from a listing.” A larger source file is preferable to spending time trying to reconstruct an unnecessarily small copy.
Dropbox file requests provide one practical collection method: contributors can upload files into your chosen folder without needing a Dropbox account. Use a property-specific request so incoming images do not become mixed with another assignment.
Distinguish a Size Problem From a Photography Problem
Compare the actual pixel dimensions with the intended destination. A 1200 × 800 image intended for a 2400 × 1600 placement needs a 2× increase in each dimension. An image that already meets the destination’s requirements does not need enlargement simply because an upscaler is available.
Next, inspect the source. If the important information is unreadable, the room is badly out of focus, or the composition misrepresents the space, consider a replacement photograph. Treat upscaling as a way to address a resolution shortfall, not as evidence that missing property details have been recovered accurately.
For Photoshop-based workflows, Bulk Image Upscaler: Batch-Enhance Resolution automates the repetitive enlargement and export process across a folder. It offers conventional Photoshop resampling with custom scale factors, alongside fixed 2× and 4× Firefly, Topaz Gigapixel, and Topaz Bloom AI options.
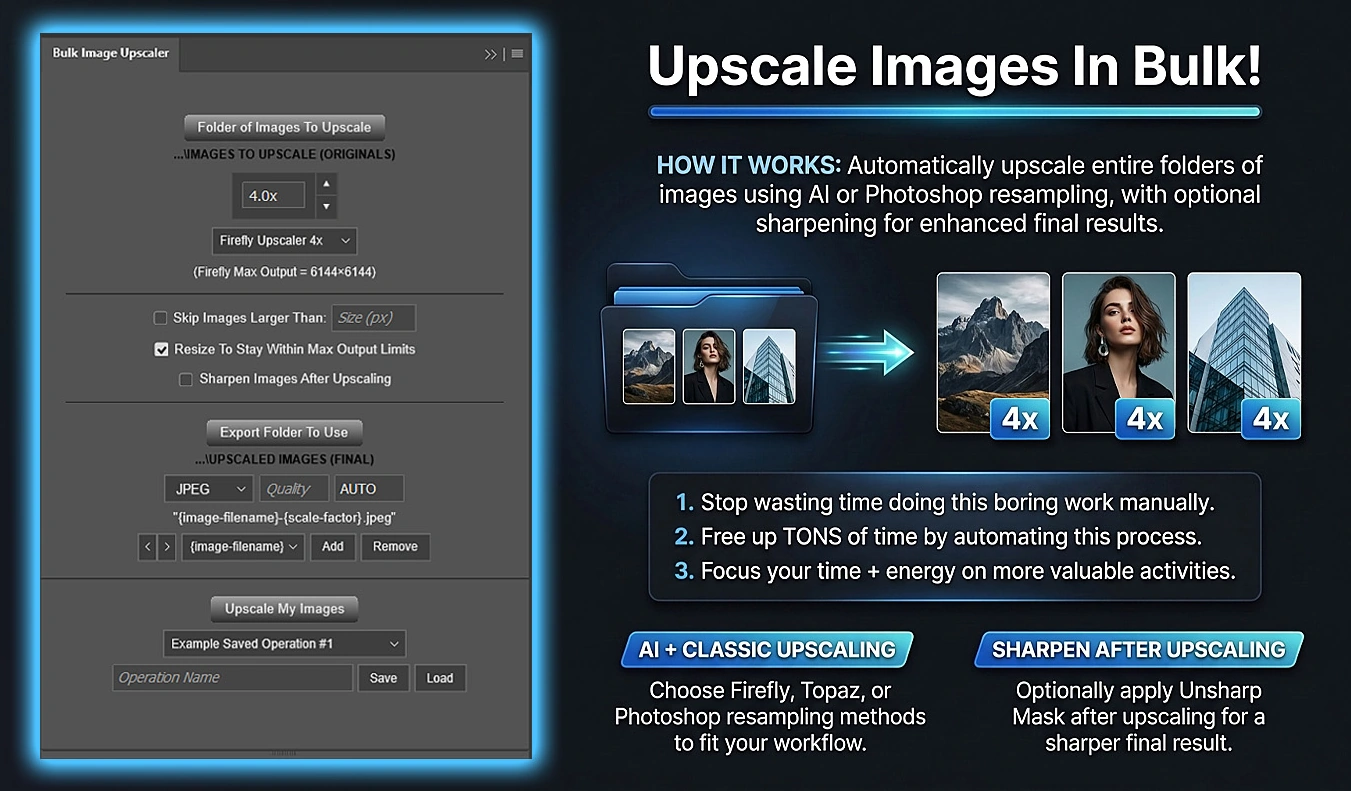
Keep the rescue folder separate from your normal full-resolution photography. Test a representative image, choose the method and scale appropriate to that group, and then run the batch. You avoid repeatedly opening, enlarging, naming, exporting, and closing every file.
For AI methods, account for Generative Credits and model output limits. The plugin can change an oversized 4× request to the corresponding 2× method and, when necessary, proportionally reduce the working source before upscaling. Consequently, verify the actual exported dimensions rather than assuming every result is four times the original size. Its dimension filename components can record the resulting size.
Inspect AI-generated results against the source, particularly window divisions, fixtures, roof edges, and surface condition. Reject changes that imply different property features. If you will perform a separate sharpening pass next, leave the upscaler’s optional post-upscale sharpening disabled to avoid stacking finishing treatments unintentionally.
5. Make Controlled Sharpening a Repeatable Finishing Step
Controlled sharpening can give cabinetry, tilework, architectural edges, and other genuine details a crisper presentation. The useful technique is restraint: improve definition without making rooflines glow, walls look gritty, or foliage appear brittle.
Adobe’s sharpening guidance sets the right expectation: “Sharpening cannot restore missing detail or fix areas that are out of focus, so focus only on areas that should be sharp.”
Complete your major edits and establish the destination’s pixel dimensions before evaluating output sharpening. Inspect both a 100% view and the image at its likely display size. A treatment that looks dramatic when enlarged may look unpleasant in a listing gallery.
Test a Small, Representative Set
Include a bright interior, a darker room, an exterior with foliage, and an image containing fine architectural edges. These reveal different problems that a single attractive kitchen photograph might conceal.
For a clean, already-focused test image with a 3000-pixel longest edge, an illustrative Unsharp Mask starting point is Amount 60%, Radius 0.6 px, and Threshold 3. These are test values, not a universal real estate preset. Compare before and after, then adjust according to the source and destination.
Look particularly closely at window frames, white trim against darker walls, rooflines against the sky, and shadowed ceilings. Reduce the treatment if those areas develop obvious halos or exaggerated noise.
Once the treatment is approved, Bulk Image Sharpener: Automated Sharpening can apply Unsharp Mask or Smart Sharpen across a folder and export the results. Smart Sharpen is useful when you want its additional noise-reduction and shadow/highlight controls rather than a simpler three-parameter workflow.
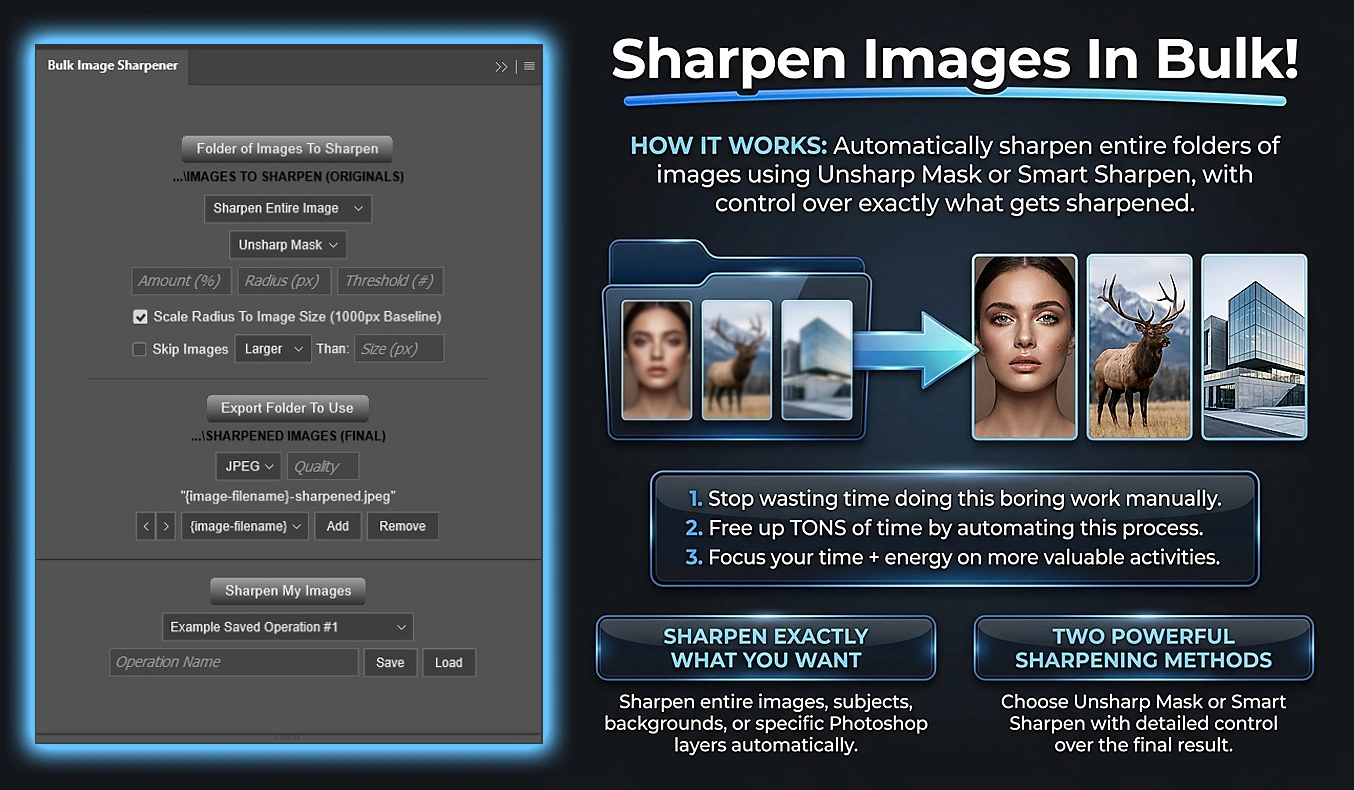
Adapt Radius Without Assuming Every Parameter Should Change
For mixed-resolution deliveries, the plugin’s Scale Radius To Image Size option uses the document’s longest edge divided by a 1000-pixel baseline. A configured baseline radius of 0.2 px becomes 0.6 px on a document with a 3000-pixel longest edge.
With Unsharp Mask, Radius scales while Amount and Threshold remain fixed. With Smart Sharpen, the main, shadow, and highlight radii scale. This gives you a proportional starting point across different image sizes, but it does not replace checking different lighting and noise conditions.
For ordinary listing interiors, start with Sharpen Entire Image rather than assuming an automatically detected subject corresponds to everything you want to emphasize. That target merges visible layers before sharpening. Keep your editable master separate: the original source file is not overwritten, but a processed PSD or PSB will not retain the original visible layer stack unchanged.
If another processing stage follows, use a lossless intermediate rather than repeatedly saving and reopening JPEGs. Save the approved sharpening operation for reuse, but retest it whenever your source material or delivery requirements change.
6. Automate Branding Without Mixing It Into the Listing Set
Branding belongs in a deliberate delivery branch. An agent’s social campaign, a photographer’s portfolio, and client previews may benefit from a logo or website address. The MLS upload set may have very different requirements.
For example, CRMLS’s photographs and media FAQ prohibits branded MLS media and includes logos and contact information among its examples. That is a specific regional rule, not a substitute for checking your own MLS’s current policies.
Maintain clearly labeled unbranded listing files and separately generated branded marketing files. Do not make the client guess which folder is safe to upload.
Build One Approved Branding Treatment
Decide whose identity appears, where it sits, how large it is, and which channels will use it. For client acquisition, a readable photographer website address on permitted portfolio or social images can identify the source of the work without dominating the photograph.
Bulk Image Watermarker: Automated Batch Logos automates either text watermarks or image logos across a folder. For real estate marketing, its Simple Watermark layout is a practical starting point: choose an alignment, set proportional width, adjust opacity, and configure edge padding.
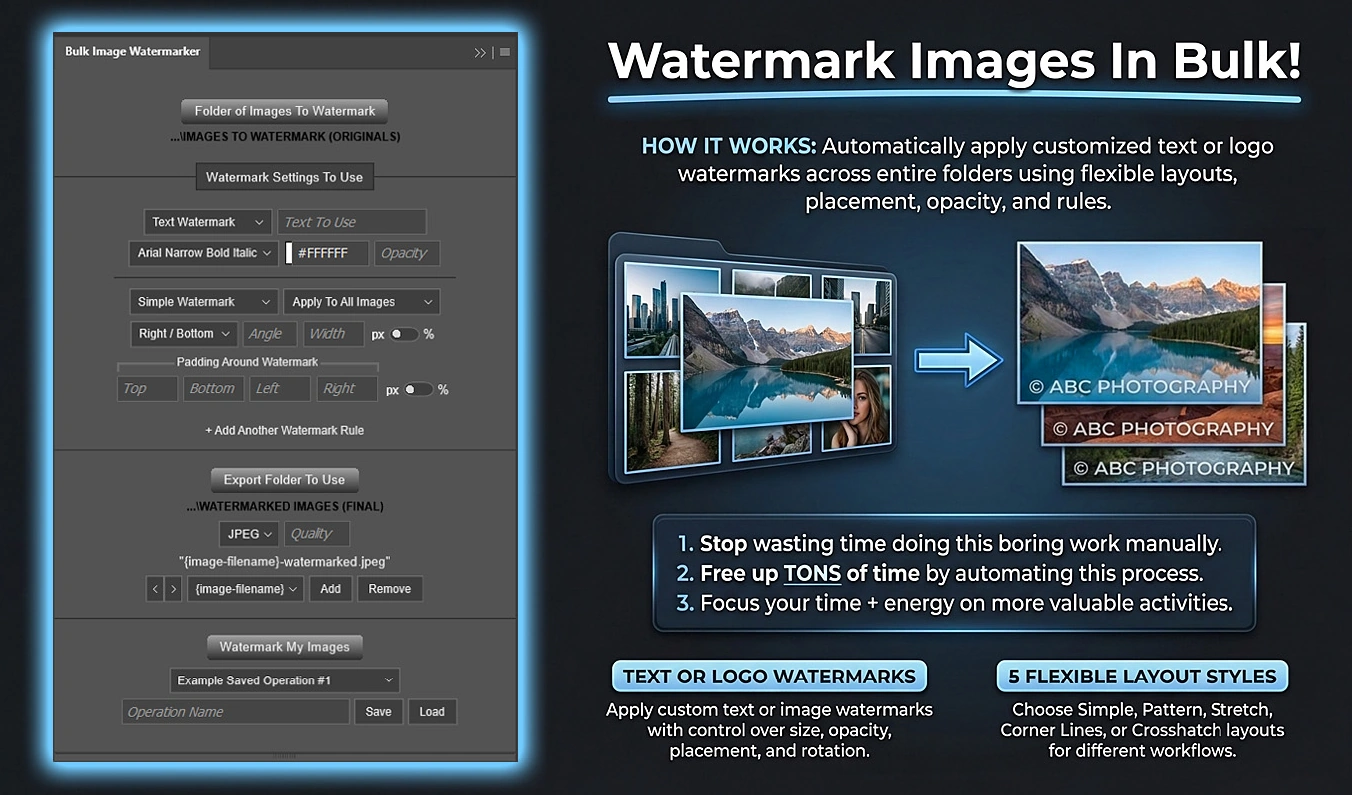
For a logo, try a width of 10% of the image width with 2% bottom and right padding, then review the result on a small screen. Those values are starting points; the logo’s shape and the photograph’s composition should determine the final treatment.
Percentage sizing is useful when the folder contains different resolutions because the mark scales relative to each image’s width. Still inspect whether it covers an important fixture, disappears against a bright floor, or distracts from the main selling feature. Keep exceptions out of the routine batch and handle them separately.
Save the approved operation so recurring marketing jobs do not require rebuilding the text, logo placement, opacity, naming, and export settings. The automation removes repeated finishing clicks; the recovered hands-on time can go toward another shoot, client follow-up, or prospecting.
Two behaviors matter when planning your delivery branches. Multiple watermark rules add their qualifying marks to the same image; they do not create separate agent-branded and photographer-branded versions. Also, an image that matches no rule is not exported. Use Apply To All Images for an already curated marketing folder, and create the unbranded listing set separately.
7. Add a Delivery Gate and Measure Where Your Time Actually Goes
A batch finishing successfully is not the same as a client receiving the correct files. Create a short delivery check that you complete on every property, including familiar assignments.
- Coverage: Compare the finished set with the agreed room and feature list.
- Appearance: Review the set together for consistent brightness, color, and perspective.
- Artifacts: Inspect representative files for HDR ghosting, sharpening halos, and questionable generated detail.
- Destination requirements: Verify actual pixel dimensions, file format, filesize, and any platform-specific limits.
- Branding: Confirm that the listing folder and marketing folder contain the intended versions.
- Completeness: Reconcile expected filenames with exported files rather than relying on a progress counter.
Include color handling in that check. For standard web deliveries, prepare derivatives in sRGB unless the destination specifies otherwise. Adobe’s online-viewing color guide explains converting an existing document through Convert to Profile. Make this part of final-export preparation rather than assuming a batch plugin automatically performs the conversion.
Make the Batch Handoffs Explicit
The three plugins above are separate tools, not an automatically connected production pipeline. Run the required stages deliberately: optional resolution rescue, destination sizing, approved sharpening, and any branding branch. Their folder processing covers supported files directly inside the selected directory, not arbitrary nested subfolders.
Check input and output folders whenever you load a saved operation. Saved configurations remember folder selections, so a perfectly configured preset can still be pointing at the previous property.
Reconcile files after any conditional or skip-based operation. If some images were excluded, move the intended remaining files into the next handoff yourself; do not assume skipped images were exported unchanged.
Deliver a numbered sequence that helps the viewer understand the property. Choose the lead image according to the brief and platform rules, then order the remaining photographs as a coherent walkthrough. Give the client one clearly identified delivery version and request revisions by filename rather than vague descriptions such as “the other kitchen shot.”

Track Hands-On Time Separately From Processing Time
For your next few assignments, record preparation, travel, capture, editing, finishing/export, delivery, and revision time. Separate active work from unattended rendering. Automation may remove repetitive interaction without making a generative operation finish instantly.
Use that record to choose the next improvement. If missing access information causes delays, improve the brief. If repeated color corrections dominate editing, improve capture consistency and lighting groups. If branding consumes your finishing time, save and reuse that operation. If revisions dominate, improve your delivery check and approval instructions.
The best real estate photography workflow preserves your judgment while eliminating work that does not need it. Prepare the property, capture deliberately, edit consistently, automate approved finishing steps, and verify the delivery. That is how you make room for more photography and better client service without turning every listing into another late-night editing session.