How To Add Pixel Dimensions To Batch Generated AI Image Filenames In Photoshop
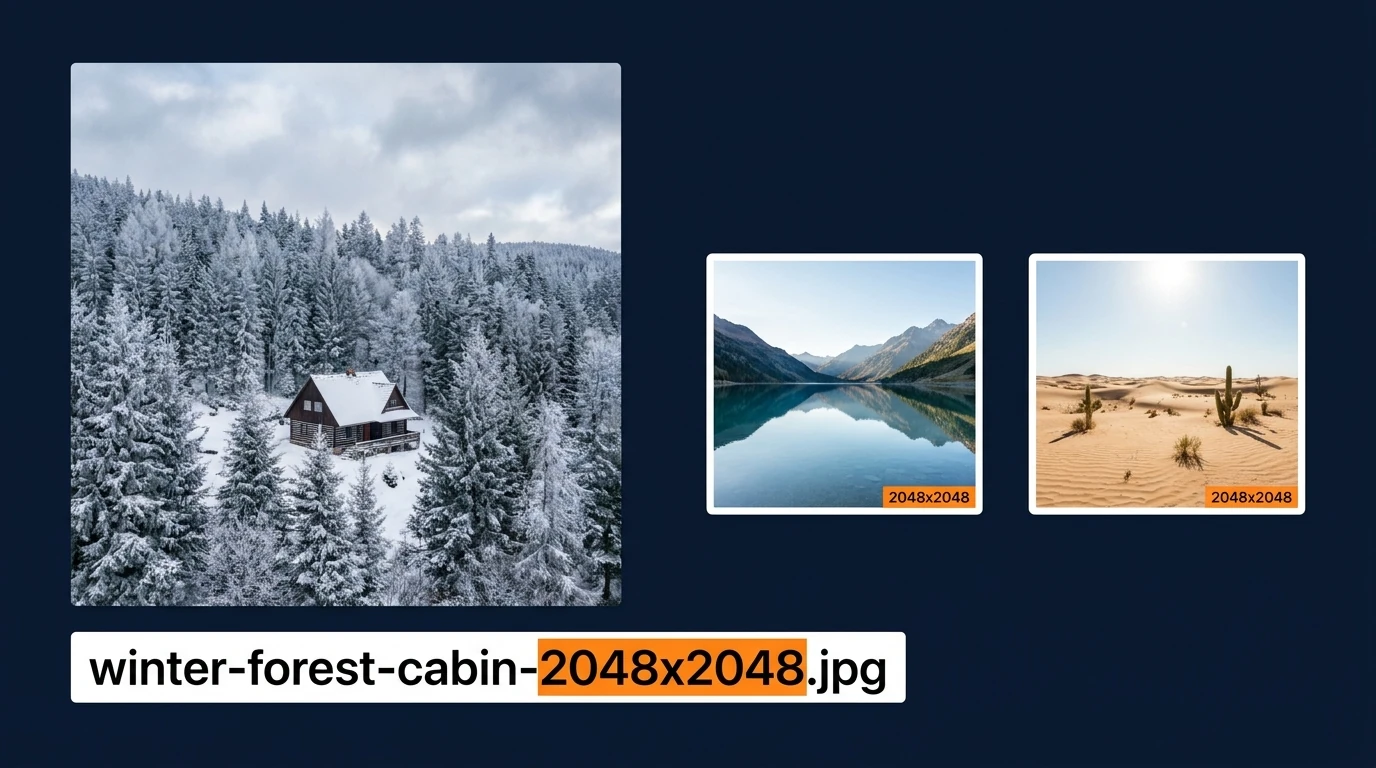

To add pixel dimensions to AI image filenames automatically, include the {width}x{height} component in the filename builder in Bulk AI Image Creator: Batch Generative Fill. The plugin replaces that component with the actual Photoshop document dimensions when exporting each generated image.
For example, a filename layout of {text-prompt}-{AI-model-used}-{width}x{height} can produce a name such as winter-forest-cabin-gemini-3-nano-banana-pro-2048x2048.jpg. The dimensions become part of the filename during export, so you do not need to open every result, check its size, and rename it afterward.
Set Up the Batch Generator Inside Photoshop
Bulk AI Image Creator is a third-party Photoshop plugin available through Adobe Exchange or Adobe’s Creative Cloud plugin marketplace. After acquiring it, allow Creative Cloud to install it, then open or restart Photoshop if needed. Access the installed plugin through Photoshop’s Plugins menu.
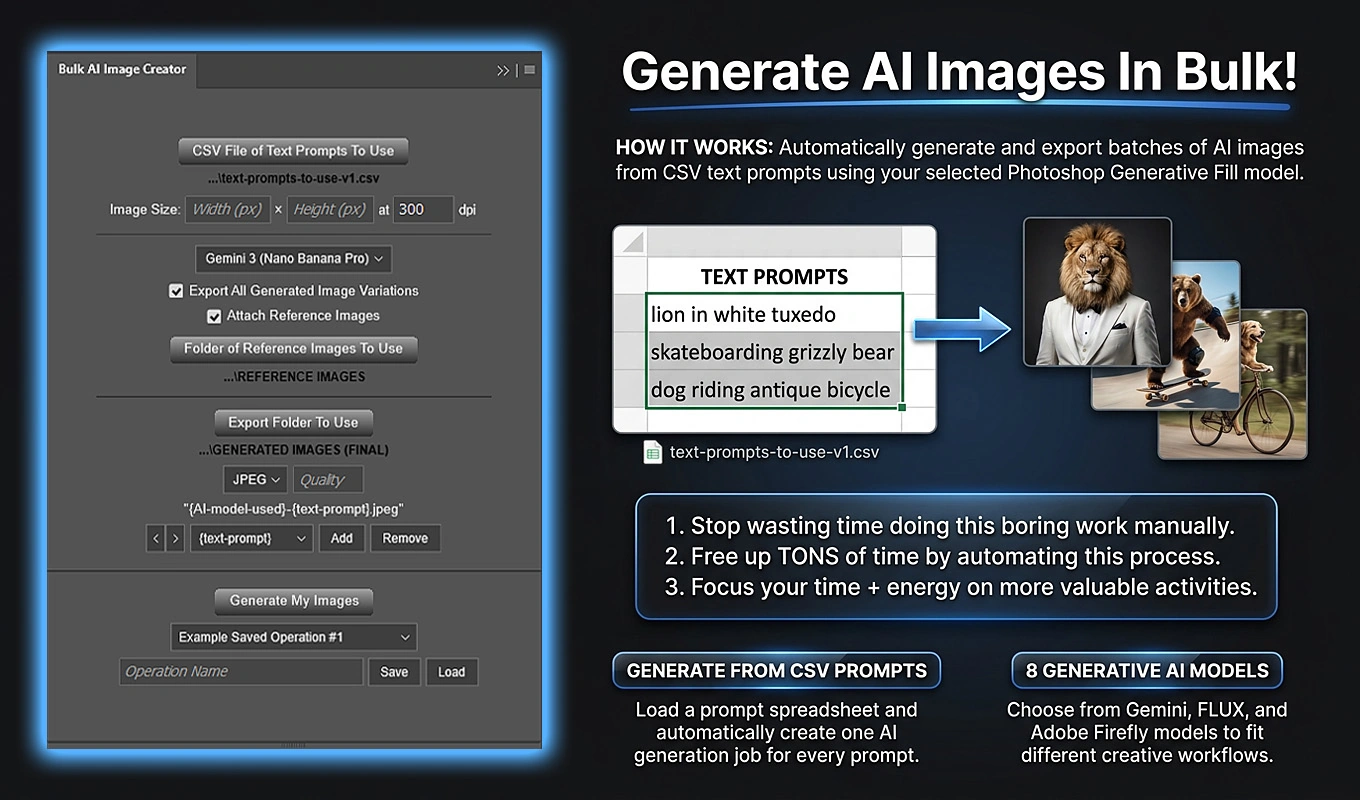
The plugin automates Photoshop Generative Fill across a CSV list of prompts. You configure the generation settings and filename layout once, then it generates and exports the results sequentially.
This is a generation-and-export workflow: the dimension label is added as new images are saved. It is not a separate tool for renaming an existing folder of images.
Put the Image Prompts in Column A
Prepare a CSV with TEXT PROMPTS in cell A1. Put the first image prompt in A2 and continue downward in Column A. For a small initial batch, your spreadsheet could contain:
- A1: TEXT PROMPTS
- A2: Winter forest cabin
- A3: Mountain lake at sunrise
- A4: Desert landscape at dusk
Save the file as CSV, then select it using CSV File of Text Prompts To Use in the plugin.
Only Column A is used. Do not put width, height, or filename instructions in additional columns; unexpected non-empty data there causes validation to fail. Blank prompt rows are ignored, and each usable prompt must contain at least one letter or number.
If a prompt contains commas, keep it inside one properly quoted CSV field rather than allowing those commas to split it across columns.
Set the Pixel Dimensions for This Batch
In the Image Size controls, enter the Width and Height you want in pixels. For a square image batch, for example, enter 2048 for Width and 2048 for Height. Set DPI separately; the normal default is 300.
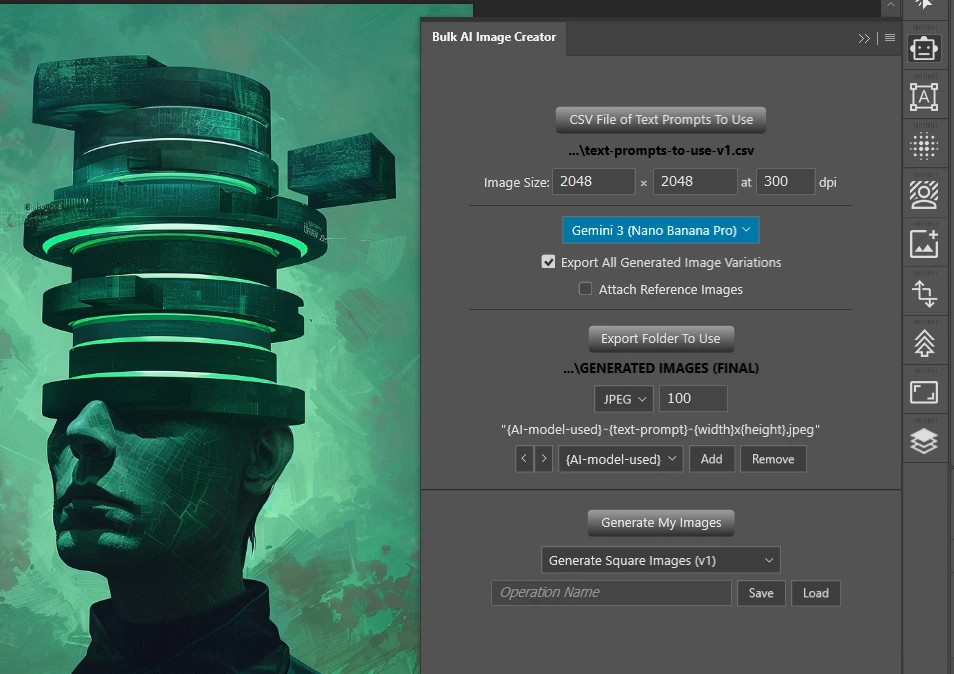
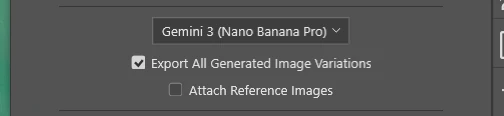
Then select the AI model for the operation. Gemini 3 (Nano Banana Pro) is the default. The model choice can also appear in the output filename through {AI-model-used}.
Width, Height, DPI, and model are batch-wide settings. Every prompt in that operation uses the same configuration. If your project needs both 2048 × 2048 images and 1920 × 1080 images, run separate operations for those sizes rather than adding size instructions to extra CSV columns.
Choose dimensions appropriate for Photoshop and the selected model. The plugin’s flexible size controls do not override practical generation restrictions imposed by Photoshop or an individual model.
Add {width}x{height} to the Filename Builder
The filename builder is where you connect the document dimensions to the exported filenames. Its default layout uses the prompt and AI model. Add the combined dimension component to extend that layout.
- Find the filename-format builder in the main plugin interface.
- Use Add to include the {width}x{height} component.
- Use Move Left or Move Right to position it before, between, or after the other components.
- Keep {text-prompt} if you want the filename to identify the image’s subject.
- Keep {AI-model-used} if you want the filename to identify the selected generation model.
A useful resulting layout is {text-prompt}-{AI-model-used}-{width}x{height}.
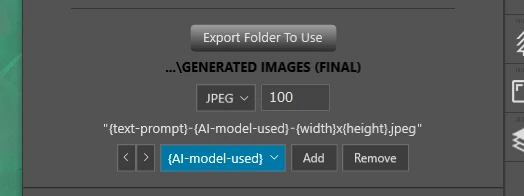
The combined {width}x{height} option is one filename component. You do not need to assemble the width, separator, and height manually. The builder also offers separate {width} and {height} components when you only want one measurement.
Each component can appear only once, and at least one component must remain. For this task, the important step is ensuring that the dimension component is actually present in the layout before generation begins.
Use a Filename Pattern That Keeps Dimensions Easy to Find
The best position for the dimension label depends on how you browse your exported files. These three layouts serve different organizational needs:
- {text-prompt}-{width}x{height}: keeps the subject first and avoids including model information you may not need.
- {text-prompt}-{AI-model-used}-{width}x{height}: identifies the subject, model, and pixel dimensions.
- {width}x{height}-{text-prompt}-{AI-model-used}: puts the size label first, grouping matching dimension labels together when filenames are sorted by name.
Using the same winter-cabin prompt, the shorter layout could produce winter-forest-cabin-2048x2048.jpg. The dimensions-first layout could produce 2048x2048-winter-forest-cabin-gemini-3-nano-banana-pro.jpg.
These are component layouts configured through the builder, not literal filenames you must type for each image. The plugin supplies the prompt, model, and dimension values during export.
Keeping the dimension component in a consistent position makes it easier to scan a folder containing several batches.
Understand Which Dimensions the Filename Actually Records
The {width}x{height} component uses the actual Photoshop document dimensions. The separate {width} and {height} components likewise use the current document width and height. They do not simply copy a size written inside the prompt.
This distinction matters when a prompt contains wording such as “a widescreen landscape” or “a square product illustration.” Those words describe the requested content or composition; they are not the source of the filename’s numerical dimension label.
DPI is also separate. A 2048 × 2048 document at 300 DPI still has 2048 pixels across and 2048 pixels down. Its combined dimension component is 2048x2048, not a value calculated by multiplying the pixels by 300.
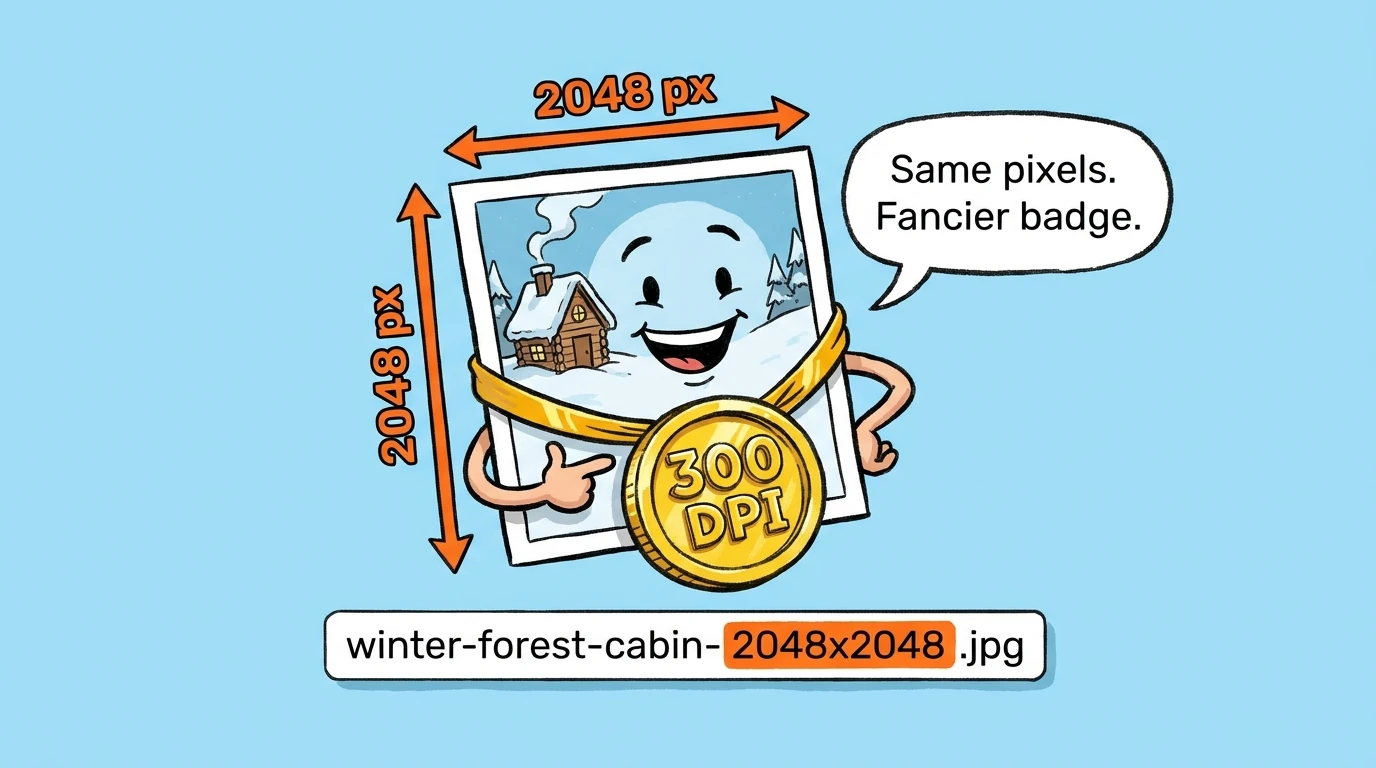
The dimension label describes the Photoshop document’s pixel size. It does not describe the model’s internal generation process, guarantee image detail, or resize the image merely by appearing in the filename.
Choose the Export Destination and Filetype
Select Export Folder To Use and choose the destination for the generated files. A clearly named project folder makes the dimension-labeled outputs easier to locate, especially when you run the same prompts at several sizes.
Choose your export filetype next. JPEG is the default, while PNG and other supported formats are available when the delivery requires them. Set a valid Quality value where applicable.
The dimension component belongs in the filename base; the export format determines the file extension. You do not need to add {export-filetype} merely to obtain the correct extension. That optional component adds the format name to the filename itself.
Keep Dimension-Labeled Variations as Separate Files
Before running the batch, decide whether you want every generated alternative or only one exported result per prompt.
Export All Generated Image Variations is enabled by default. When enabled, the plugin determines how many variations Photoshop actually returned and exports each one. When disabled, it exports only the first generated variation.
Variations from the same prompt naturally share the same prompt, model, and document dimensions. Duplicate-safe numbering distinguishes their files. Names may look like:
- winter-forest-cabin-gemini-3-nano-banana-pro-2048x2048.jpg
- winter-forest-cabin-gemini-3-nano-banana-pro-2048x2048 (2).jpg
The suffix prevents one export from overwriting another; it does not indicate a different pixel size. The number of variations is dynamic, so do not assume a fixed number of files per prompt when exporting all variations.
Run the Batch With Credit Usage Confirmed
Once the CSV, image settings, filename layout, and export destination are ready, click Generate My Images. The plugin validates the operation before starting.
It then displays Confirm Before Proceeding. You must explicitly accept the Generative Credits acknowledgement before confirming. Bulk AI Image Creator uses Photoshop’s own generative functionality, so generation can consume your applicable Adobe Generative Credits. The plugin does not predict an exact credit total in advance.
After confirmation, the plugin processes each valid prompt sequentially, waits for generation, exports the selected variations using your filename layout, clears the completed variations, and advances to the next prompt.
The progress counter tracks prompt-generation operations, not the total number of exported variation files.
Verify the First Few Filenames Against the Images
Use a short prompt CSV for your first run before committing a much larger list. This lets you check the naming layout with real exported results.
- Check that the filenames contain the expected dimension label, such as 2048x2048.
- Open a sample output in Photoshop and check its pixel width and height in Image > Image Size.
- Confirm that the filename dimensions match the document dimensions.
- Check whether the dimension label is easy to find when viewing the filename among neighboring files.
- If all variations were exported, confirm that the numbered outputs remain distinguishable.
If the label is missing, return to the filename builder and confirm that {width}x{height} was added. If you only included {width}, the filename will not show both measurements.
This test is an actual generation run, not a filename preview, so it can consume Generative Credits too.
Leave Room for Prompts, Dimensions, and Numbered Suffixes
A dimension label is compact, but long prompts can make filenames harder to scan. Keep only the components that help identify or deliver the image. Prompt, dimensions, and optionally model are usually a useful combination for this workflow.
The plugin normalizes prompt text into a filename-safe form: it trims it, converts it to lowercase, uses dash-separated wording, and sanitizes unsafe characters. The prompt-based component is limited to approximately 80 characters, so do not expect the entire original prompt to appear verbatim.
Also avoid unnecessarily deep export-folder paths. The plugin applies path-length safeguards, and an excessively long destination path can leave insufficient room for safe filenames. If that happens, choose a less deeply nested folder or shorten folder names.
Save the Setup So New Runs Keep the Same Naming Rule
Once the test produces the filenames you want, enter an Operation Name and save the operation. A name such as “Square 2048 prompt-model-dimensions” can help you recognize the configuration later.
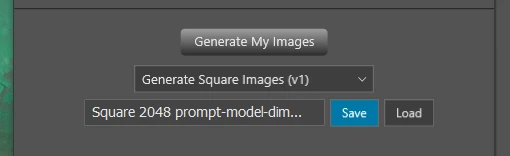
Saved Operations retain the filename components along with practical batch settings, including Width, Height, DPI, model, export format, Quality, variation-export preference, and references to the selected CSV and output folder.
Loading that operation lets you restore the established layout rather than rebuilding it for each recurring job. Saved file and folder references may need to be selected again if those resources have moved or become unavailable.
When a project needs another output size, restore the setup, change the batch dimensions, and check the export destination before running it. The same {width}x{height} component uses the current document dimensions without requiring you to rewrite a literal size label.
For repeat AI image production in Photoshop, the essential setup is simple: add {width}x{height} to Bulk AI Image Creator’s filename builder, position it where it is easy to read, verify a small batch, and save the operation. Your generated images can then leave Photoshop with their pixel dimensions already included in their filenames.