How To Automatically Apply Smart Sharpen Remove Motion Blur To Multiple Images
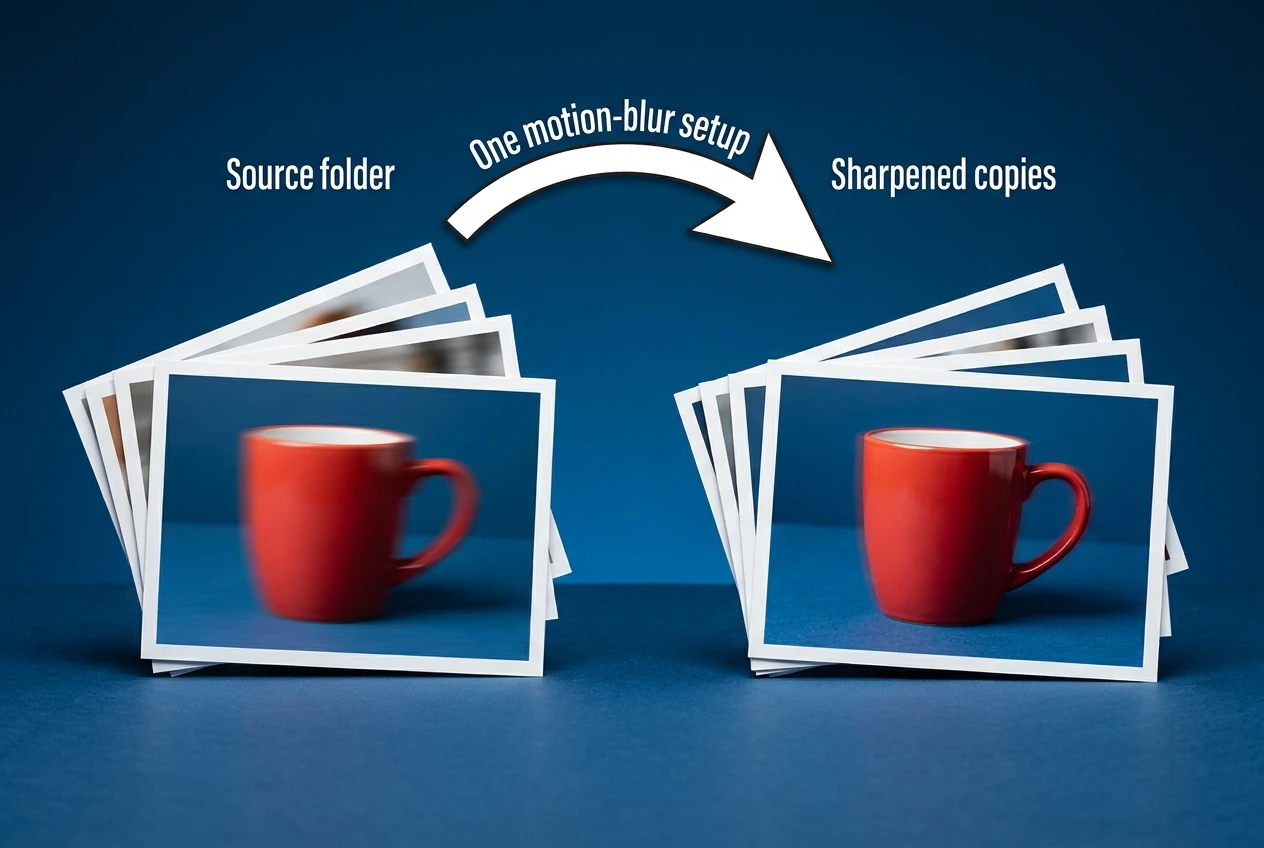

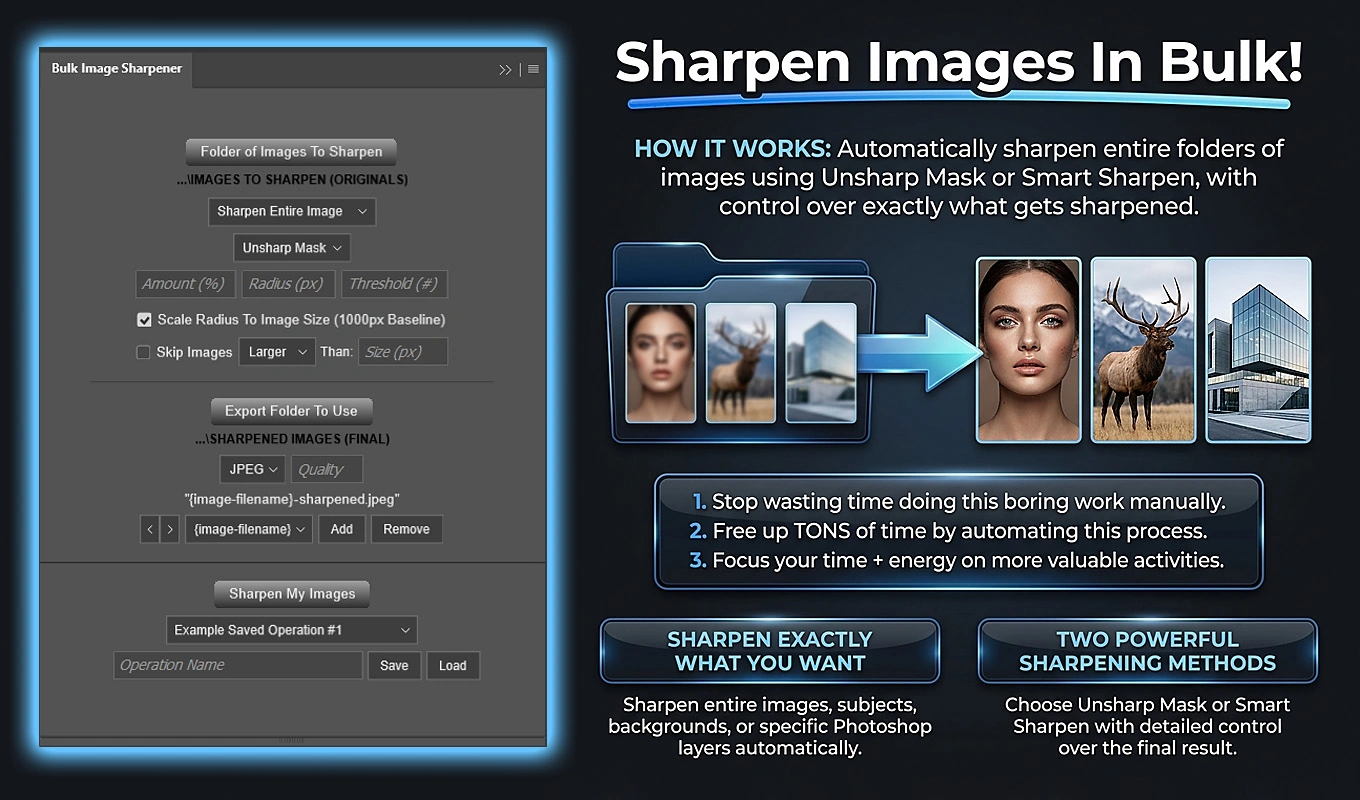
To automatically apply Photoshop’s Smart Sharpen Remove Motion Blur to multiple images, use Bulk Image Sharpener: Automated Sharpening. Select your source folder, choose Smart Sharpen, switch its blur-removal mode to Remove Motion Blur, configure the Angle and sharpening settings, and run the batch. The plugin opens each supported image, applies the configured sharpening operation, exports a separate result, and closes the source document without saving.
The important distinction is that you define the correction. One sharpening configuration is applied across the folder; you are not asking the plugin to choose a different motion angle for every photograph. That makes the workflow especially useful for groups of images that need a similar directional sharpening treatment.
1. Set Up a Folder-Wide Remove Motion Blur Operation
Bulk Image Sharpener is a third-party Photoshop plugin available through Adobe Exchange and Adobe’s Creative Cloud plugin marketplace. After acquiring it and installing it through the Creative Cloud desktop application, open or restart Photoshop if necessary and access it through the Plugins menu.
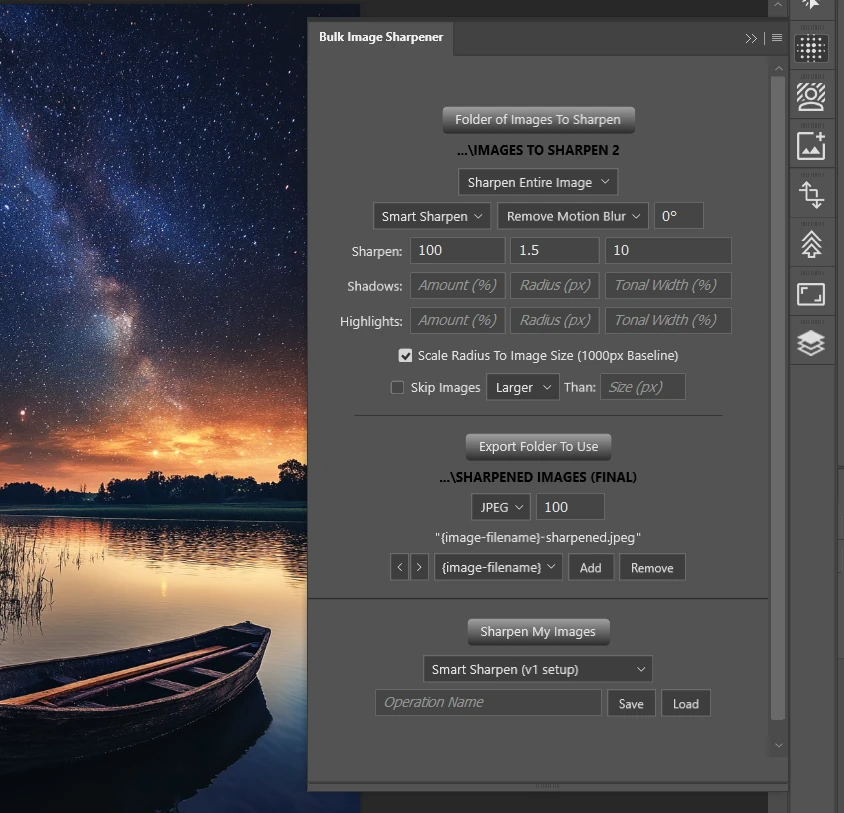
Use this sequence to configure the operation:
- Click Folder of Images To Sharpen and select your source directory. Place the intended images directly inside that folder; the plugin does not recursively process nested source folders.
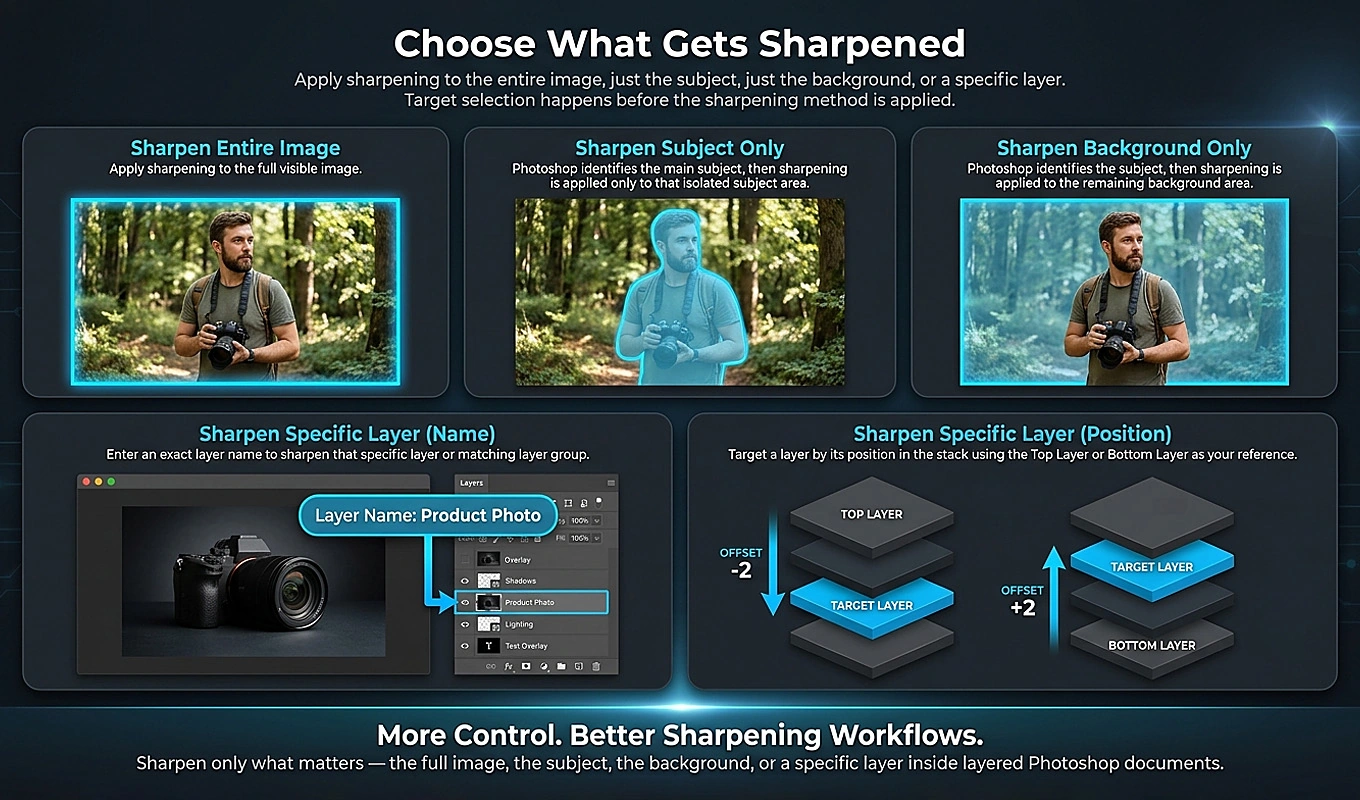
- Choose Sharpen Entire Image in the Sharpening Target dropdown for a straightforward full-image workflow. You can choose a more selective target if the correction should affect only a subject, background, or particular Photoshop layer.
- Choose Smart Sharpen in the Sharpening Method dropdown. This reveals the Smart Sharpen controls.
- Choose Remove Motion Blur in the blur-removal dropdown. An additional Angle input appears specifically for this mode.
- Enter your Motion Blur Angle, then configure the main Amount, Radius, and Reduce Noise settings. Configure the Shadows and Highlights controls as needed.
- Decide whether to enable Scale Radius To Image Size (1000px Baseline). Leave it off to use the entered radii directly, or enable it to adapt them to each document’s resolution.
- Optionally configure Skip Images if certain image dimensions should be excluded.
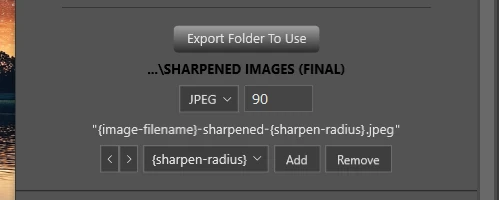
- Select Export Folder To Use, choose the output filetype and Quality, and configure the filename components.
- Click Sharpen My Images to begin processing the folder.
For an initial trial, use a small folder containing representative images rather than immediately processing the entire collection. This lets you evaluate the configured correction before repeating it across every file.
2. Choose Settings That Improve Detail Without Exaggerating Artifacts
Remove Motion Blur is a blur-removal model within Smart Sharpen, not a guarantee that every motion-blurred photograph can be restored. It can improve apparent edge definition, but severe blur may have obscured detail that sharpening cannot reliably recover.
The most important controls are:
- Motion Blur Angle: accepts values from -180° to 180°. This specifies the direction of motion blur Photoshop should attempt to compensate for. Establish a suitable angle before trying to solve an unsatisfactory result by increasing sharpening strength.
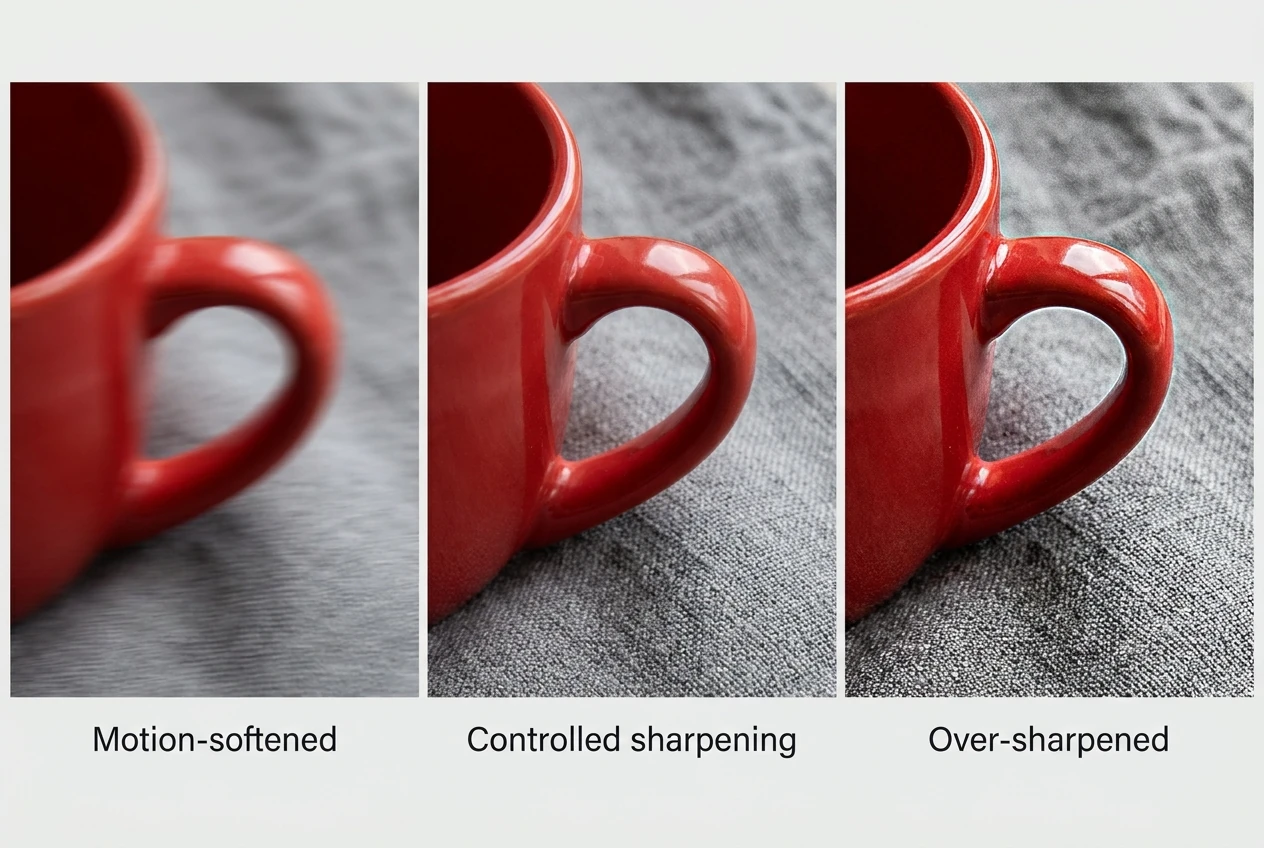
- Amount: accepts 1–500%. This controls the strength of the main sharpening effect. More is not automatically better; excessive sharpening can produce conspicuous outlines and an unnaturally harsh appearance.
- Radius: accepts 0.1–1000 pixels. This controls the spatial extent of the sharpening around image detail. Evaluate it alongside Amount rather than treating either setting as an independent fix.
- Reduce Noise: accepts 0–100%. Use this control when the sharpening treatment makes noise or rough texture too prominent.
Smart Sharpen also provides independent Shadows and Highlights settings. Each section includes Amount/Fade Amount from 0–100%, Radius from 1–100 pixels, and Tonal Width from 0–100%. These preserve Photoshop’s tonal-region correction controls within the automated workflow instead of limiting the batch to the main sharpening settings.
Inspect a test result at 100% magnification to judge fine detail, noise, and edge artifacts, then also view it at its intended delivery size. A treatment that looks dramatic when enlarged may look excessive in the finished image. Check both detailed areas and smooth regions rather than judging the result only by its sharpest edge.
There is no single useful preset for every motion-blurred image. The practical goal is to establish a correction that improves your particular source material, then automate that tested configuration.
3. Decide Which Part of Each Image Should Receive the Correction
Sharpen Entire Image is the simplest choice when the directional sharpening should affect the complete photograph. If the document has multiple layers, the plugin merges visible layers before applying Smart Sharpen to the resulting composite.
If a moving subject needs additional definition but the surrounding scene does not, Sharpen Subject Only may be more appropriate. The plugin merges visible content, runs Photoshop Select Subject, copies the selected subject pixels to a new layer, and sharpens that copied layer. The complete merged image remains underneath, so the background is not deleted.
This is subject detection, not motion detection. Photoshop’s selected subject determines the region that receives the extra sharpening; it does not determine the Motion Blur Angle for you.
Sharpen Background Only performs a related operation, inverting the subject selection and sharpening a copied background layer. For either selective mode, an unusable subject selection causes that image to fall back to full-image sharpening. Keep that behavior in mind when it is important that a particular region receive no additional sharpening.
For structured Photoshop documents, the plugin can instead target a layer by exact, case-sensitive name or by its position in the top-level layer stack. A targeted layer may be rasterized, and a targeted group is merged before sharpening. If the requested layer cannot be found, the image falls back to full-image sharpening.
4. Scale the Radius When Your Images Have Different Resolutions
A fixed pixel radius has a different relative size on a small image than on a large one. Bulk Image Sharpener addresses this with Scale Radius To Image Size (1000px Baseline), which is off by default.
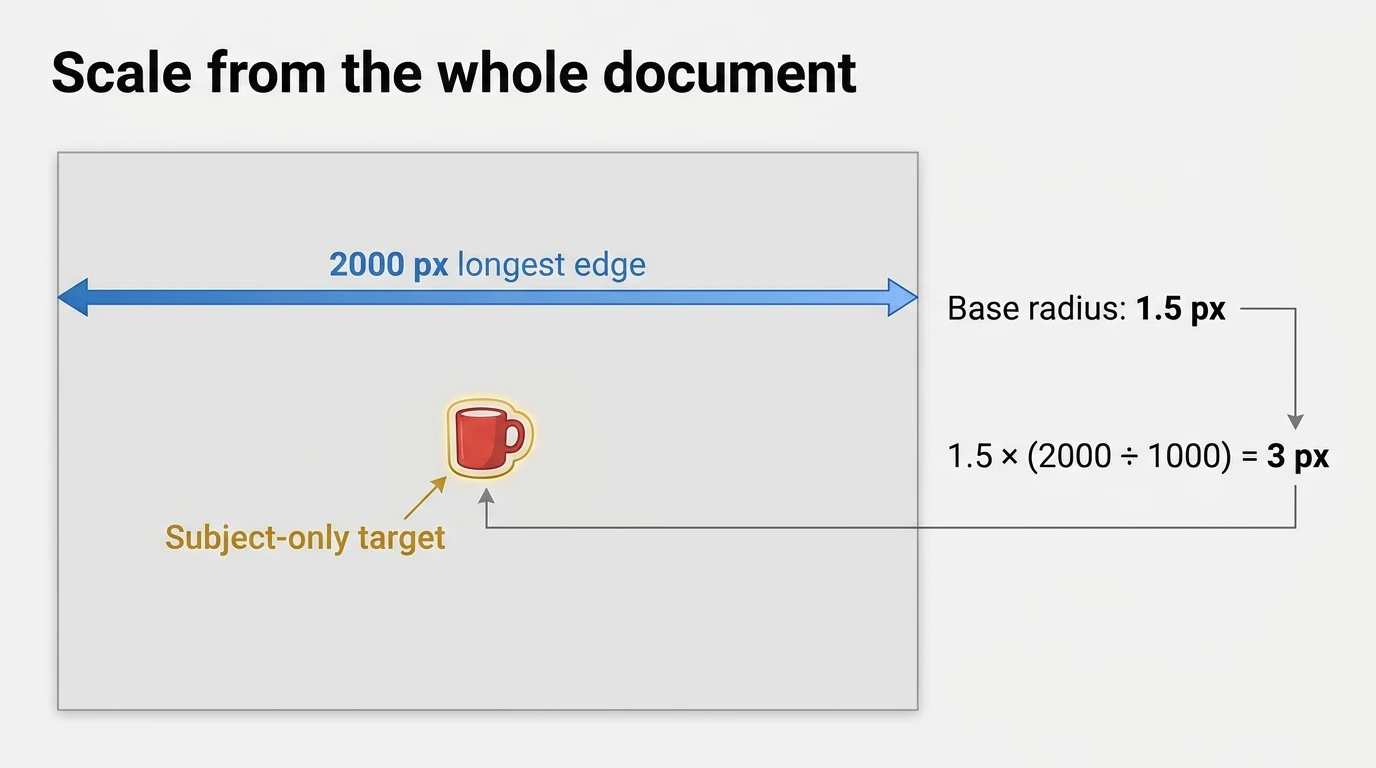
When enabled, the plugin calculates the scale factor as the document’s longest edge divided by 1000. It multiplies the configured radius by that factor.
For example, with a configured main Radius of 1.5 pixels:
- A 1000 × 800 image has a scale factor of 1, producing a 1.5-pixel Radius.
- A 2000 × 1200 image has a scale factor of 2, producing a 3-pixel Radius.
- A 500 × 500 image has a scale factor of 0.5, producing a 0.75-pixel Radius.
With Smart Sharpen, this scaling applies to three values: the main sharpening Radius, Shadow Radius, and Highlight Radius. It does not scale Amount, Reduce Noise, tonal widths, fade amounts, or Motion Blur Angle.
The reference is always the complete document’s dimensions, even when you sharpen only a detected subject or a specific layer. The plugin does not calculate a separate scale factor from that target’s pixel bounds.
This option is useful when your tested recipe should maintain a more proportional sharpening radius across different resolutions. It does not resize the image, change the blur direction, or determine whether differently blurred images need separate settings.
5. Keep Results Predictable Across the Batch
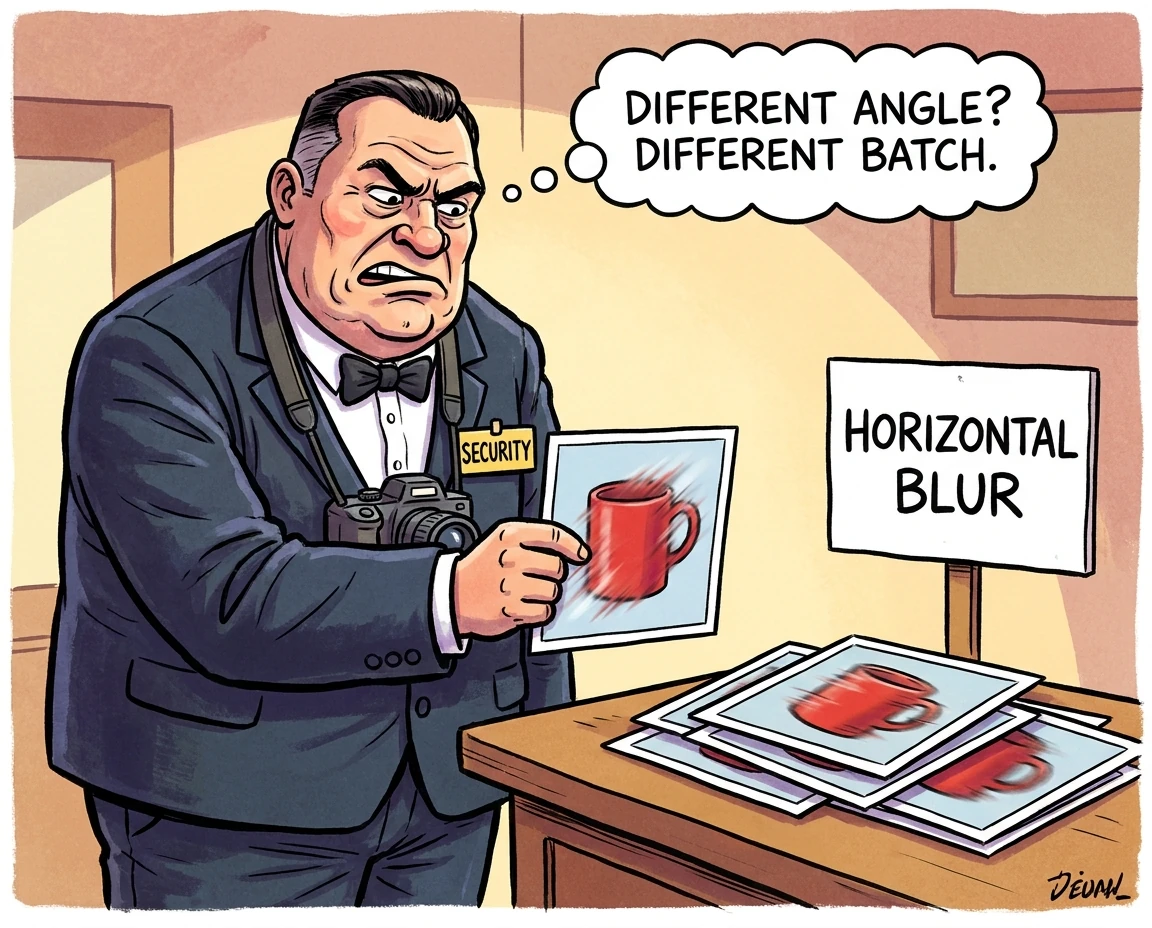
The strongest batches contain images that genuinely belong under the same motion-blur correction. A folder can contain hundreds of files, but a shared directory does not necessarily mean every file needs the same Angle, Amount, or Radius.
Before processing the full collection, check whether:
- The visible motion blur has a similar direction across the images.
- The amount of blur is sufficiently similar for one sharpening strength to be appropriate.
- Images captured or rotated differently need a different Motion Blur Angle.
- The files have comparable noise and detail characteristics.
- The selected sharpening target makes sense for all the included images.
If those characteristics vary substantially, divide the images into separate source folders and run separate configurations. For example, a group of similarly blurred product photographs may suit one operation, while photographs with different movement directions deserve their own tests and settings.
Include both smaller and larger files in your test folder when adaptive radius scaling is enabled. That checks the actual scaled results rather than validating only the 1000-pixel baseline.
You can also exclude an unsuitable resolution class with Skip Images. For example, choosing Smaller with a 1000-pixel cutoff skips images whose longest edge is below 1000 pixels. An image exactly 1000 pixels on its longest edge remains eligible because the comparison is strictly smaller-than.
Skipped images are not sharpened or exported. This is useful for excluding small previews or thumbnails from a batch intended for larger deliverables without manually relocating every file.
6. Export Separate Results and Review the Finished Files
Select a dedicated export folder so the sharpened derivatives are easy to distinguish from your sources. The plugin writes generated files directly into the selected destination.
For common raster delivery, JPEG, PNG, and WebP are available with editable Quality from 0–100. PNG remains lossless; its Quality control affects compression rather than introducing lossy image degradation. Choose the format that suits your delivery requirements, then evaluate the exported file—not only the sharpening settings used to create it.
The filename builder can include the source filename, sharpening method, main Amount, actual applied main Radius, and image dimensions. Including {image-filename}, {sharpen-mode}, and {sharpen-radius} can make mixed-resolution results easier to identify, particularly when the applied radius changes from file to file.
The sharpening-mode component identifies Smart Sharpen, but it does not record the selected blur-removal type or Motion Blur Angle. If you need to distinguish separate directional corrections, use clearly named export folders and saved operations rather than assuming the filename automatically documents the angle.
While processing, the plugin displays progress and provides Cancel Operation; Escape can also cancel while the operation modal is active. Existing output filenames receive numbered suffixes rather than simply being reused.
All sharpening and layer preparation happen in the working document. The result is exported separately, and the source document is closed without saving. Your original files therefore remain unchanged, even when the selected target requires merging or rasterization. If you export PSD or PSB, however, the derivative’s layer structure reflects that preparation rather than necessarily matching the original stack.
7. Save the Tested Motion-Blur Configuration for Reuse
Once a test batch produces suitable results, enter an Operation Name and click Save. A descriptive name such as Product Photos — Motion Blur 0 Degrees — Scaled Radius is more useful than a generic preset label.
A saved operation preserves the Smart Sharpen blur-removal mode, Motion Blur Angle, main settings, shadow and highlight settings, sharpening target, radius-scaling choice, skip configuration, export settings, filename components, and folder references.
For the next matching job, load the saved operation, confirm the source and export folders, and check that the new images suit the same correction. This avoids rebuilding the advanced Smart Sharpen configuration every time while keeping the important image-quality decisions under your control.
Bulk Image Sharpener turns a tested Remove Motion Blur setup into a repeatable folder-wide workflow. You choose the angle, sharpening treatment, target, and output requirements once; the plugin handles the repetitive opening, filtering, exporting, naming, and closing across the batch.