How To Batch Compress Images Based On Their Original File Sizes
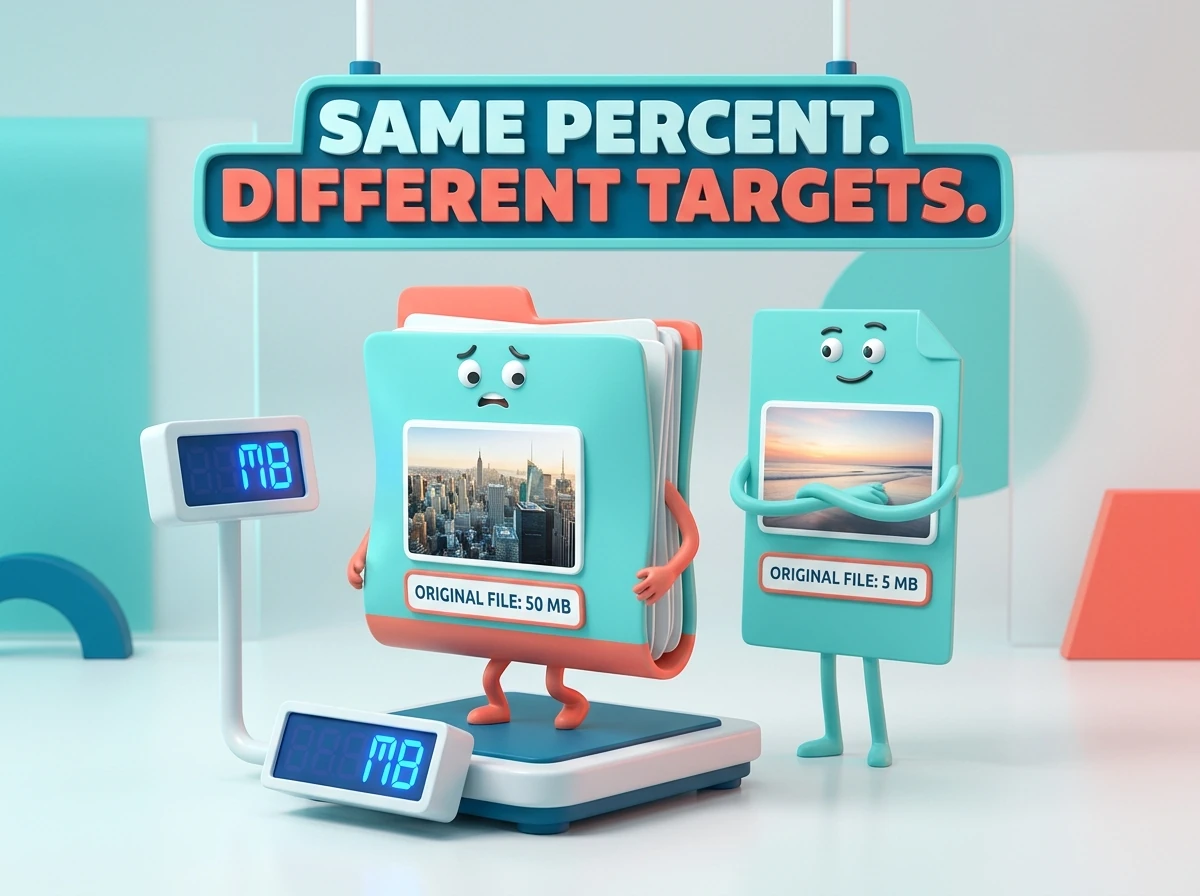

To batch compress images based on their original file sizes, use a percentage-reduction target rather than one fixed export quality. Each image then receives its own filesize goal, calculated from how large that particular source file is.
In Photoshop, Bulk Image Compressor: Batch-Reduce Filesizes automates this through its Target Reduction % mode. You choose the percentage to remove, select JPEG or WebP output, and let the plugin calibrate compression separately for each image. This is particularly useful for mixed folders where a large source should have a larger output target than a small source.
Calculate a separate target from each original file size
The calculation behind percentage-based compression is:
Target filesize = original filesize × (100 − reduction percentage) ÷ 100.
For a 75% reduction, the target is 25% of the original size. An 8 MB source therefore receives a target of approximately 2 MB, while a 2 MB source receives a target of approximately 0.5 MB.
The important distinction is that 75% is the amount you want to remove, not the amount you want to keep. If you want the output to retain roughly three-quarters of the original filesize, you would request a 25% reduction instead.
One reduction percentage applies across the batch, but the absolute target changes from image to image. You do not need to sort the folder into size groups or manually calculate a different KB or MB target for every file.
The starting point is the source file’s actual size on disk, not its pixel dimensions. Two images with identical dimensions can have different original file sizes and therefore receive different targets.
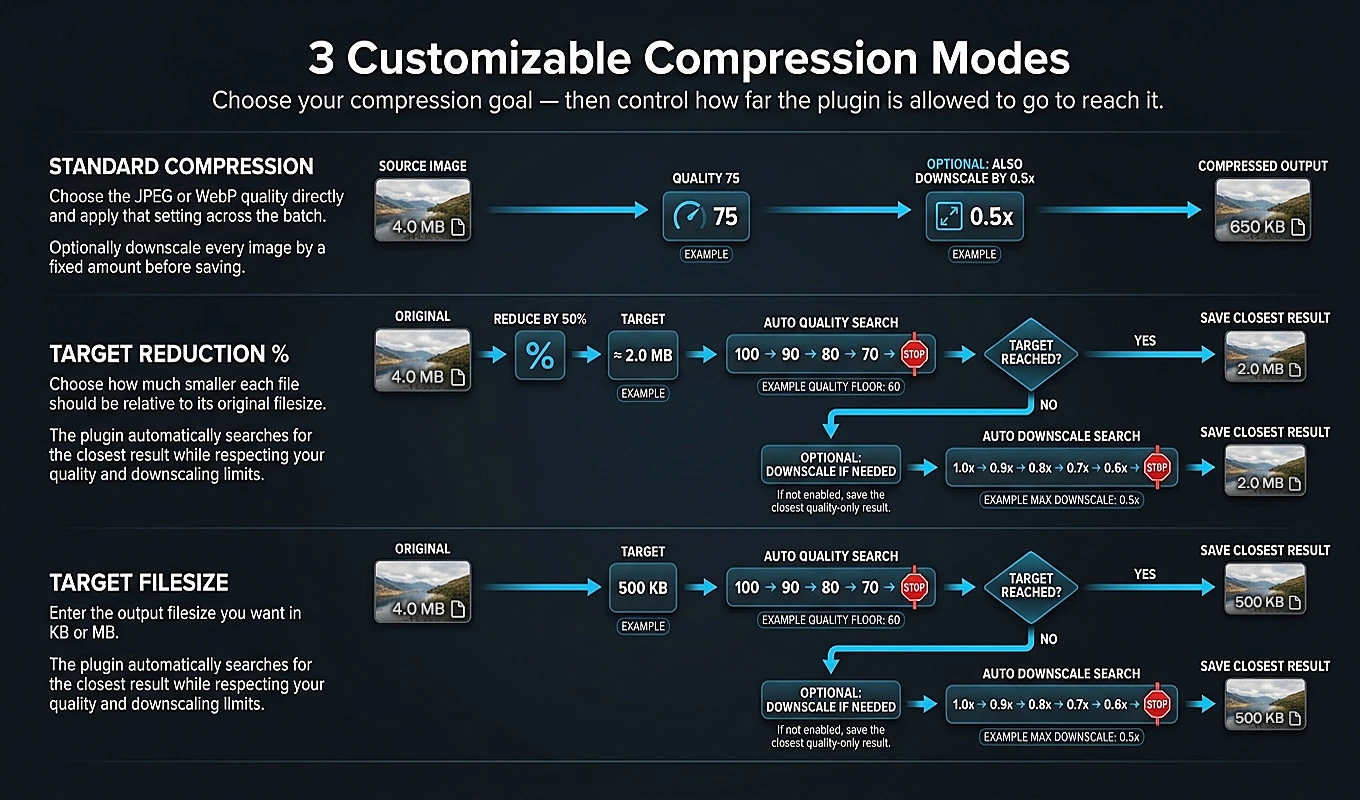
This also distinguishes Target Reduction % from the plugin’s other modes. Target Filesize aims toward one shared KB or MB goal, while Standard Compression uses one chosen output quality. For the requirement “make each image approximately 75% smaller than it started,” Target Reduction % is the appropriate mode.
Why one export quality will not produce one percentage reduction
It is tempting to think that exporting every image at Quality 75 will make every file 75% smaller. But quality and percentage reduction are different controls.
A quality value controls compression behavior. It does not specify how the exported file should compare with the original file’s byte size. Source format, existing compression, and image content all affect the result. An already-compressed JPEG and a large TIFF can respond very differently to the same export quality.
Manually pursuing a percentage reduction therefore means calculating an image’s target, exporting a candidate, checking its size, adjusting quality, and exporting again. Once that image is finished, the same experimentation begins for the next source.
Bulk Image Compressor automates that calibration individually. In Target Reduction % mode, it:
- Reads the source file’s original byte size and calculates its target.
- Saves temporary JPEG or WebP candidates at selected quality settings.
- Measures the actual saved filesize of each candidate.
- Uses binary search to narrow the quality range toward the target.
- Keeps an acceptable result, or the closest permitted result it discovered.
This is why Quality displays AUTO in the target-based mode. The plugin is not applying one predetermined quality to the entire folder. Different images may need different qualities to approach the same proportional reduction.
A requested 75% reduction and a minimum Quality of 75 can both be part of the same operation, but they mean different things: the first defines the filesize objective, and the second limits how far quality may be reduced.
Set up the percentage-based batch in Photoshop
Bulk Image Compressor is available through Adobe Exchange and Adobe’s Creative Cloud plugin marketplace. After installation, open it from Photoshop’s Plugins menu.
Use the following workflow to configure a batch:
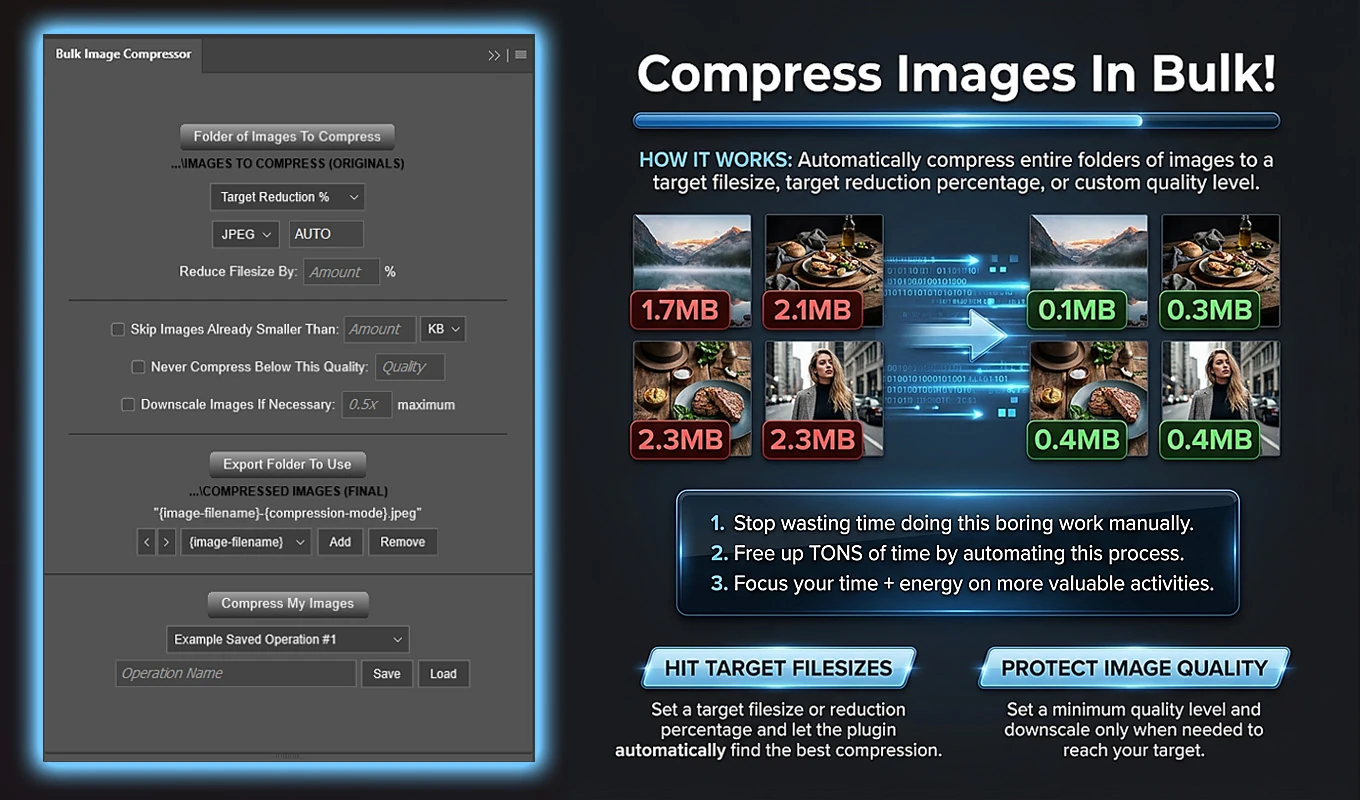
- Choose Folder of Images To Compress and select the source folder. The plugin handles supported files directly inside that folder, not images in nested subfolders.
- Select Target Reduction % in the Compression Mode dropdown.
- Enter the desired percentage in Reduce Filesize By. The accepted range is an integer from 1 through 99. Enter 75 if you want each processed output to approach one-quarter of its original filesize.
- Choose JPEG or WEBP output. Quality displays AUTO because the plugin will search for an appropriate setting for each image.
- Add any optional minimum-quality, adaptive-downscaling, or skip-small-file settings your batch requires. These controls determine what the plugin may change and which sources should bypass compression.
- Select Export Folder To Use and configure the output filename components. Keeping {image-filename} in the pattern makes it easier to match each output with its source.
- Click Compress My Images to validate the configuration and begin processing.
For transparent assets, choose WebP when you need to retain transparency and the image and Photoshop’s WebP export pathway support it. JPEG does not preserve alpha transparency. Actively compressed outputs are JPEG or WebP, even when the source is another supported format such as PNG, TIFF, or PSD.
The plugin reads the current folder contents immediately before the operation starts. Files added or removed after you initially selected the folder are therefore reflected in the batch.
Each actively processed image is opened in Photoshop, compressed and exported, then closed without saving changes to the source document. Using a separate export folder keeps the derivative outputs easy to distinguish from the originals.
Set boundaries for quality, dimensions, and already-small files
The reduction percentage defines the objective. The optional controls define how the plugin is allowed to pursue it.
Use a minimum quality to limit compression
Enable Never Compress Below This Quality if you do not want the automatic search to keep lowering quality simply to reach a smaller file. The setting accepts an integer from 0 through 100.
For example, you can request a 75% reduction while setting a minimum Quality of 75. The plugin searches within the permitted quality range rather than intentionally continuing below that floor.
If the target cannot be reached within those limits and adaptive downscaling is disabled, the closest permitted result is retained. It may be larger than the requested target. The quality boundary takes priority over forcing the filesize objective.
Allow downscaling only when compression quality is insufficient
Enable Downscale Images If Necessary when you are willing to trade some resolution for a smaller file, but only as a second step.
The plugin first tries compression quality at the original dimensions. Downscaling is considered only if the lowest allowed quality still produces a file above the accepted target range. It then holds that quality and searches for a suitable proportional image scale.
A setting of 0.5x maximum means the plugin may search between 1x and 0.5x. It does not mean every image will be resized to half its dimensions. An image might remain at full size, or the search might discover that a scale such as 0.82x is sufficient.
At the 0.5x boundary, a 4000 × 3000 image would become 2000 × 1500. Both dimensions change proportionally, preserving the aspect ratio. The permitted factor range is 0.01x through 0.99x.
Exclude sources that are already below your threshold
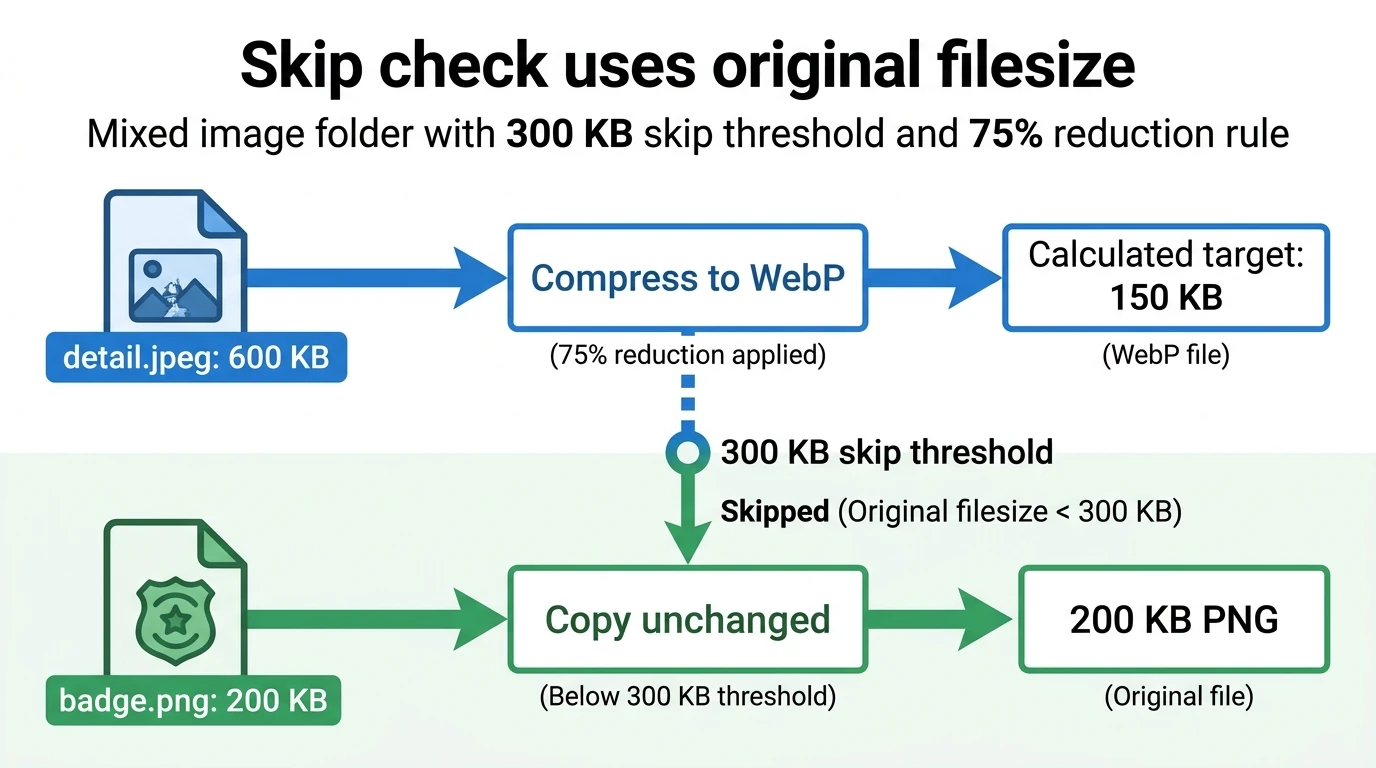
Skip Images Already Smaller Than is useful when a folder contains a mixture of large files and assets that are already small enough. For example, a 300 KB threshold bypasses sources smaller than 300 KB.
These files are not recompressed. Their originals are copied unchanged into the export folder, retaining their original format, filename, and dimensions. They do not use the dynamic compressed-output filename pattern.
This is an exception to the percentage-reduction workflow: skipped files receive no reduction at all. Enable the threshold when preserving already-small files matters more than compressing every source.
See how one percentage handles a mixed-size folder
Consider a batch configured for WebP output with a 75% reduction, a minimum Quality of 75, adaptive downscaling permitted as far as 0.5x, and a skip threshold of 300 KB.
The plugin evaluates each source independently:
- hero.tif, originally 12 MB, receives a target of approximately 3 MB.
- product.png, originally 3 MB, receives a target of approximately 0.75 MB.
- detail.jpeg, originally 600 KB, receives a target of approximately 150 KB.
- badge.png, originally 200 KB, is copied unchanged because it is below the 300 KB skip threshold.
Notice that detail.jpeg still enters the compression workflow. The skip decision is based on its original 600 KB filesize, not its calculated 150 KB output target.
For the three processed files, quality calibration happens first. Any image that reaches its accepted target range through quality adjustment alone keeps its original pixel dimensions. Adaptive downscaling is available only for an image whose lowest permitted quality still produces an oversized result.
The output folder can consequently contain compressed WebP derivatives alongside the unchanged badge.png. If your requirement is to convert every source into the selected output format, leave the skip setting disabled.
These numbers describe the calculated targets, not guaranteed final file sizes. The final quality, scale, and encoded size depend on each source and the boundaries you have chosen.
Verify the reduction without expecting byte-perfect results
Target Reduction % treats a result within ±10% of the calculated target filesize as successful. That tolerance applies to the target size, not directly to the requested reduction percentage.
For example, a 4 MB source with a requested 75% reduction has a 1 MB target. Its accepted output range is approximately 0.9 MB to 1.1 MB. Those endpoints represent actual reductions of approximately 77.5% and 72.5%, respectively.
Encoded filesize is not continuously adjustable to any arbitrary byte count. JPEG is particularly constrained because the interface’s 0–100 quality scale maps onto Photoshop’s discrete native quality levels from 0 through 12.
If no tested quality or permitted downscale configuration reaches the accepted range, the plugin saves the closest legal result it discovered. A target is therefore an optimization goal, not a promise that every output will have exactly the calculated size.
To check an individual result, compare the original and output file sizes:
Actual reduction percentage = (original filesize − output filesize) ÷ original filesize × 100.
For easier inspection, add {save-quality}, {downscale-factor}, or {width}x{height} to the filename format alongside {image-filename}. These components report the actual selected quality, final scale, and output dimensions. A filename can show that an image used 0.82x, for example, even though you allowed downscaling as far as 0.5x.
Also inspect representative outputs visually, especially sources that were already heavily compressed or required resizing. A numerical quality floor limits the search, but your own review determines whether the results are suitable for their intended use.
Save the percentage workflow for the next folder
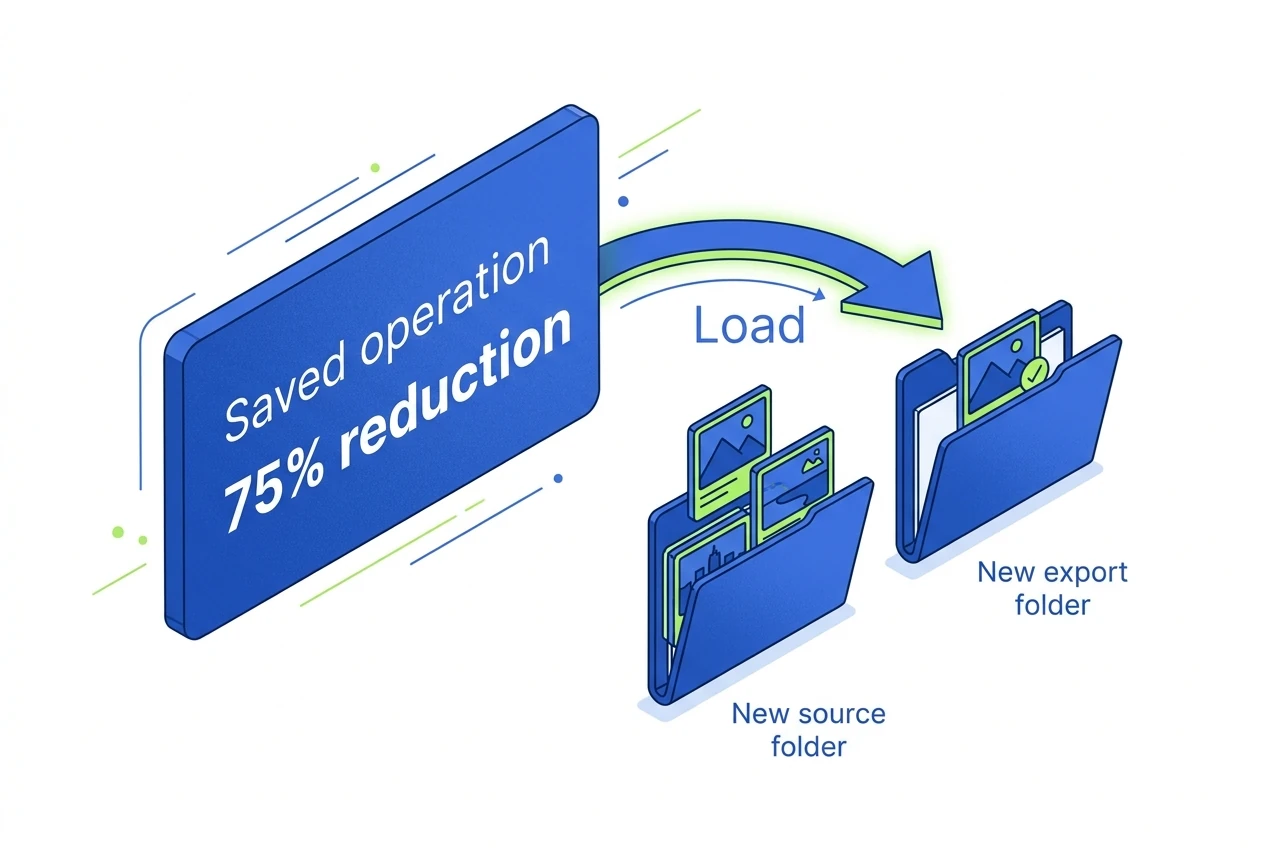
Once a configuration produces useful results, give it an Operation Name and click Save. Bulk Image Compressor stores the operation locally, including the selected folders, reduction percentage, output format, quality floor, downscaling allowance, skip threshold, and filename components.
For a later job, select the saved operation and click Load to restore the configuration. If the job uses a different source or destination, select the appropriate folders before running it.
The saved operation preserves your compression strategy, not a fixed list of old targets. Each new source still receives a target calculated from its own original filesize, and its compression settings are calibrated individually. A 75% reduction workflow remains proportional whether the next folder contains relatively small images or much larger files.
To put this into practice, install Bulk Image Compressor through Adobe Exchange, choose Target Reduction %, and test your preferred settings on a representative folder. You can then save the setup and replace repeated per-image filesize calculations and export experiments with one reusable, original-size-based batch workflow.