How To Bulk Resize Images To The Optimal Pixel Dimensions For Facebook Feed Posts

A practical starting set for Facebook feed images is 1080 × 1350 pixels for portrait posts, 1080 × 1080 pixels for square posts, and 1200 × 630 pixels for wide landscape posts. The right choice depends on the composition: a portrait photograph, a square promotional graphic, and a wide announcement banner should not automatically receive the same dimensions.
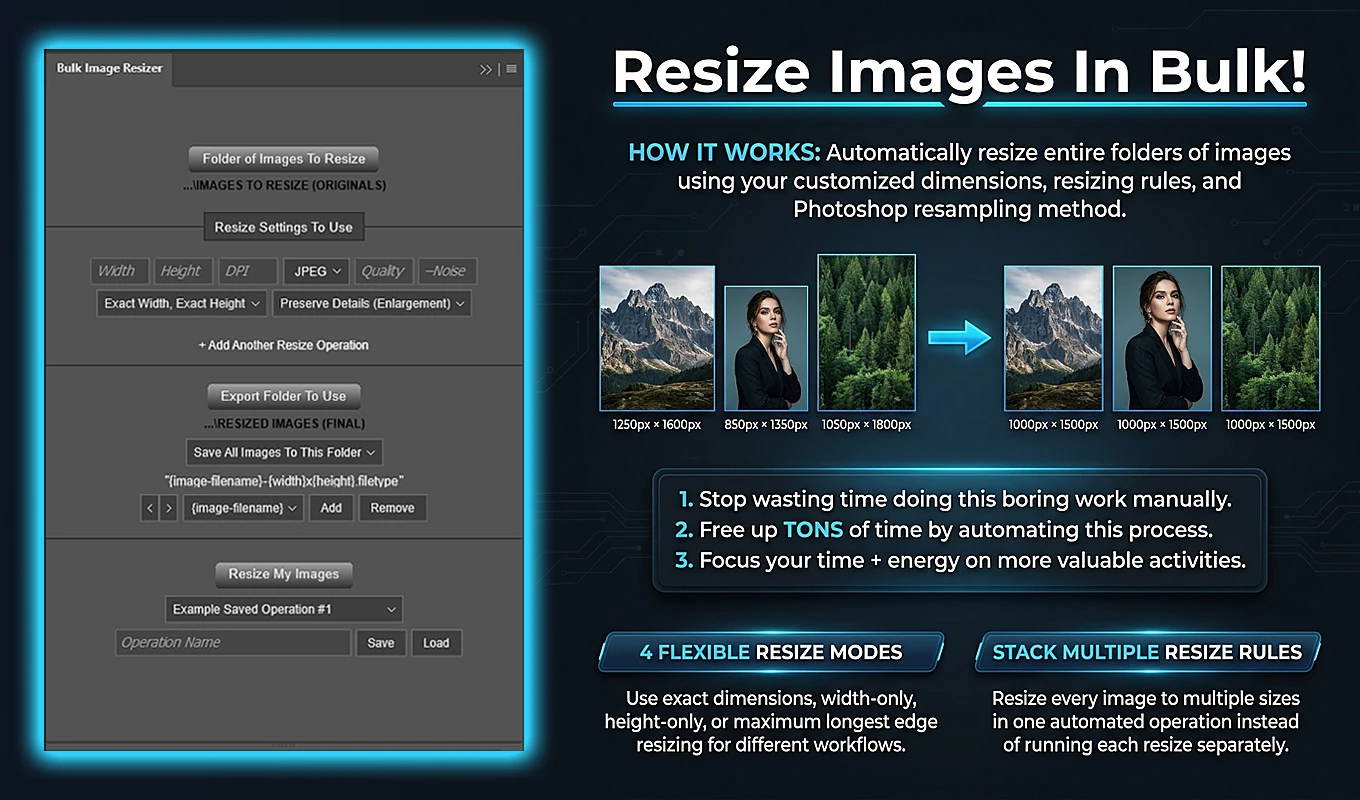
To prepare those sizes in bulk, first organize images by their intended shape, then apply the matching resizing settings across each folder. Bulk Image Resizer: Automated Batch Resizing is a Photoshop plugin that automates the resizing, exporting, naming, and output organization. The important distinction is that it resizes images; it does not crop them into new compositions.
Choose a Facebook feed size by the shape of the post
There is no single pixel size that is optimal for every Facebook feed image. For ordinary still-image posts, these are useful production targets rather than mandatory upload dimensions:
- Portrait: 1080 × 1350 pixels, with a 4:5 aspect ratio. A useful choice for vertical photographs, product features, and promotional designs that benefit from more vertical space in a mobile feed.
- Square: 1080 × 1080 pixels, with a 1:1 aspect ratio. A straightforward choice for square artwork, product graphics, announcements, and consistently shaped campaign assets.
- Wide landscape: 1200 × 630 pixels, approximately 1.91:1. A useful choice for wide compositions, horizontal announcement graphics, and images with side-by-side content.
At the same displayed width, a 4:5 image occupies more vertical space than a square or wide image. That can make portrait layouts useful for mobile viewing, but only when the subject and design suit the shape. Stretching a horizontal photograph into a portrait rectangle does not make it a better feed post.
Other proportions can also be appropriate. A 3:2 photograph exported at 1200 × 800 pixels preserves its original composition, for example. You do not need to force every photo into one of the three shapes above unless your campaign or publishing requirements call for it.
These recommendations concern uploaded feed photos. Page covers, Stories, Reels, link previews, and specific advertising placements are separate deliverables. If a publishing brief specifies different dimensions, use that requirement instead of treating one feed preset as universal.
Protect the composition before forcing exact dimensions
The most important technical decision is whether you need an exact output rectangle or need to preserve the photograph’s existing proportions.
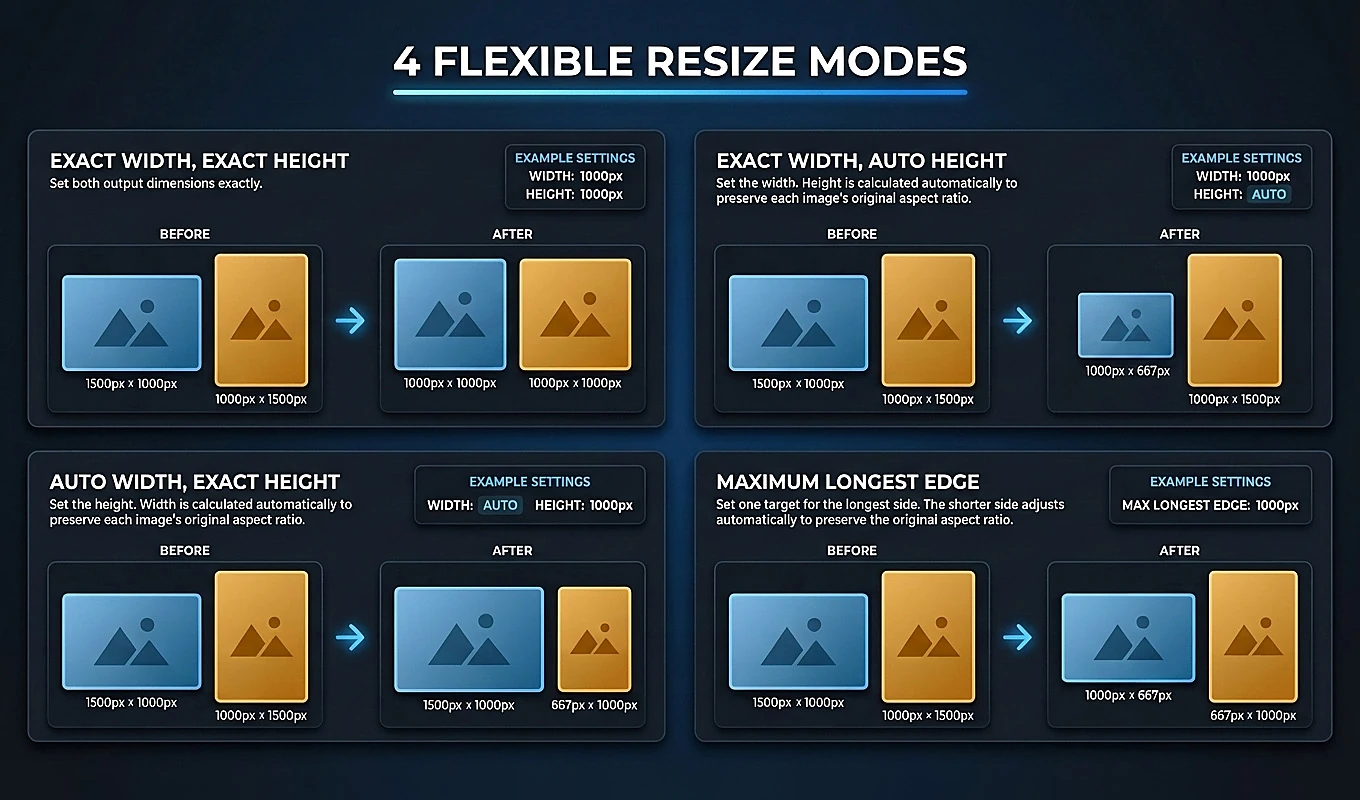
Consider a 3000 × 2000-pixel landscape photo. Resizing it directly to 1080 × 1350 pixels changes its aspect ratio from 3:2 to 4:5. Because Bulk Image Resizer is not a cropping tool, Exact Width, Exact Height meets those dimensions by changing the image’s proportions. People, packaging, and logos can appear stretched or compressed.
You have two sensible paths:
- If the post must be 1080 × 1350, prepare a 4:5 composition first. Crop a working copy in Photoshop, or place the complete photograph within a deliberately designed 4:5 canvas. Then batch resize that prepared artwork.
- If the whole photograph should retain its existing shape, use proportional resizing. Exact Width, Auto Height set to 1080 pixels would turn that 3000 × 2000 image into 1080 × 720 pixels without distortion.
Exact sizing is therefore useful when your source artwork already has the intended aspect ratio. A 2160 × 2700 design scales cleanly to 1080 × 1350 because both are 4:5.
Make the composition decision before running the batch. Automation can repeat a correct sizing decision across hundreds of images, but it cannot decide which parts of a photograph should be cropped away.
Prepare source folders that match the intended outputs
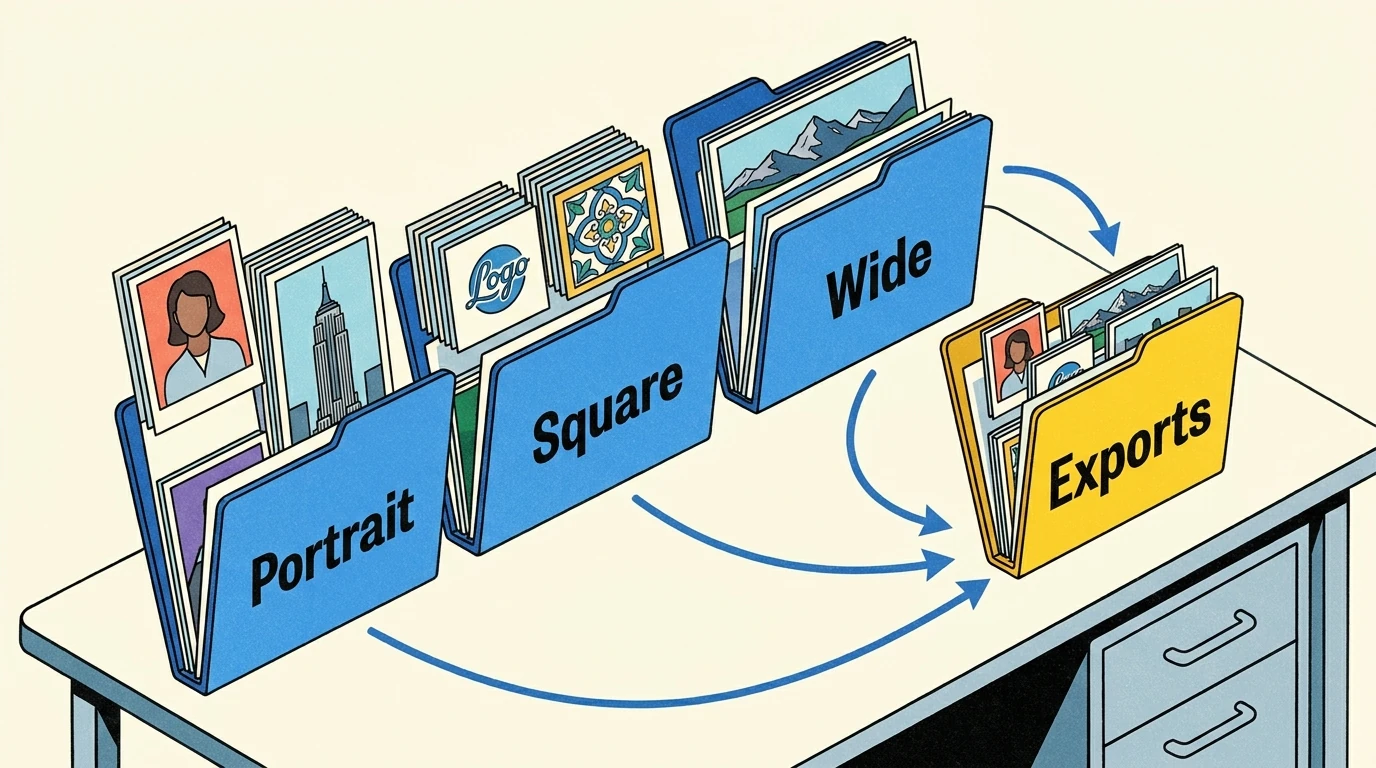
For a campaign containing several post shapes, create separate working folders for portrait, square, and wide artwork. Each folder should contain images prepared for its corresponding aspect ratio.
This makes the batch configuration simple: one folder, one intended shape, one matching resize rule. It also prevents a square design from accidentally receiving portrait dimensions.
Before processing, check that:
- The source images have enough pixels for the intended output. Reducing a larger, sharp source is generally preferable to enlarging a small, blurry one.
- Any necessary cropping or canvas layout has already been completed on working copies.
- The images to process are directly inside the selected source folder. Bulk Image Resizer does not recursively discover images inside nested subfolders.
- The export location is separate from the source folder, keeping finished deliverables distinct from working files.
The plugin reads the current folder contents when the operation starts, rather than relying on a file list captured when you first selected the folder. Finish adding or removing campaign assets before clicking Resize My Images.
Your source files remain unchanged by the resizing operation: the plugin exports resized copies and closes the source documents without saving the resizing changes.
Set image quality for the feed, not for print
Choose JPEG or PNG according to the artwork
For photographs, JPEG is a practical starting format. Try a Quality value of 85 or 90, inspect a representative export, and adjust if necessary. Those are starting settings, not a guarantee of a particular file size or appearance after Facebook processes the upload.
Look closely at hair, foliage, fine texture, gradients, and text embedded in photographs. Compression problems may be less noticeable in a small preview than at the exported image’s actual pixel size.
PNG can be useful for graphics with crisp lettering, flat colors, and hard edges. Its Quality control behaves differently in Bulk Image Resizer: it adjusts lossless PNG compression, not JPEG-style visual quality. A higher Quality value corresponds to lower PNG compression, so it is not necessary to choose 100 merely to preserve the pixels.
A lossless PNG export also does not guarantee that Facebook will leave the uploaded file untouched. Review the uploaded result when image clarity is especially important.
Choose resampling for reduction or enlargement
When reducing larger source artwork to feed dimensions, Bicubic Sharper (Reduction) is a sensible Photoshop resampling choice to test. Bulk Image Resizer passes the selected method to Photoshop’s resizing functionality.
If enlargement is unavoidable, Preserve Details (Enlargement) or Preserve Details 2.0 provides a Reduce Noise setting. Judge the result on a sample image rather than assuming that stronger noise reduction always produces a better post. Resampling cannot recover genuinely missing source detail.
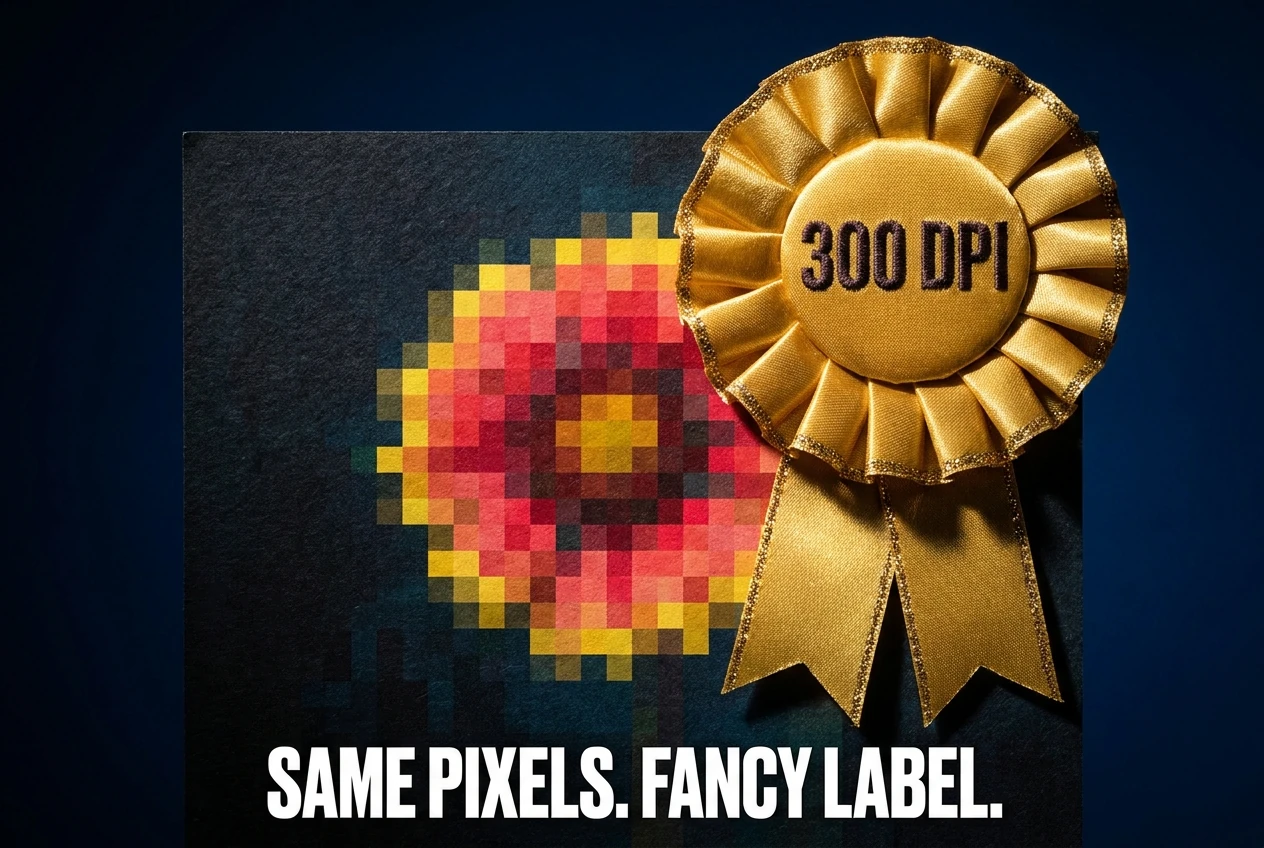
For DPI, a routine value such as 72 is sufficient for this screen-delivery workflow. At the same pixel dimensions, changing an image from 72 DPI to 300 DPI does not make the Facebook post sharper. The important requirements are the pixel dimensions, the quality of the source, and the exported image—not a print-resolution label.
Make every exported Facebook version easy to identify
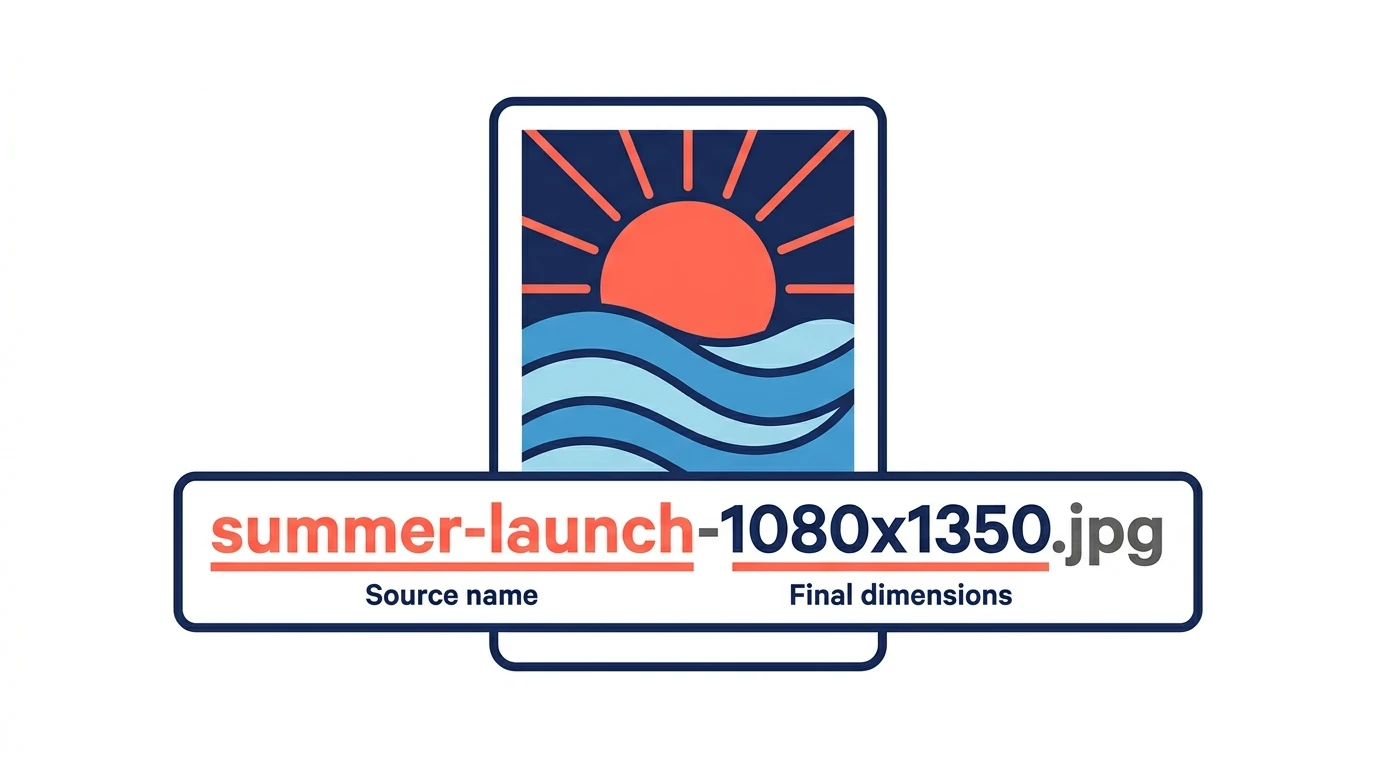
A finished image is less useful if nobody can tell which version it is. Include both the source name and the final dimensions in your output filenames.
In Bulk Image Resizer’s filename-format builder, use {image-filename} followed by {width}x{height}. The components are joined with a hyphen, and the plugin supplies the appropriate extension. A source named summer-launch.psd could produce summer-launch-1080x1350.jpg.
The dimension component uses the actual final output dimensions. That matters when you use proportional resizing, because different source proportions can produce different heights or widths.
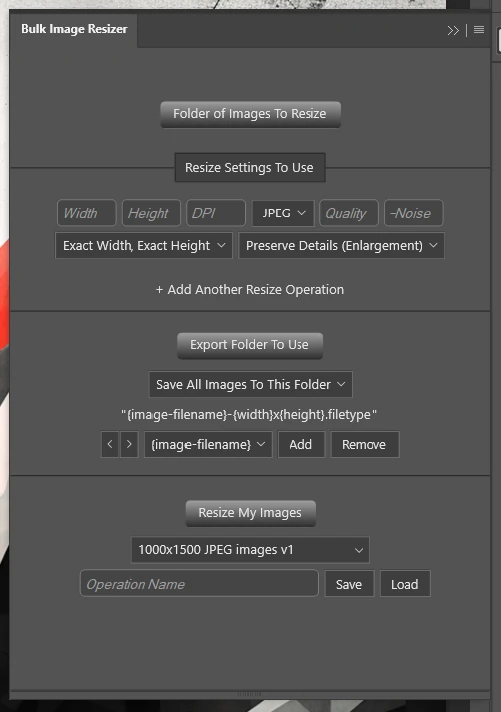
For a single-size batch, Save All Images To This Folder keeps the export structure straightforward. When generating several variants from the same sources, Create A Subfolder For Each Resize Rule groups each output variant separately. That makes it easier to hand off the correct size without searching through mixed exports.
The plugin also handles filename collisions by adding numbered suffixes rather than blindly overwriting an existing output. Even so, using a fresh campaign export folder helps prevent an older version from being mistaken for the current approved asset.
Run the Facebook resizing batch in Photoshop
Install Bulk Image Resizer: Automated Batch Resizing through Adobe Exchange or the Creative Cloud plugin marketplace, then open it from Photoshop’s Plugins menu.
For a folder of prepared 4:5 artwork, the following configuration produces portrait Facebook feed exports:
- Click Folder of Images To Resize and select the folder containing the prepared portrait sources.
- Under Resize Settings To Use, choose Exact Width, Exact Height.
- Enter Width 1080 and Height 1350.
- Enter a DPI value, such as 72, and choose Bicubic Sharper (Reduction) if you are reducing larger sources.
- Choose JPEG and enter a starting Quality value, such as 90.
- Click Export Folder To Use and select the destination. Choose the folder organization and filename components you want.
- Click Resize My Images to validate the configuration and begin processing.
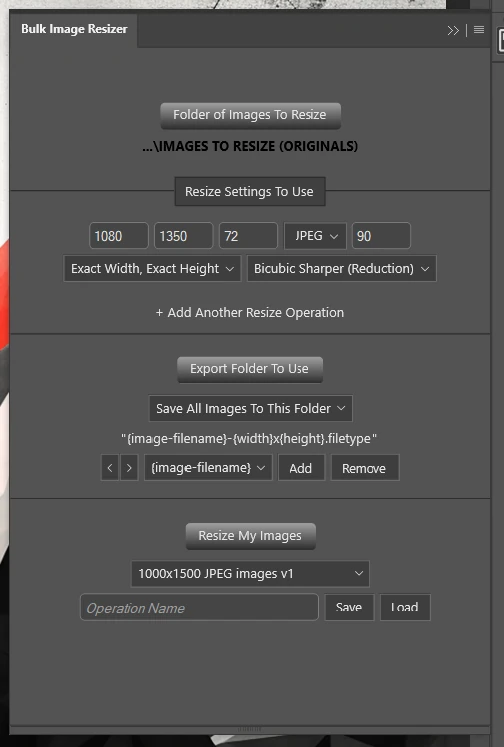
For square artwork, substitute 1080 × 1080. For prepared wide artwork, substitute 1200 × 630. Keep the rest of the settings consistent when the source type and delivery requirements are the same.
If you are preserving existing proportions instead, choose Exact Width, Auto Height and enter the required width. Auto Width, Exact Height does the corresponding job when height is the controlling requirement.
Maximum Longest Edge is useful for mixed-orientation photographs when you want the same long-side dimension rather than one fixed canvas shape. However, it sets the longest side to the specified value; it is not a downscale-only limit. Smaller images can be enlarged.
For the first batch, test the configuration on a small folder of representative copies before selecting the full campaign folder. During processing, the progress display counts resize/export operations. Cancel Operation or the Escape key can stop the batch between operations, although Photoshop may need to finish its current command first.
Once the settings are correct, give the configuration an operation name and click Save. Saved operations retain the rules, folders, output organization, and filename format. When loading one for a later campaign, confirm the input and export folders before running it.
Worked example: 60 campaign images in three feed formats
Suppose a retailer has 60 approved campaign assets, already composed for three Facebook feed shapes:
- 24 portrait designs at 2160 × 2700 pixels.
- 20 square designs at 2160 × 2160 pixels.
- 16 wide designs at 2400 × 1260 pixels.
Each group is exactly twice its intended delivery dimensions. Put the three groups into separate source folders and run one matching rule on each folder:
- Portrait batch: resize the 24 portrait files to 1080 × 1350 pixels.
- Square batch: resize the 20 square files to 1080 × 1080 pixels.
- Wide batch: resize the 16 wide files to 1200 × 630 pixels.
For photographic campaign artwork, you might begin with JPEG Quality 90, Bicubic Sharper (Reduction), and 72 DPI across all three batches. Use filenames containing the source name and final dimensions.
The result is 60 exports across three batch runs. Because each source group already matches its target aspect ratio, the resizing does not need to alter the proportions.
Compare that with manually opening 60 files, entering dimensions, exporting, naming, and closing each one. The plugin handles those repeated operations after the settings have been defined. Your attention stays on whether the compositions and exported quality are appropriate.
Do not put all 60 files into one folder and add all three exact-dimension rules unless you genuinely want every source converted into every shape. That would generate 180 outputs, including versions whose proportions may be wrong.
Add multiple resize rules only when the source can support them
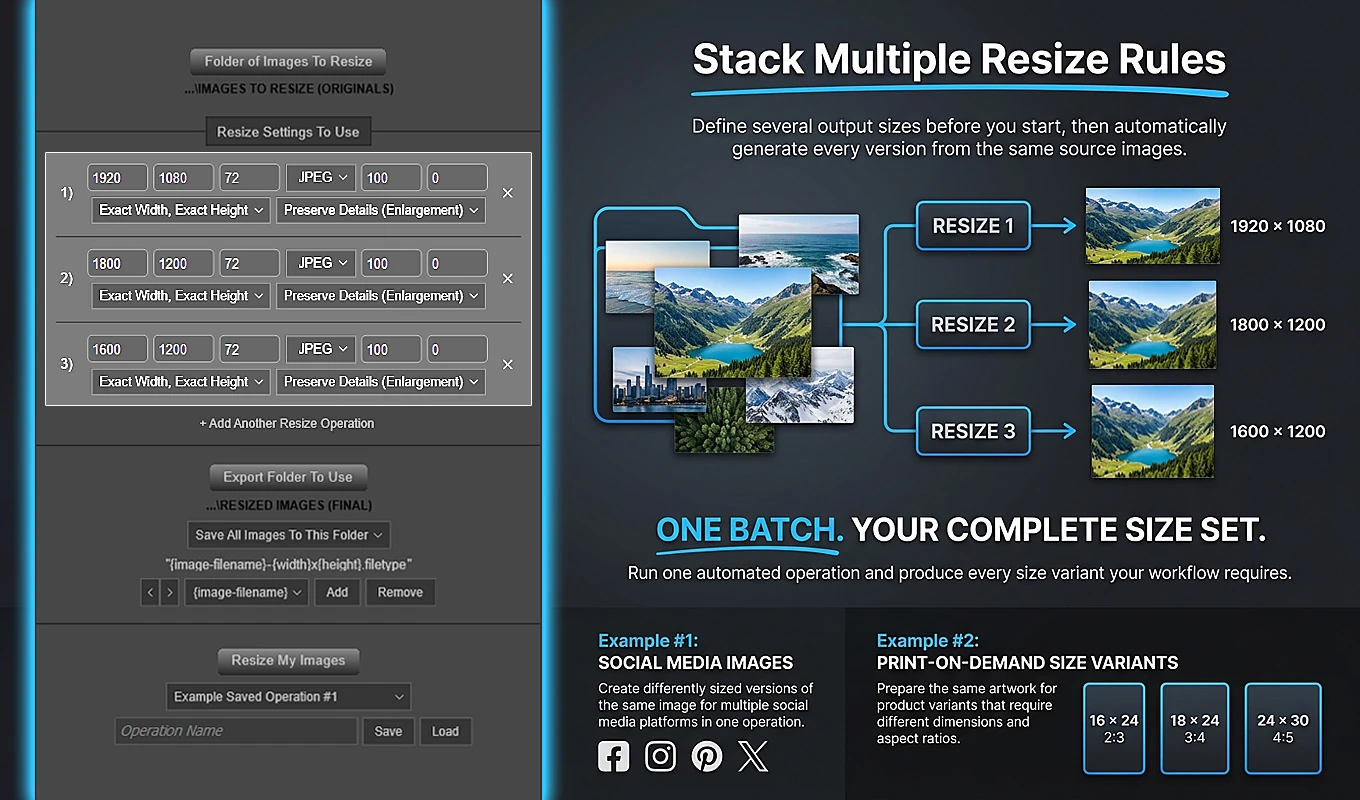
Bulk Image Resizer can apply several resize rules during one run, but every configured rule is applied to every supported source image. Stacking rules does not automatically route portrait images to a portrait rule and square images to a square rule.
Multiple rules work especially well when one prepared composition needs several sizes with the same aspect ratio. For example, a 2160 × 2700-pixel portrait source could generate:
- A 1080 × 1350 JPEG for the standard campaign delivery.
- A 1440 × 1800 JPEG if a separate publishing brief requests a larger 4:5 version.
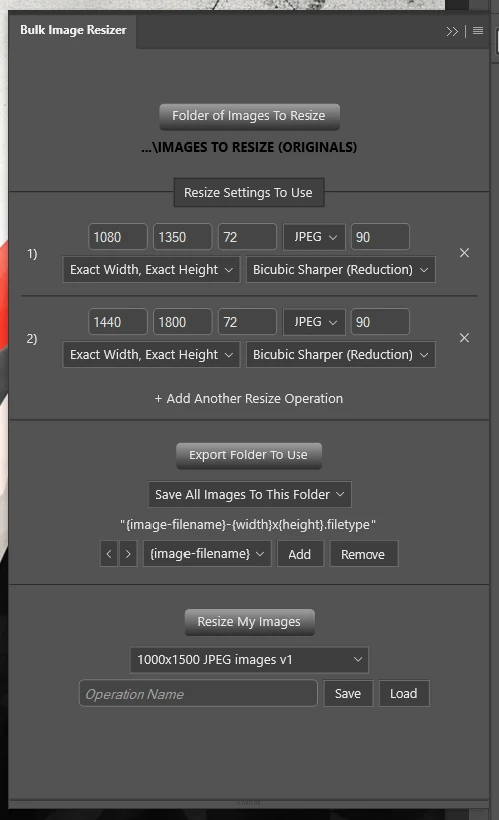
Both outputs preserve the source’s proportions. The larger version is an additional deliverable, not something every Facebook post automatically needs.
You can also give each rule its own export format and quality setting when the handoff genuinely requires different file variants.
Importantly, the second rule is not applied to the already-resized output from the first. Each standard resize rule starts from the original source-document state. The 1440 × 1800 version is therefore not created by enlarging the 1080 × 1350 export, avoiding unnecessary successive resampling.
Use stacked rules to create useful variants, not to manufacture extra files. If different outputs require different crops or layouts, prepare those compositions separately before resizing.
Review the finished files and check the Facebook upload
When the batch finishes, the export folder should contain clearly named files in the intended dimensions. Before handing them off or publishing, inspect representative images from each output group.
- Confirm the pixel dimensions and aspect ratio.
- Check that faces, products, and logos have not been stretched or compressed.
- Inspect small text and fine details at the exported image’s actual size.
- Confirm that any preparatory crop retained important subjects and messaging.
- Make sure the selected files are the current exports, not older versions or high-resolution working masters.
Then upload representative files to the Facebook post composer and inspect the preview before publishing. Check mobile and desktop presentation when practical, especially for graphics containing important text. Facebook may process uploaded images, and presentation can vary by viewing context, so a correct local export is the starting point rather than a substitute for a final preview.
Once the sample looks right, keep the approved settings as a saved operation. Bulk Image Resizer can then repeat the resizing, exporting, naming, and organization for the next folder of Facebook content—while you focus on choosing the right composition and confirming that the finished post looks right.