How To Prepare An Entire Folder Of Images For Platforms With Maximum Filesize Restrictions
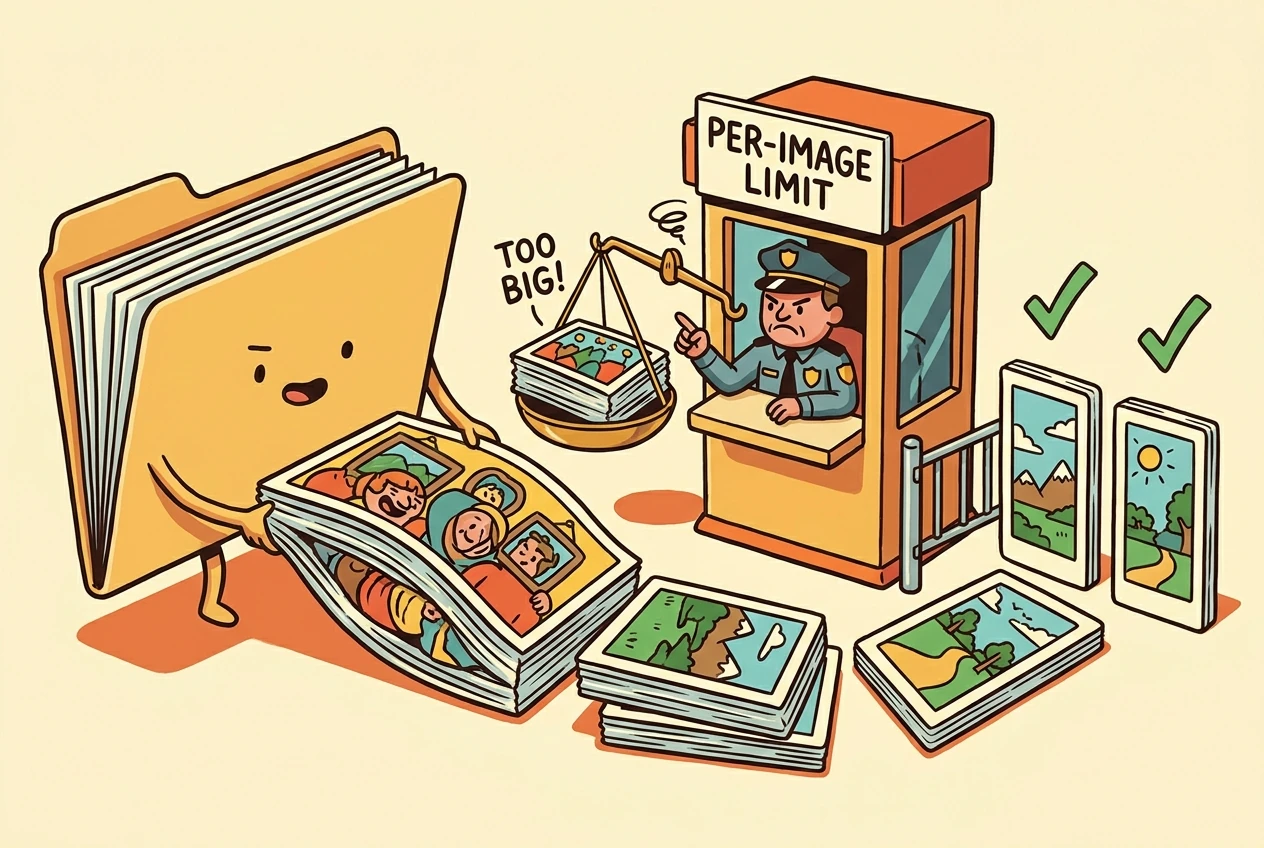

Preparing images for a platform with a maximum filesize is not simply a matter of making the folder smaller. Every image must satisfy the individual upload limit, use an accepted format, and remain usable at the required dimensions. One oversized file can still interrupt an otherwise ready batch.
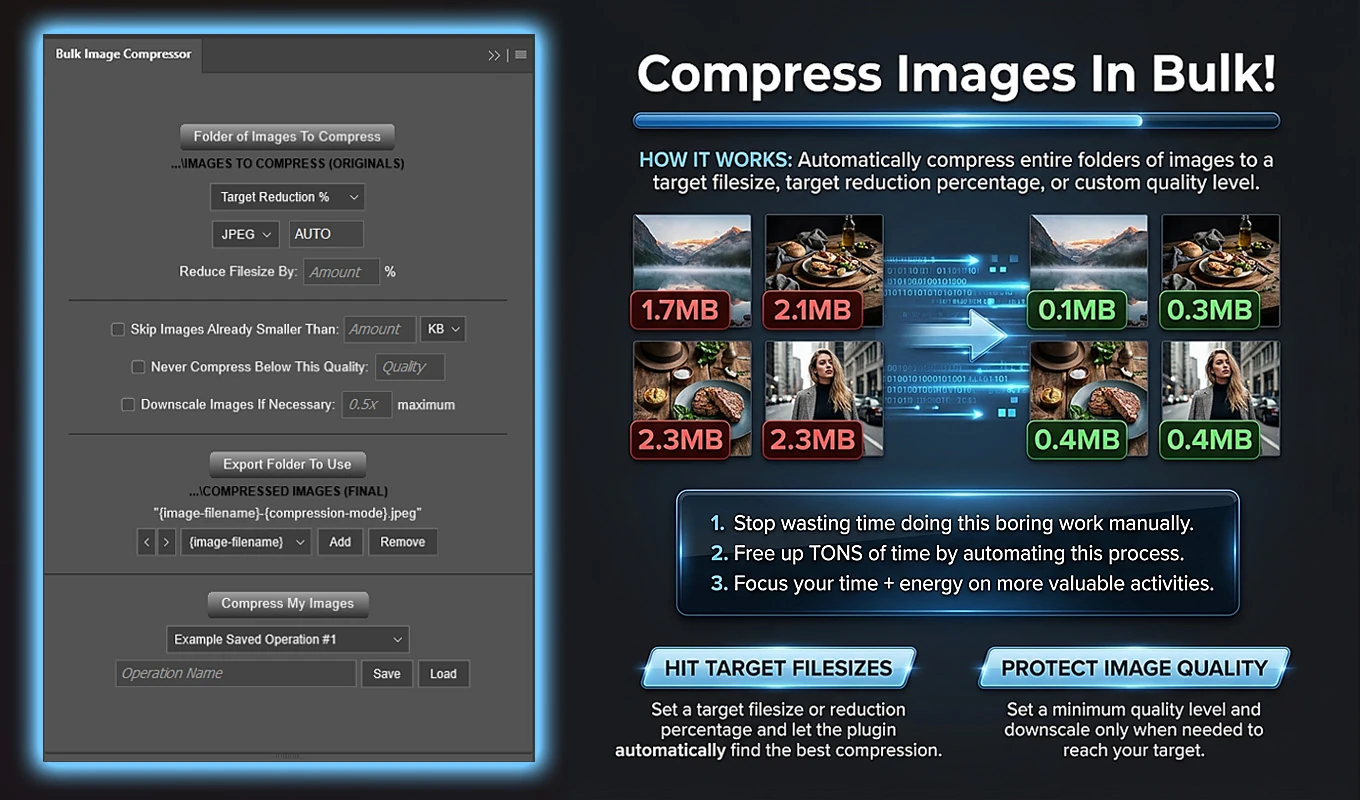
In Photoshop, Bulk Image Compressor: Batch-Reduce Filesizes provides an automated way to do most of the repetitive preparation. Use its Target Filesize mode to calibrate each image individually, leave headroom below the platform’s maximum, and check the exported files before uploading. That last check matters because a compression target is not the same thing as a guaranteed filesize ceiling.
1. Turn the Platform’s Upload Rules Into a Clear Specification
Before opening Photoshop, establish exactly what the destination accepts. A short specification prevents you from compressing an entire folder successfully only to discover that the files still fail another requirement.
- Maximum filesize per image, preferably expressed in exact bytes.
- Accepted image formats and filename extensions.
- Any minimum or maximum pixel dimensions.
- Whether transparency needs to be preserved.
Pay particular attention to how the platform defines KB and MB. A limit labeled “1 MB” might represent 1,000,000 bytes or 1,048,576 bytes. When documentation provides an exact byte limit, use that number rather than relying on a rounded label.
Keep the specification visible while configuring the batch. The goal is not merely “smaller JPEGs.” It might be “JPEG files below 500,000 bytes, with dimensions of at least 1600 × 1200 pixels.” That is a much more useful production requirement.
2. Build a Safety Margin Below the Maximum Filesize
Bulk Image Compressor’s Target Filesize mode aims for a range within ±10% of the requested target. This is appropriate for practical image compression, where quality settings do not provide precise control over every output byte. However, a platform enforcing a hard maximum will not necessarily accept the upper end of that range.
For example, a 500 KB target in the plugin equals 512,000 bytes because its units use 1024 bytes per KB. A result 10% above that target would be 563,200 bytes. Neither figure is suitable for a platform that permits no more than 500,000 bytes.
A useful sizing rule is to keep 1.10 × target bytes below the platform’s maximum permitted bytes. Then allow additional room if you want a more conservative starting point.
For a 500,000-byte maximum, consider a target of 400 KB:
- 400 KB in the plugin equals 409,600 bytes.
- The accepted target range is 368,640 through 450,560 bytes.
- That entire range sits below the platform’s 500,000-byte ceiling.
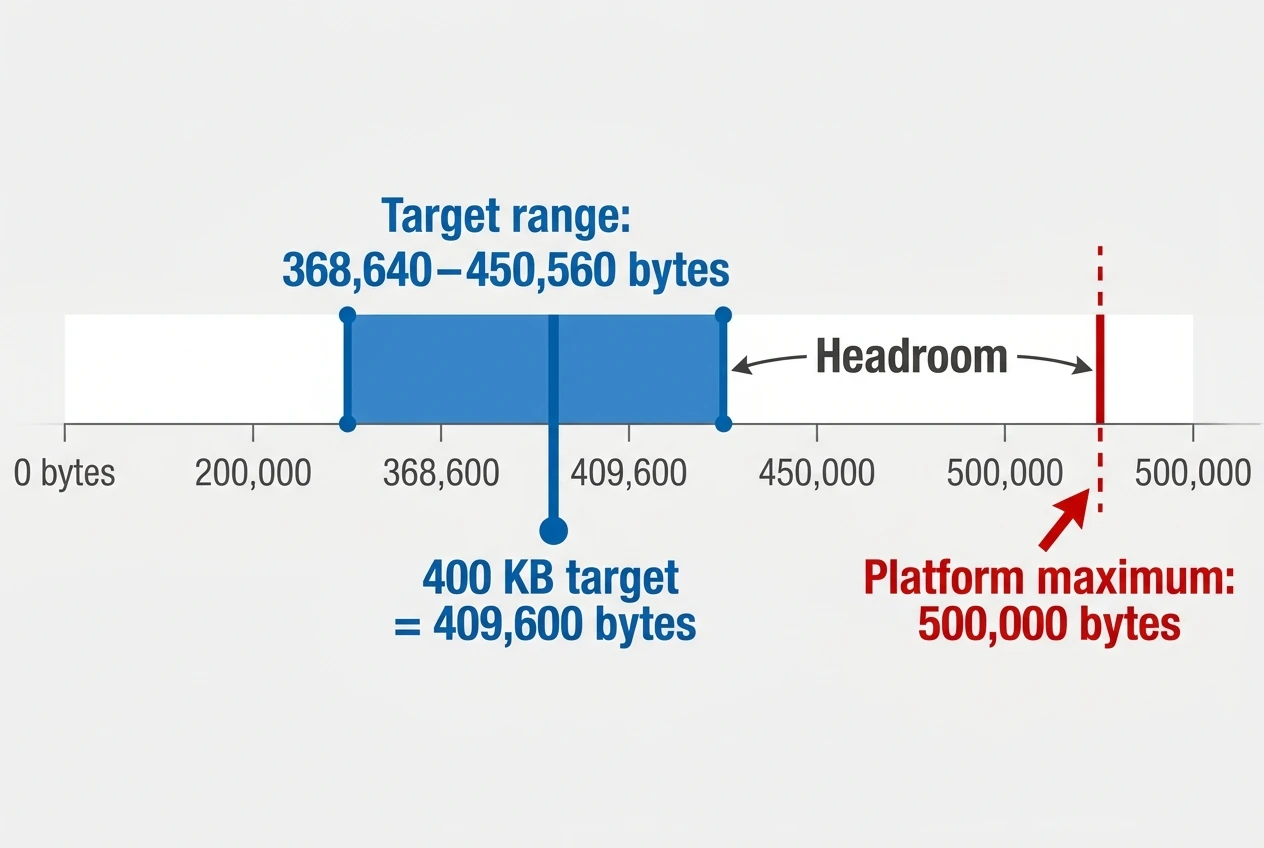
This margin accommodates the normal target tolerance. It is not an absolute guarantee: if the target cannot be reached within your permitted quality and scaling settings, the plugin saves the closest result it discovered within those constraints. You must still verify the final files.
3. Stage the Source Images and Create a Separate Export Folder
Place the intended source images directly inside one input folder. Bulk Image Compressor processes supported files in the selected directory; it does not recursively collect images from nested subfolders.
If your images are distributed across several subfolders, gather the intended sources into a preparation folder or process those folders separately. Unsupported filetypes are ignored, so do not assume every item in a mixed directory will produce an output.
Create a separate, preferably empty, export folder for the upload-ready results. Keeping sources and exports apart makes it easier to count the outputs, identify exceptions, and avoid accidentally feeding previously compressed derivatives into a future run.
The plugin reads the current source-folder contents immediately before processing begins. Files added after you originally selected the folder can therefore be included when you start the operation.
4. Use Target Filesize for a Shared Per-Image Upload Limit
For a platform that applies the same filesize ceiling to every image, select Target Filesize. Enter your conservative target amount and choose KB or MB. Quality will display AUTO because the plugin determines an appropriate setting separately for each processed image.
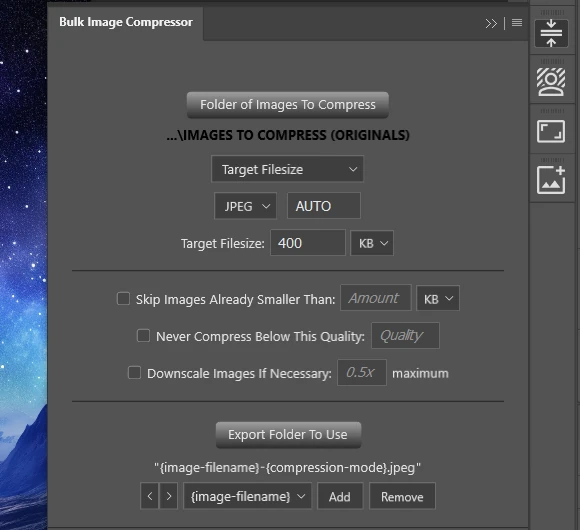
The other compression modes solve different problems:
- Target Reduction % calculates a goal relative to each original file. A 75% reduction gives a 4 MB source an approximately 1 MB target, but a 20 MB source an approximately 5 MB target. Those different targets do not enforce one shared upload limit.
- Standard Compression applies one selected quality across the batch. It is useful when quality is the requirement, but the same quality setting does not produce the same filesize for every image.
Target Filesize directly matches the upload problem: different source images, one common size goal. Your safety margin converts the platform’s hard maximum into a practical compression target.
5. Choose a Format the Platform Actually Accepts
Bulk Image Compressor creates compressed JPEG or WebP outputs. Its broader source-format support does not mean it exports compressed files in all those formats. For example, a PNG or PSD source can become JPEG or WebP, but PNG is not a compressed-output option.
Choose JPEG when it matches the destination’s requirements and transparency is unnecessary. JPEG output uses the .jpeg extension and does not preserve alpha transparency.
Choose WebP only when the platform accepts it. The plugin uses lossy WebP compression, and WebP can retain transparency where the image and Photoshop’s export pathway support it. Its output extension is .webp.
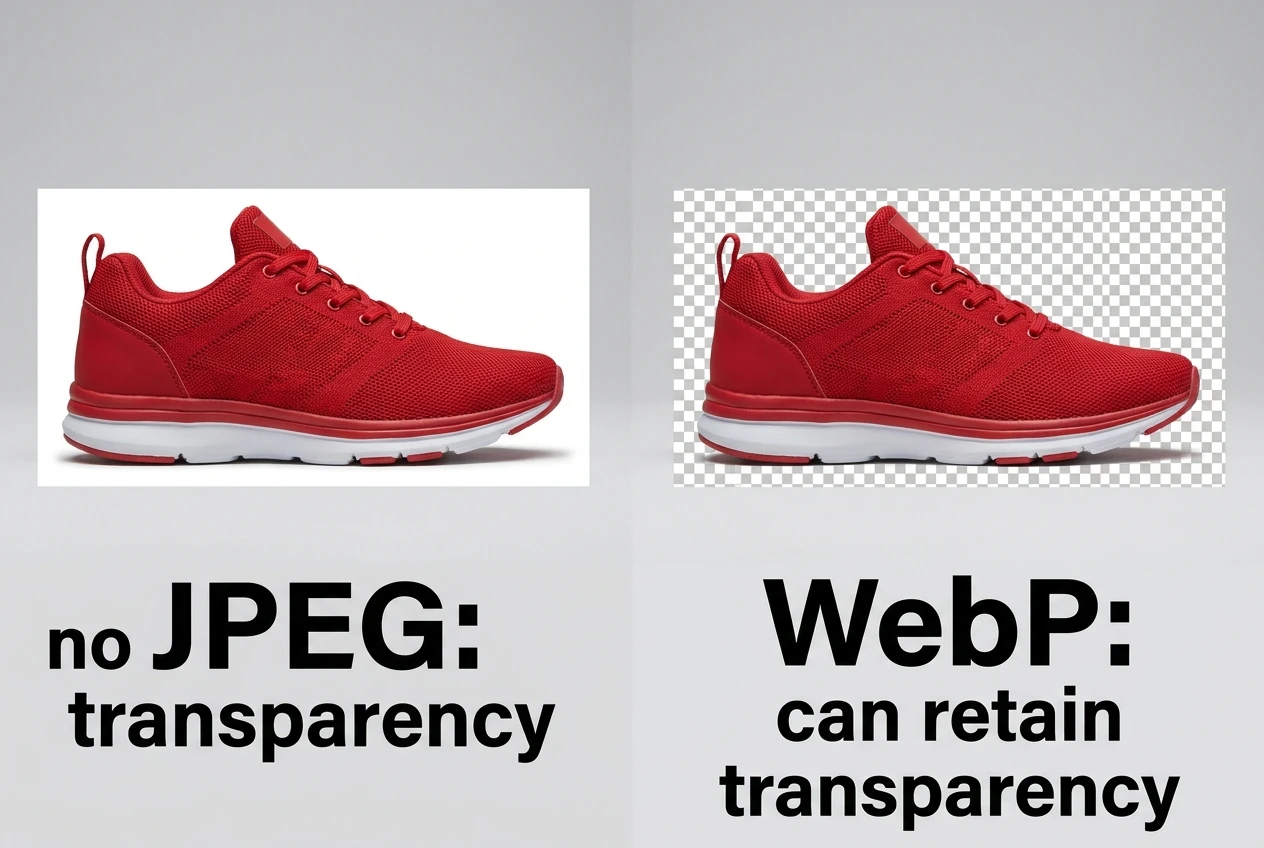
Confirm format and extension acceptance before processing the full folder. Reducing a file below the size cap does not make an unsupported format uploadable, and choosing JPEG for a transparent asset changes an important property of the image.
6. Understand Why Each Image Gets Its Own Quality Search
A simple image and a highly detailed photograph can produce very different filesizes at the same quality. Bulk Image Compressor therefore does not assign one generic quality to every file in Target Filesize mode.
Instead, it calibrates each non-skipped image using actual encoded results:
- Export a temporary candidate at a selected quality.
- Read that candidate’s actual filesize from disk.
- Compare the result with the target and narrow the quality range using binary search.
- Continue until a result reaches the accepted target range, or retain the closest permitted result discovered.
This is the repeated export-and-measure work that would otherwise have to happen manually for each difficult image. The plugin automates the experimentation while still letting you establish quality and resolution boundaries.
JPEG’s available native quality levels are discrete, which is one reason not every intermediate filesize can be produced. The target is a practical match, not a promise of byte-exact output.
7. Set a Downscaling Bound That Preserves Required Dimensions
A maximum filesize can create pressure to reduce both quality and resolution. Decide which compromises are acceptable before letting the batch run.
Protect an acceptable compression quality
In Target Filesize mode, you can enable Never Compress Below This Quality and enter a quality floor from 0–100. The plugin will not intentionally keep lowering quality beneath that configured floor simply to reach the target.
The number is an encoder setting, not a measured percentage of retained visual quality. Choose it as a working guardrail and review actual images, especially fine text, detailed textures, and important product features.
Allow resizing only within a safe range
Downscale Images If Necessary is optional. The plugin first attempts to reach the target through quality adjustment alone. Only when the lowest allowed quality still produces a file above the accepted target range does adaptive downscaling become available.
A setting of 0.5x maximum allows the search to move between the original dimensions and half the original width and height. It does not force every image to become half-size.
Base that lower bound on the platform’s dimension requirements. For a 4000 × 3000 source that must remain at least 2400 × 1800, the permitted scale must not fall below 0.6x. Check this against the smaller sources in the folder as well as the larger ones.
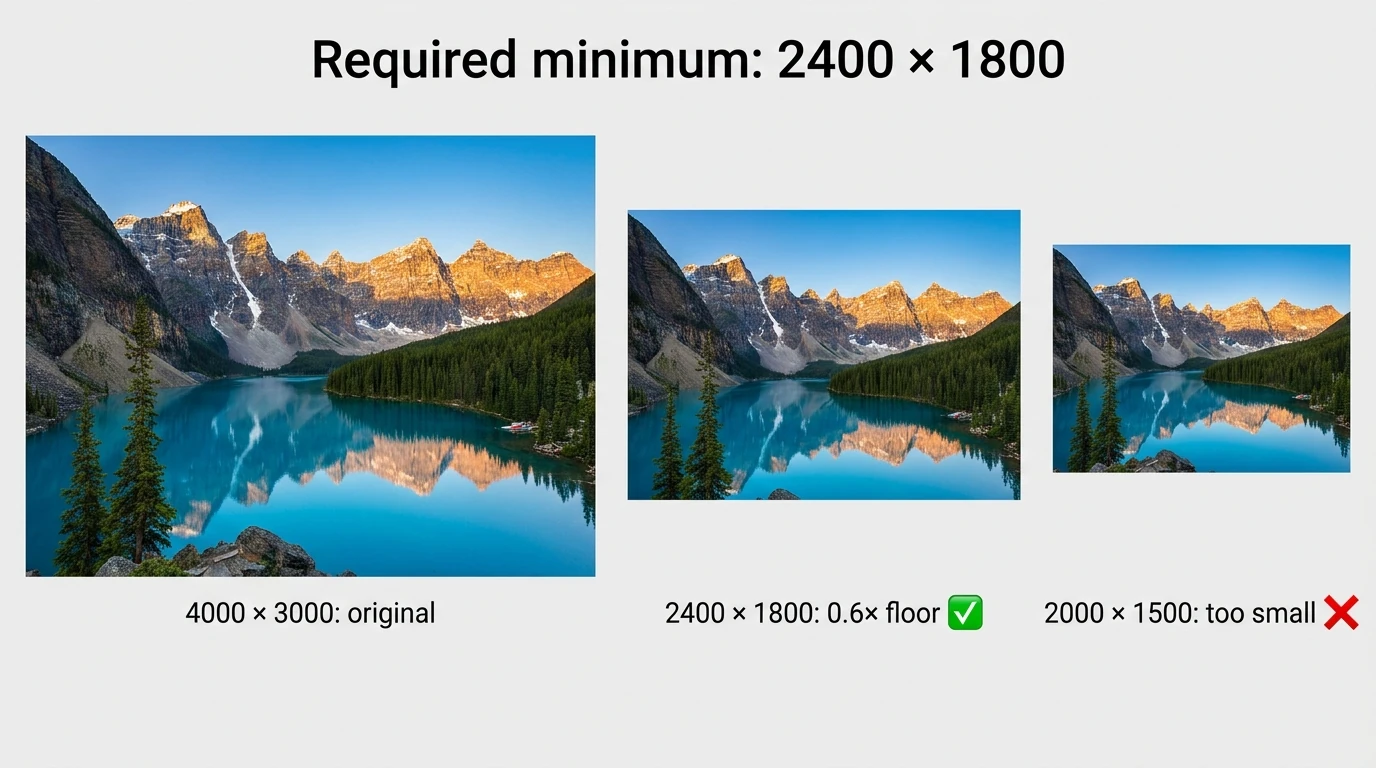
The scaling control is a relative bound, not an automatic check of the platform’s pixel requirements. Adaptive downscaling preserves aspect ratio and uses Bicubic Sharper, but you still need to confirm the resulting dimensions.
8. Decide Which Already-Small Files Should Remain Unchanged
A mixed folder may contain large images that need compression and small images that already meet every upload requirement. Those files do not necessarily need the same treatment.
Skip Images Already Smaller Than lets you define a threshold below which the original file is copied directly into the export folder without recompression. This can preserve already-optimized images and avoid unnecessary lossy processing.
Use it only when those originals are genuinely upload-ready. A skipped file retains its original encoding, dimensions, filename, and filetype. It does not become JPEG or WebP, and it does not use the compressed-output filename pattern.
For example, a 200 KB PNG might be comfortably below the size cap but still be unsuitable for a JPEG-only destination. If that PNG triggers the skip threshold, it remains a PNG in the output folder.
For a folder that needs consistent format conversion, leave skipping disabled or separate the already-compliant originals from the conversion job. When you do enable skipping, calculate the threshold in bytes just as carefully as the compression target. The skip control checks filesize; it does not validate the platform’s other rules.
9. Run the Folder-Wide Compression Pass in Photoshop
Install Bulk Image Compressor: Batch-Reduce Filesizes through Adobe Exchange or Adobe’s Creative Cloud plugin marketplace, then access it from Photoshop’s Plugins menu. With the upload specification established, configure the operation as follows:
- Click Folder of Images To Compress and select the source directory.
- Choose Target Filesize from the Compression Mode dropdown.
- Select JPEG or WebP according to the platform’s accepted formats.
- Enter the conservative target amount and its KB or MB unit.
- Configure the optional minimum quality, adaptive downscaling, and skip threshold as appropriate.
- Click Export Folder To Use and select the separate output directory.
- Keep {image-filename} in the filename format so generated files remain easy to match to their sources.
- Click Compress My Images.
The plugin validates the configuration, reads the supported source files, and handles them individually. Each non-skipped image is opened in Photoshop, processed, exported, and closed without saving changes to the original source.
During processing, the progress counter includes files copied unchanged by the skip feature. It shows completed handling, not a count of files independently certified against the platform’s rules. You can stop the batch using Cancel Operation if you notice a setup mistake.
10. Example: Prepare a Mixed Folder for a 500,000-Byte Maximum
Suppose you have 40 JPEG and PNG images, all measuring 4000 × 3000 pixels. The destination accepts JPEG, limits each file to 500,000 bytes, and requires dimensions of at least 1600 × 1200.
A reasonable first-pass configuration would be:
- Compression Mode: Target Filesize.
- Target Filesize: 400 KB.
- Export filetype: JPEG.
- Never Compress Below This Quality: 75 as an initial review setting.
- Downscale Images If Necessary: 0.5x maximum.
- Skip Images Already Smaller Than: disabled, so PNG sources also undergo JPEG conversion.
- Export folder: a new, empty review folder.
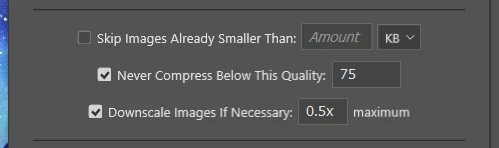
The 400 KB target leaves room for the target tolerance below the platform’s maximum. Quality 75 is an example guardrail, not a universal recommendation for every image collection.
Images that reach the target through quality adjustment retain their original dimensions. Images that require adaptive downscaling can shrink within the permitted range, but this setup does not allow them below 2000 × 1500—still above the example platform’s minimum.
This configuration handles the folder’s shared upload requirement without pretending every image will respond identically. The output review determines which files are ready and which need another decision.
11. Check the Export Folder Against the Actual Upload Cap
When processing finishes, verify the saved files rather than treating the completion message as an upload-compliance certificate.
Use your file manager’s size view to examine the exports, starting with the largest files. Where the boundary matters, inspect actual byte counts rather than rounded KB or MB labels. “Size on disk” can reflect storage allocation rather than the encoded file’s byte size, so use the actual file-size value.
Check the following before release:
- Every output satisfies the platform’s maximum byte limit, including any strict “less than” wording.
- The expected supported source images are represented in the export folder.
- Every file has an accepted format and extension, including originals copied by the skip feature.
- Final pixel dimensions satisfy the destination’s requirements.
- Representative images, especially downscaled or detailed ones, remain visually suitable.
Sorting by size makes boundary problems easier to locate, but filesize alone is not a complete quality review. Open a selection of the actual exported files rather than judging only the originals in Photoshop.
12. Reprocess Oversized Exceptions From Their Original Sources
If most images pass and a few remain oversized, do not start by recompressing the entire output folder. Isolate the exceptions and return to their original source files.
Copy those sources into a separate input folder and export the revised results into another clean folder. This keeps approved files out of the repeat job and avoids using an already-lossy derivative as the starting point for another compression pass.
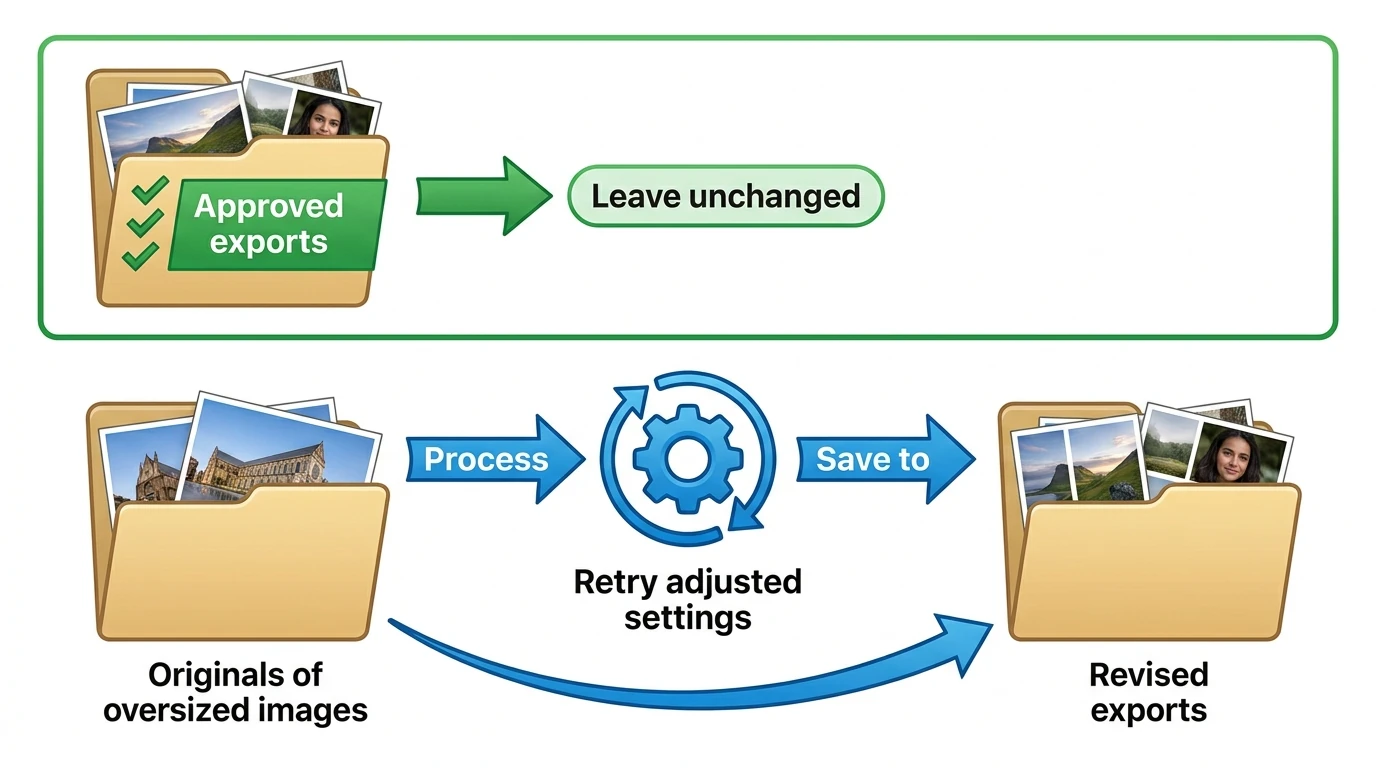
Choose the adjustment according to the remaining constraint:
- Use a smaller target if you need more headroom below the platform’s cap.
- Permit a lower minimum quality if the visual result remains acceptable.
- Allow further adaptive downscaling only if the final dimensions can still meet the platform’s requirements.
A smaller target does not override a quality floor or a scaling boundary. If the image is already too large at both limits, one of those tradeoffs must change—or a different source must be prepared. The plugin respects the configured boundaries rather than silently ignoring them.
Validate the replacement outputs before substituting them for the failed files in the final upload folder.
13. Save the Approved Configuration for the Next Folder
Once a configuration has produced acceptable results, give it a descriptive Operation Name and click Save. A name such as “JPEG-500000-byte-cap-400KB-target” is more useful than “Compression 1” because it records the intended destination rule and working target.
Saved operations preserve the compression mode, output format, target, quality guardrail, downscaling allowance, skip settings, filename components, and selected folders. Loading the operation restores that configuration instead of requiring you to reconstruct it for the next batch.
Check the restored input and export folders before every new run. Folder selections are part of the saved operation, so an approved compression setup may still point to yesterday’s sources or results.
Also recheck the platform’s current requirements. A saved operation is a reusable preparation recipe, not a live connection to the destination’s upload policy.
14. Test Acceptance Before Uploading the Full Collection
After the local checks pass, upload a small representative selection to the destination. Include one of the larger files and an image that was downscaled. If you are using transparent WebP assets, include one of those as well.
This final test confirms that the platform accepts the actual files you generated, including their extensions and dimensions. Once the sample is accepted, proceed with the rest of the approved folder.
If the platform also imposes a combined size allowance for each submission, organize the approved images into smaller upload groups. Meeting a per-image maximum does not automatically mean the entire collection fits a separate total-upload limit.
Bulk Image Compressor’s practical advantage is replacing repeated quality guesses, test exports, filesize checks, and individual saves with one folder-wide workflow. Start with Target Filesize, leave sensible headroom, protect the quality and dimensions that matter, and verify the results. You can then reuse that approved setup whenever the next upload folder arrives.