How To Reduce Repetitive Boring Work In Your Print-On-Demand Business

A new design should not mean another afternoon of resizing files, nudging artwork into product previews, exporting mockups, copying descriptions, and clicking through the same product settings.
Yet that is exactly how a print-on-demand business can become a surprisingly manual job. Manufacturing is outsourced, but the work surrounding each new product still happens one click at a time.
The way out is not simply to collect more automation tools. It is to build a production process in which ordinary products follow repeatable rules, unusual products get individual attention, and unnecessary tasks disappear altogether. Here is how to apply that approach across artwork, product creation, listings, customer service, and fulfillment.
Delete the work that should never have become a task
Before automating your workflow, watch yourself complete one small collection. Record every repeated action, including the seemingly harmless ones: renaming downloads, finding the correct file, rewriting a materials paragraph, adjusting another mockup, or checking an order that has not changed.
For each action, choose one of four treatments:
- Eliminate it if the result is unnecessary.
- Standardize it if you keep making the same decision differently.
- Batch or automate it if a clear rule determines the result.
- Keep it manual if it genuinely requires creative judgment or customer-specific attention.
This distinction matters. Automatically generating twelve mockup images per product is less useful if you only need five. Faster creation of unwanted variants still leaves you maintaining unwanted variants.
Be particularly suspicious of perfectionism disguised as production work. Moving an illustration slightly within its safe print area may be worthwhile when the subject is visibly off-center. Repeatedly nudging every acceptable design because another arrangement might look marginally better is a different proposition.
Set an acceptance standard instead: the subject is intact, important details are legible, placement is appropriate, and the image accurately represents the product. Work that already passes does not need another adjustment merely because an adjustment is possible.
Then prioritize by actual effort. If a task takes two minutes and occurs eighty times per collection, that is 160 minutes of manual work. Compare that with the setup, review, and exception-handling time an automated process would require. Use your own measurements rather than a tool’s headline promises.
Also distinguish computer processing time from your working time. A batch that runs for an hour while you do something else may be a substantial improvement over forty minutes of uninterrupted clicking.
Build a standard product menu, not a new workflow for every design
Automation becomes much easier when you stop treating every design as a completely new manufacturing project.
For a wall-art collection, you might decide that ordinary releases use the same poster product, a defined selection of sizes, three aspect-ratio families, and an approved set of presentation images. A design can still be creatively distinctive without requiring a distinctive production process.
Write a short production specification for each product family. Include:
- The provider and exact base product or product template.
- The sizes, materials, colors, and other variants you actually intend to offer.
- Required file dimensions, resolution, format, bleed, and safe-area instructions.
- The normal artwork-placement rule.
- The mockup set and image order.
- The verified product facts used in descriptions and customer replies.
Build these specifications from the supplier’s requirements, not assumptions. For example, Printful’s print-file preparation guide tells sellers to “download the print file templates under the File guidelines tab on each product page.” That is a better starting point than assuming every product accepts the same generic image.
Group compatible sizes together. An 8 × 12-inch print and a 12 × 18-inch print both use a 2:3 ratio. An 8 × 10-inch print uses 4:5. Those are different production requirements even though customers might simply think of them as different poster sizes.
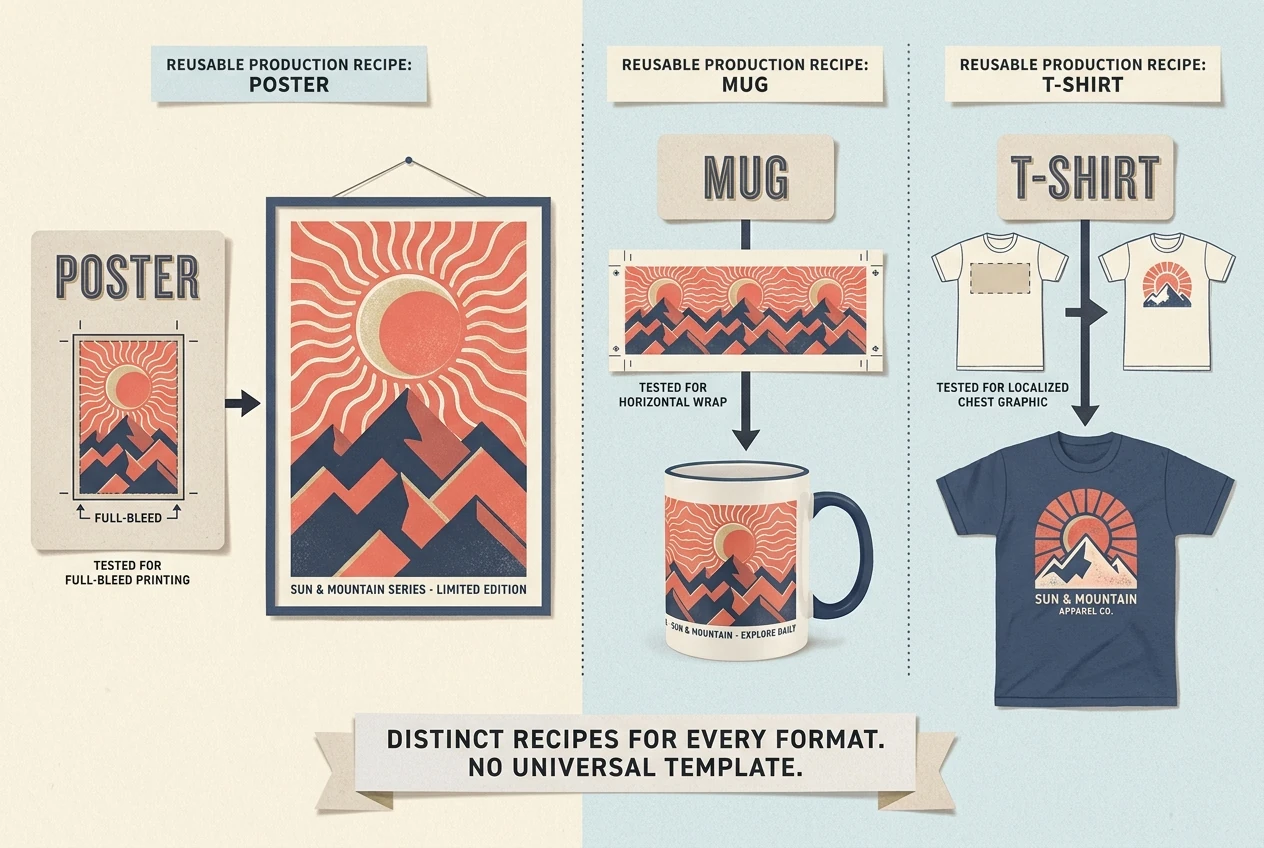
Standardize by family rather than forcing your entire store into one template. A mug wrap, a chest graphic, and a full-bleed poster deserve separate recipes.
Once a recipe works, give it a version name and reuse it. When you introduce a new product, test and document that new recipe before adding it to ordinary production. This keeps “just one more product type” from quietly creating dozens of new decisions.
Batch artwork development and enlargement without outsourcing your judgment
If your artwork comes from photography, illustration, or another established creative process, keep that process. Reducing repetitive work does not require replacing it with AI. But if AI-generated artwork is already part of your business, there are several repetitive steps you can remove.
Develop prompt collections from one clear creative brief
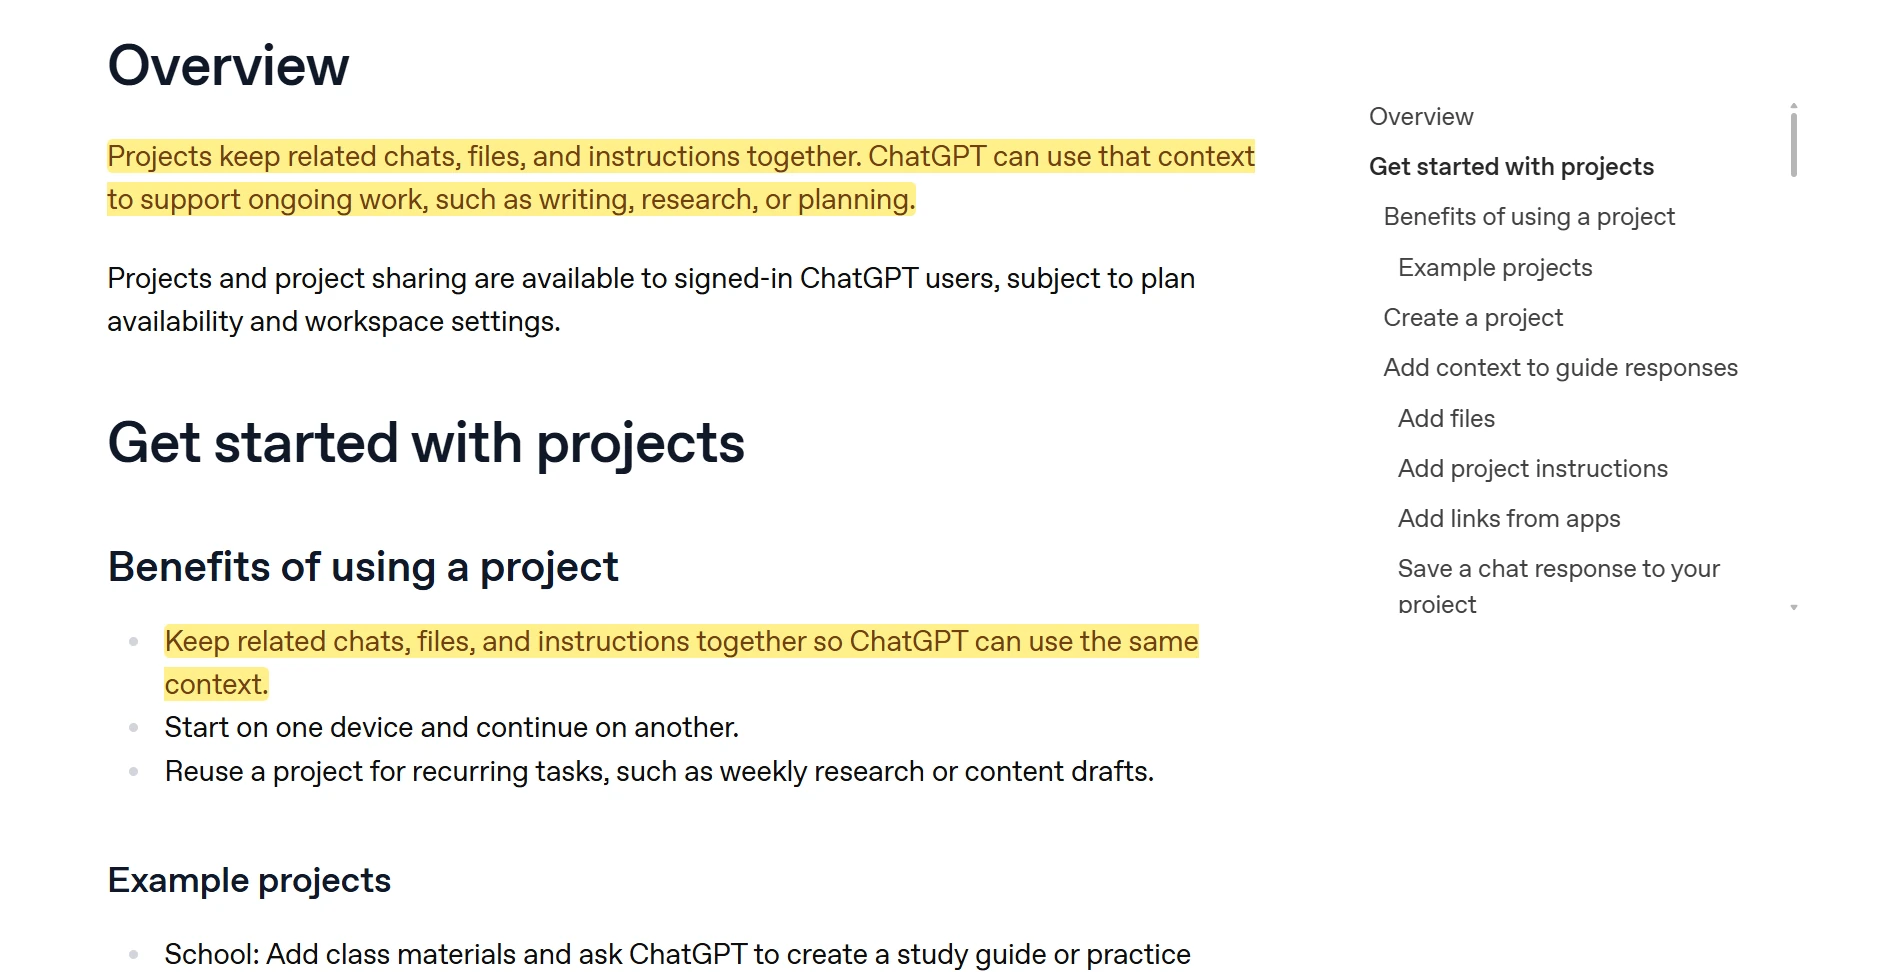
Instead of opening a fresh conversation for every idea, keep your audience, collection direction, palette, composition requirements, and exclusions together. A ChatGPT Project can hold related instructions, files, and conversations so you do not need to explain the same collection repeatedly.
A useful request might be:
“Help me draft 24 distinct image-generation prompts for a coordinated botanical poster collection. Use muted greens, warm off-white backgrounds, and a portrait composition with generous space around the subject. Avoid text, logos, and duplicate compositions. Return one complete prompt per row in a single-column table headed TEXT PROMPTS. I will review and revise each prompt before generation.”
The important input is the collection brief. Asking for “100 bestselling designs” delegates the wrong decision and gives you a pile of suggestions to sort through.
Generate from an approved prompt queue
Once you have reviewed the prompts, Bulk AI Image Creator: Batch Generative Fill can automate the repetitive Photoshop generation cycle.
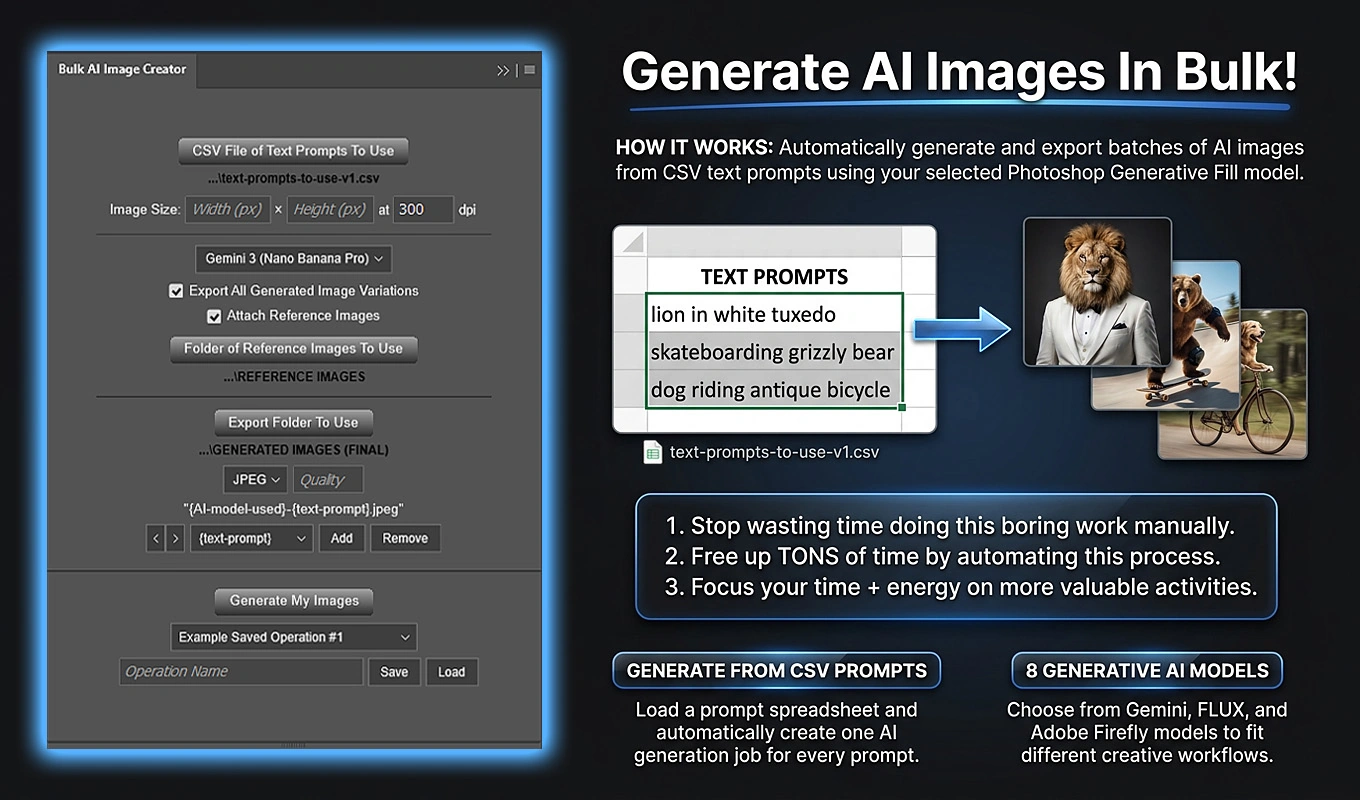
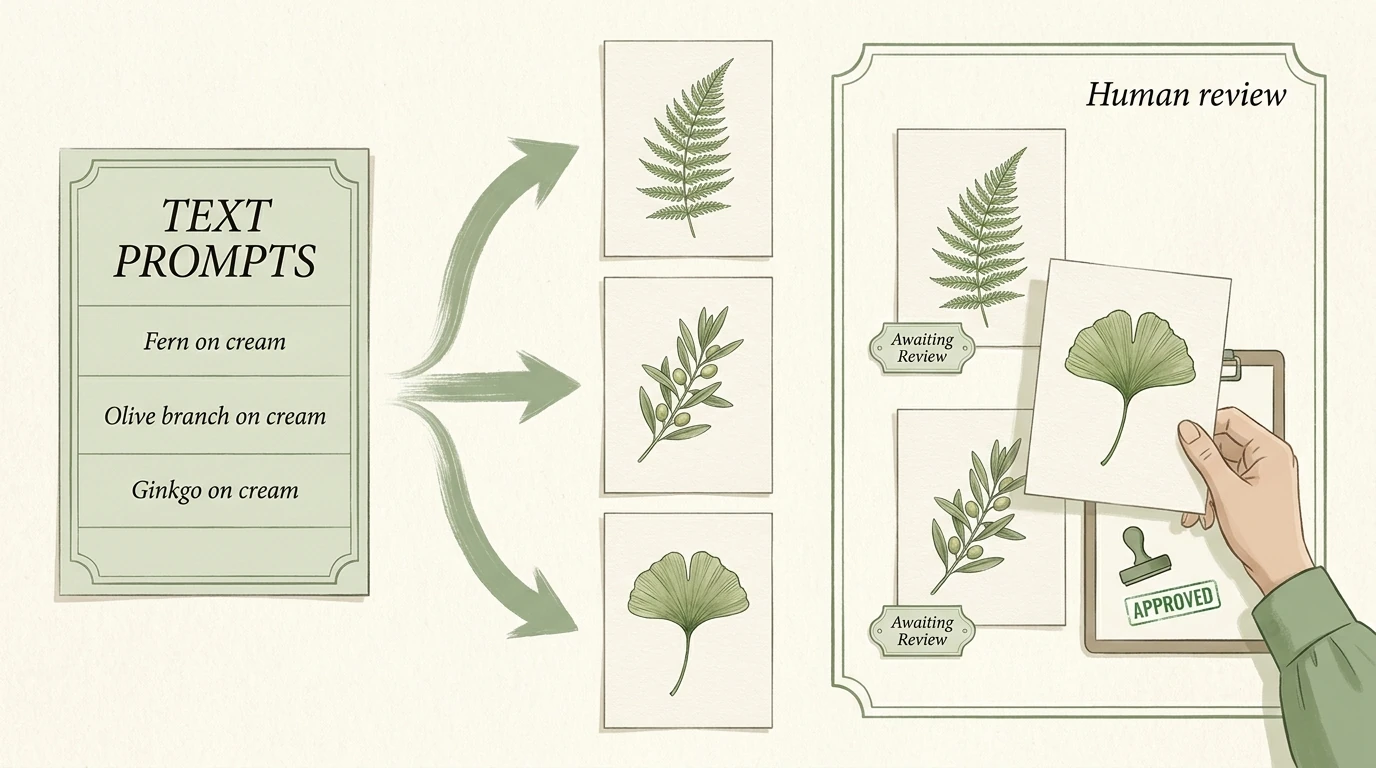
Put TEXT PROMPTS in cell A1 of a spreadsheet, place the approved prompts beneath it in Column A, and export the sheet as a CSV. In the plugin, select that CSV, choose the Photoshop AI model, set the image dimensions and DPI, and configure the export settings. It then processes the prompt list sequentially through Photoshop’s Generative Fill functionality.
This removes the repeated sequence of entering a prompt, starting generation, waiting, exporting, and moving to the next prompt. You can export all returned variations or only the first variation, depending on how many candidates you want to review. Photoshop Generative Credits still apply; the plugin automates the workflow rather than supplying free generation.
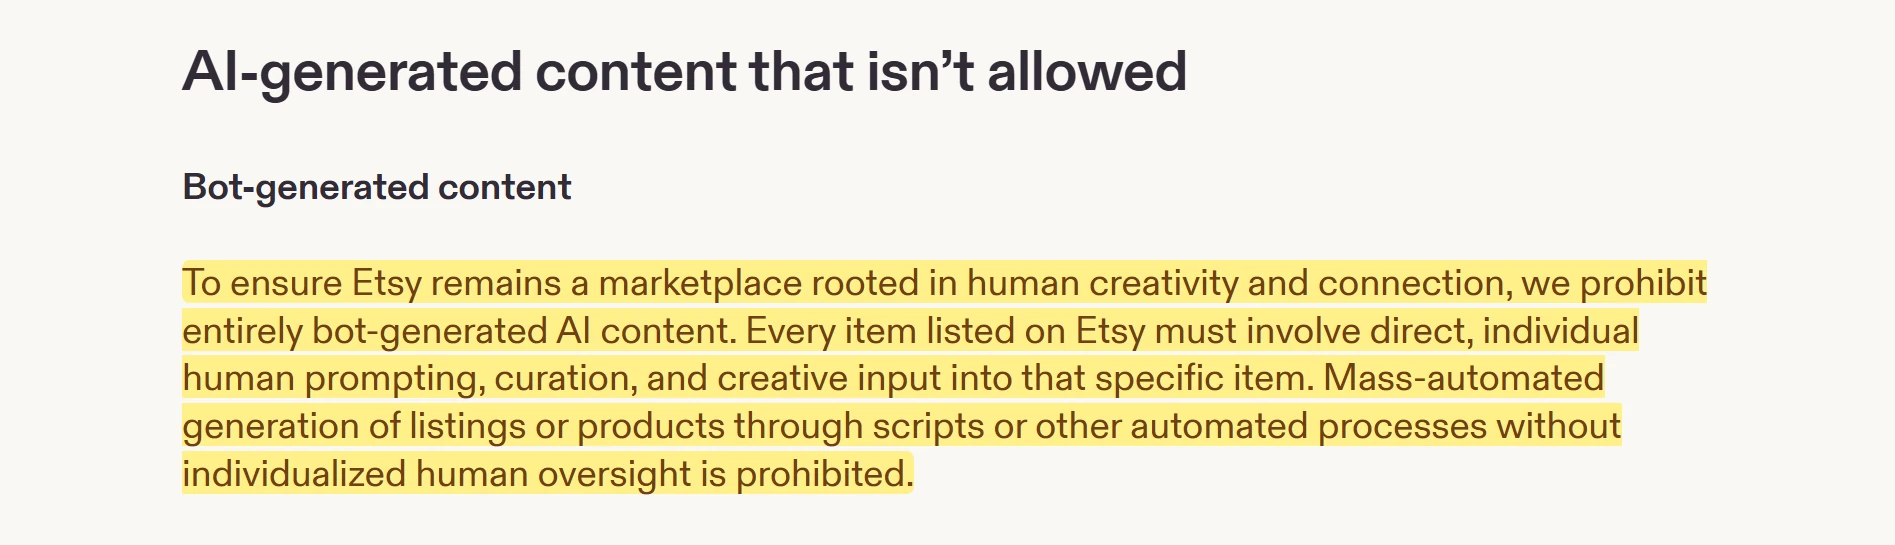
Keep individualized creative oversight. Etsy’s AI guidance, for example, requires “direct, individual human prompting, curation, and creative input into that specific item.” It also requires disclosure of AI use and prohibits mass-automated products or listings without individualized human oversight. Treat prompt drafting and batch generation as production assistance, not permission to publish an unattended stream of unreviewed products.
Enlarge only the artwork that needs it
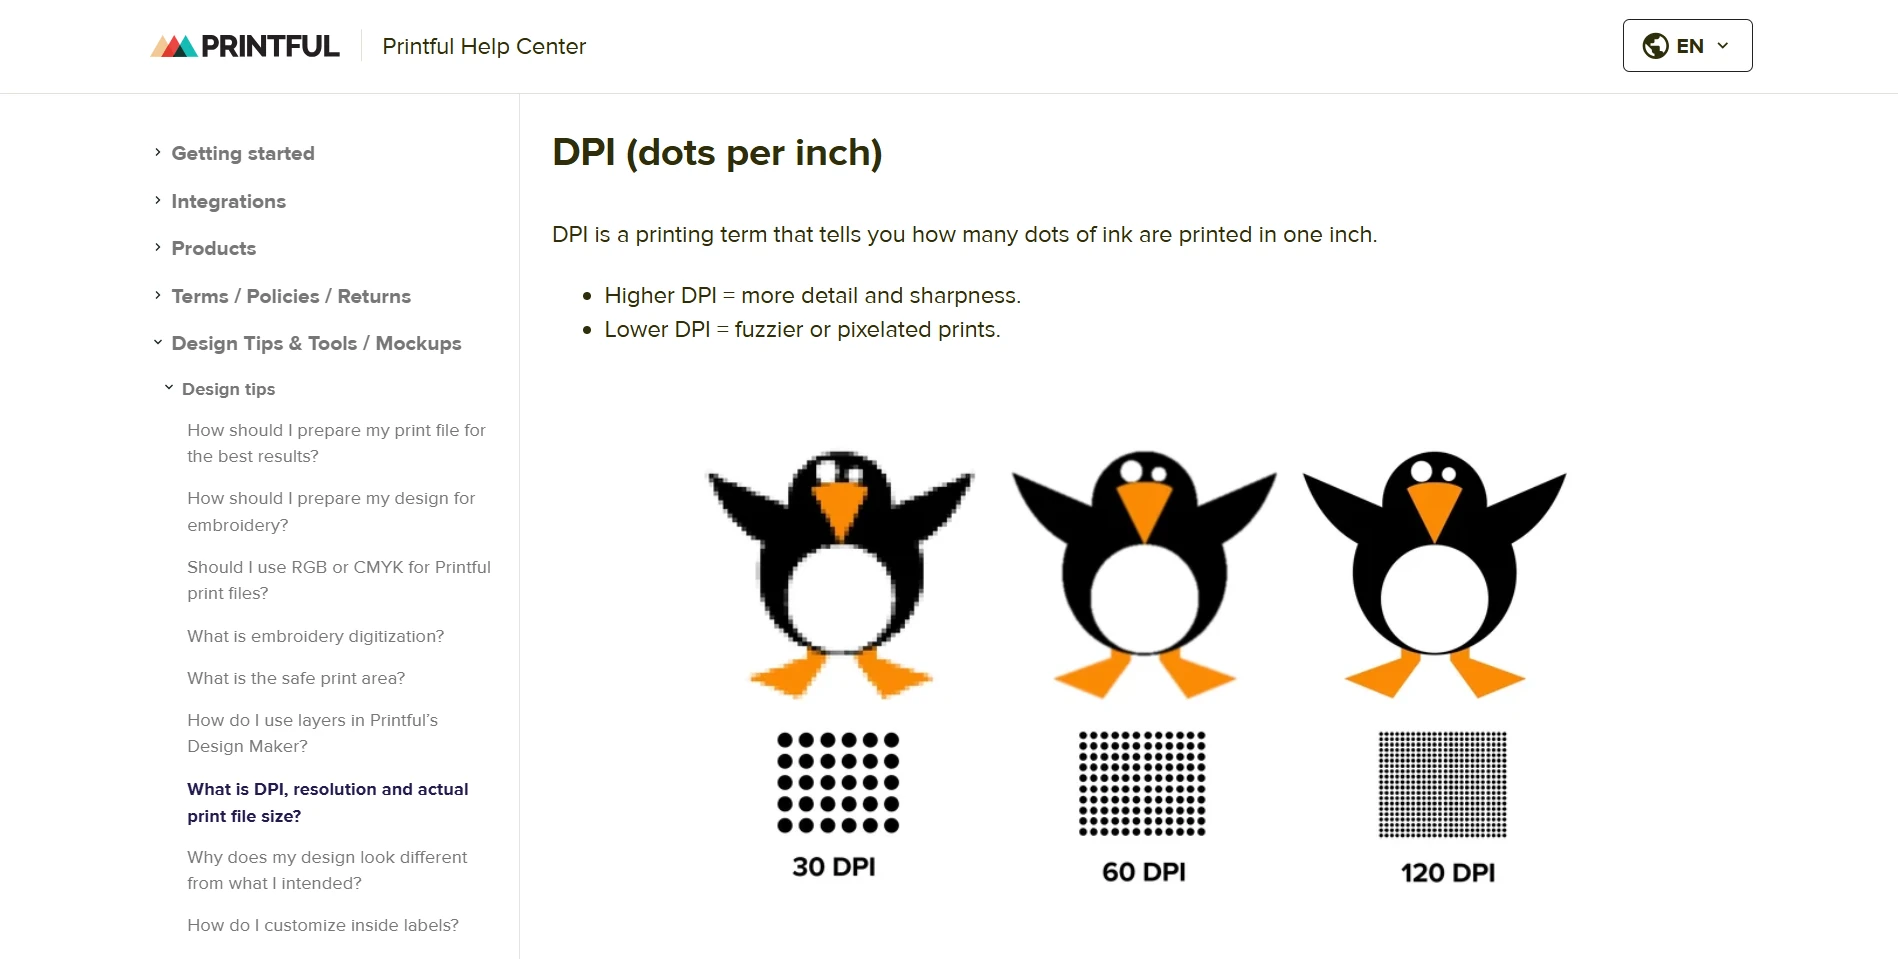
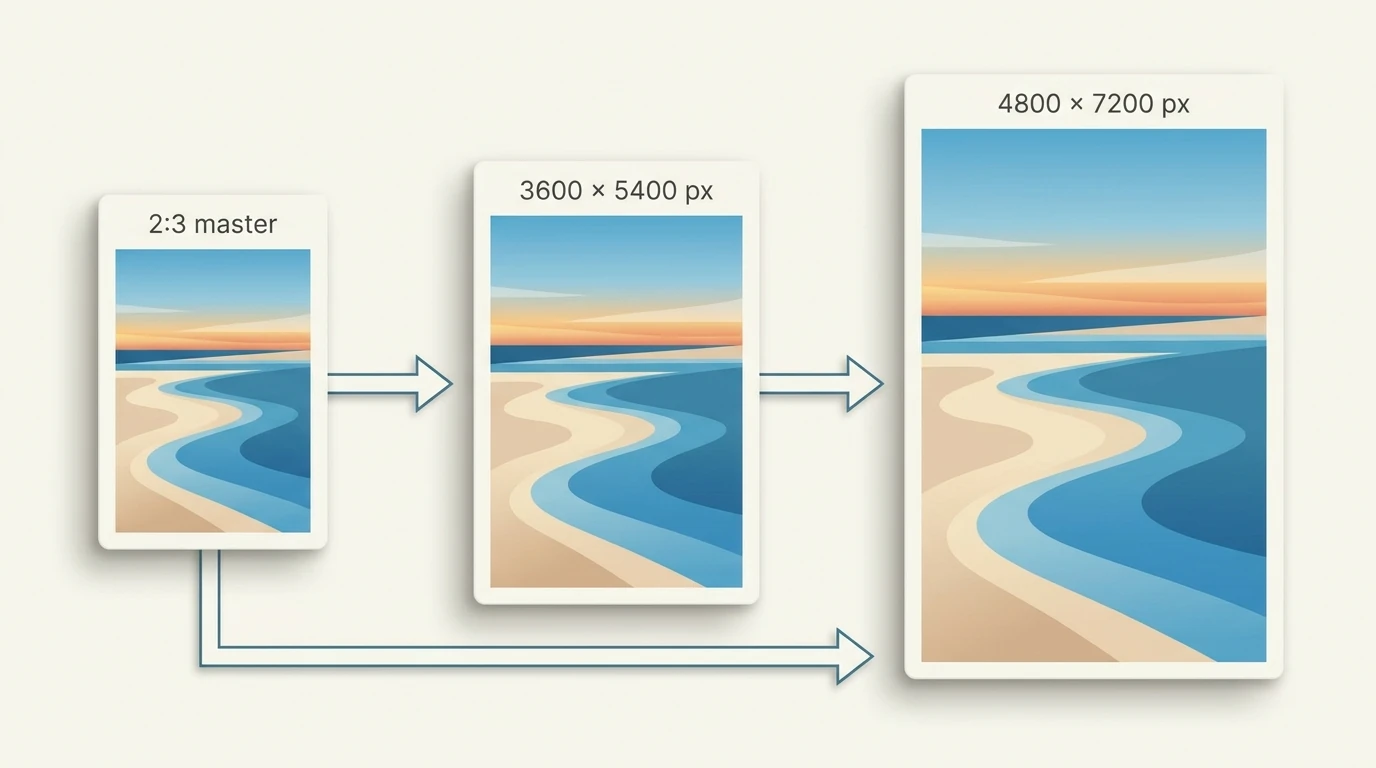
Before upscaling, work backward from the intended print. A 12 × 18-inch image at 300 pixels per inch requires 3600 × 5400 pixels before any additional template-specific requirements. Printful’s explanation of resolution and print size is useful here: the pixel dimensions and physical print dimensions need to work together. A DPI label alone does not establish whether a file contains enough pixels.
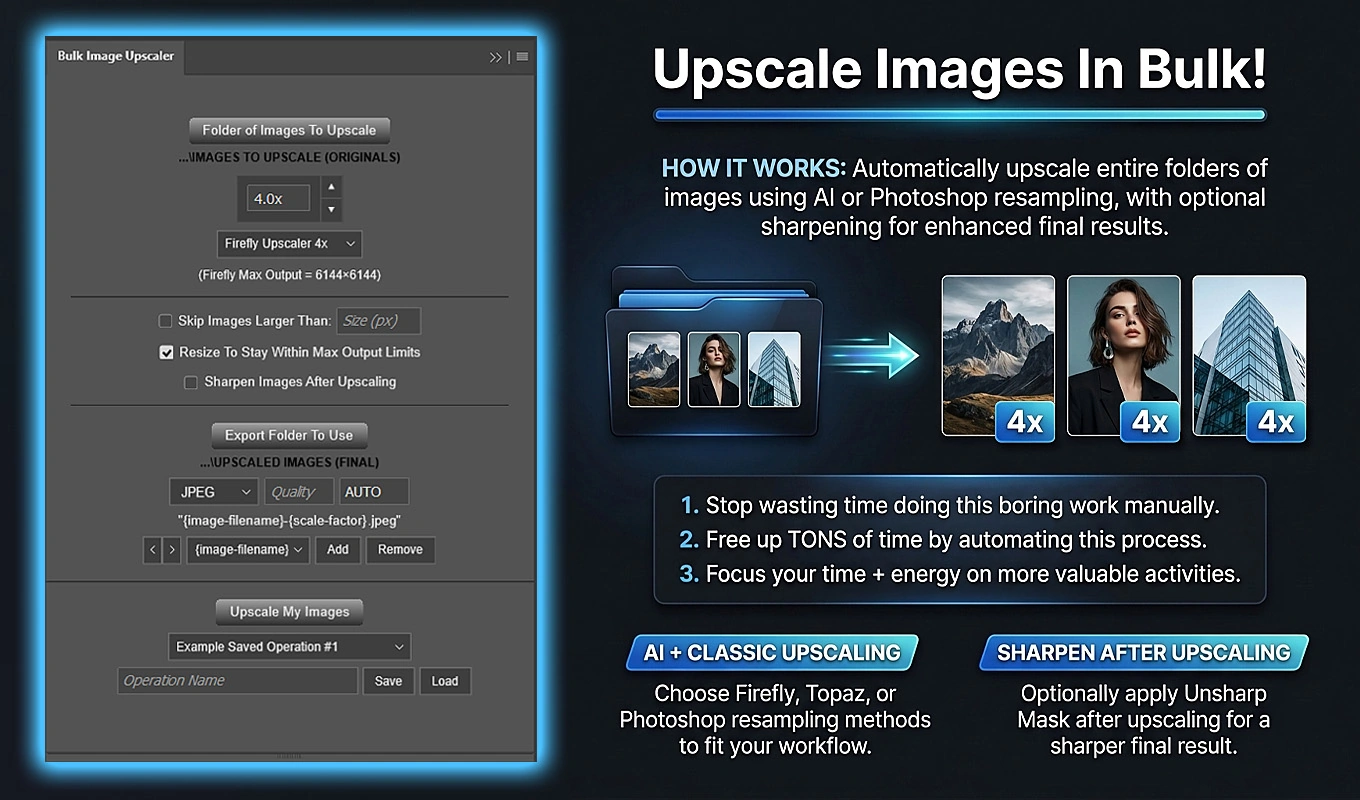
For approved artwork that needs enlargement, Bulk Image Upscaler: Batch-Enhance Resolution applies one configured enlargement workflow across a source folder. You can use Photoshop’s AI upscaling methods or traditional resampling, with custom enlargement factors available for the traditional methods. Optional post-upscale sharpening can incorporate a finishing step you would otherwise repeat separately.
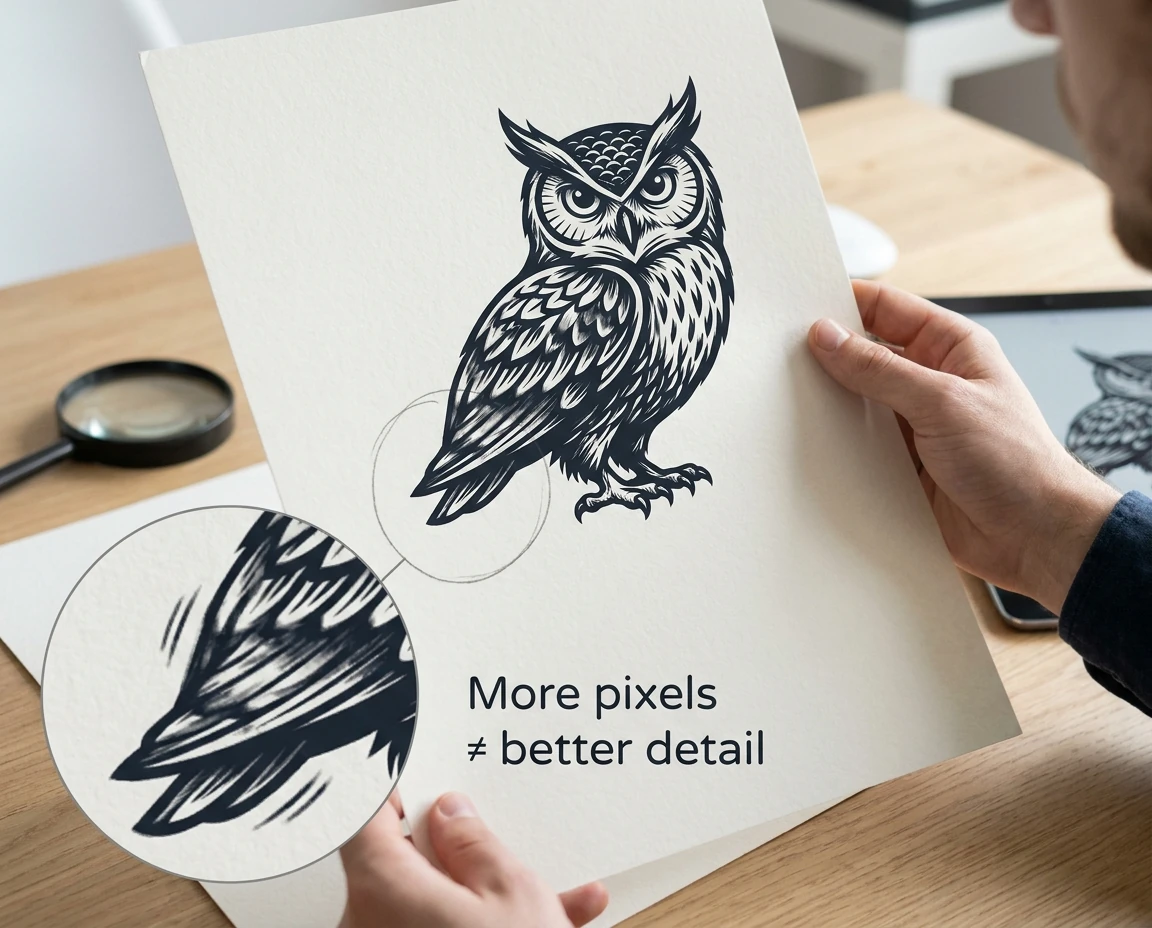
Test a representative image before processing the collection. More pixels are not a guarantee of convincing detail. Inspect fine lines, faces, lettering, and textures, then use a physical sample to judge an unfamiliar print workflow. Artwork that is already adequate should not receive another processing pass simply because the pass can be automated.
Prepare print sizes and aspect ratios in bulk
Repeatedly uploading the same artwork and manually fitting it to each product size is a good candidate for replacement with a file-preparation workflow.
Separate two jobs that are often confused: cropping determines the shape and retained composition; resizing determines the pixel dimensions. Making a 4:5 image fit exact 2:3 dimensions by resizing alone can distort it.
First, create the required shapes
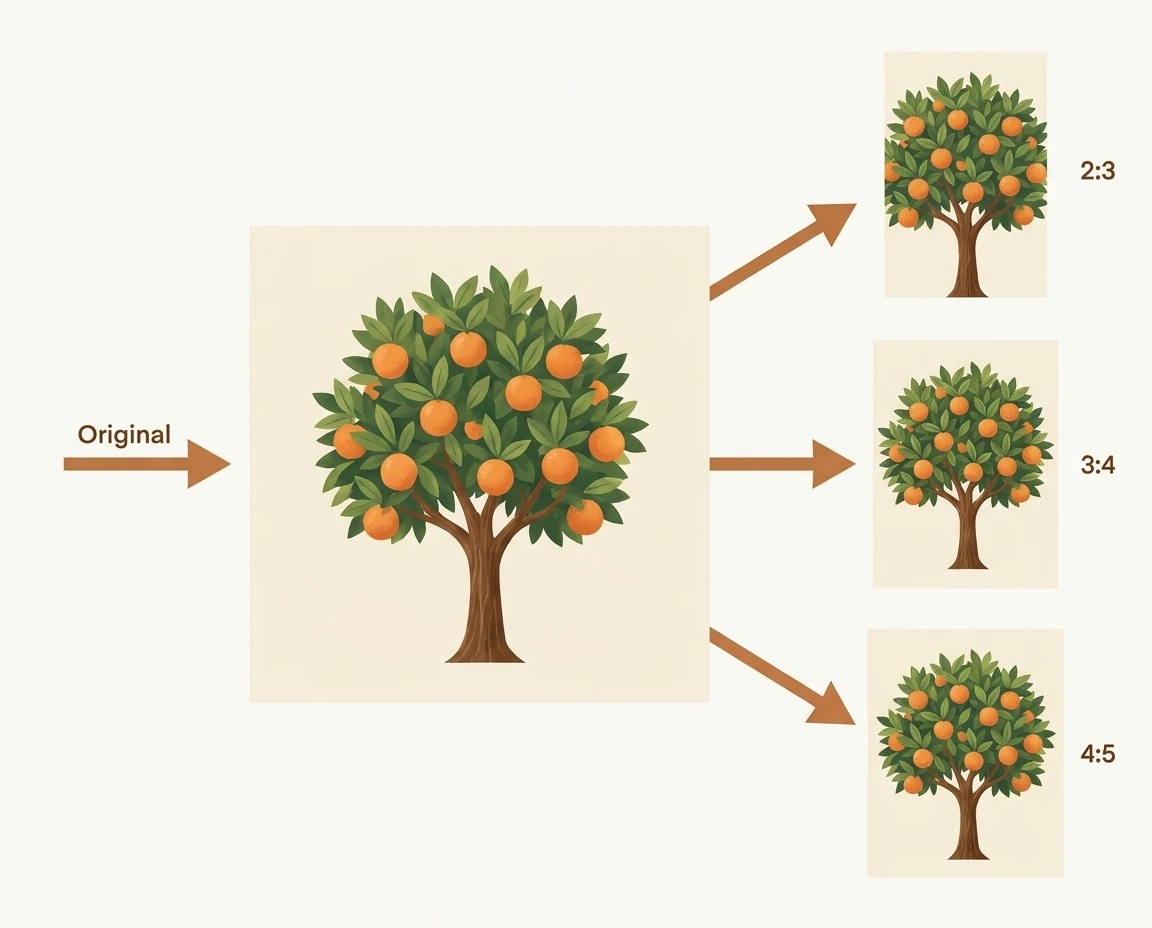
Bulk Image Cropper: Automated Batch Cropping lets you configure several independent crop rules for a folder of artwork. For a poster collection, those rules could be 2:3, 3:4, and 4:5.
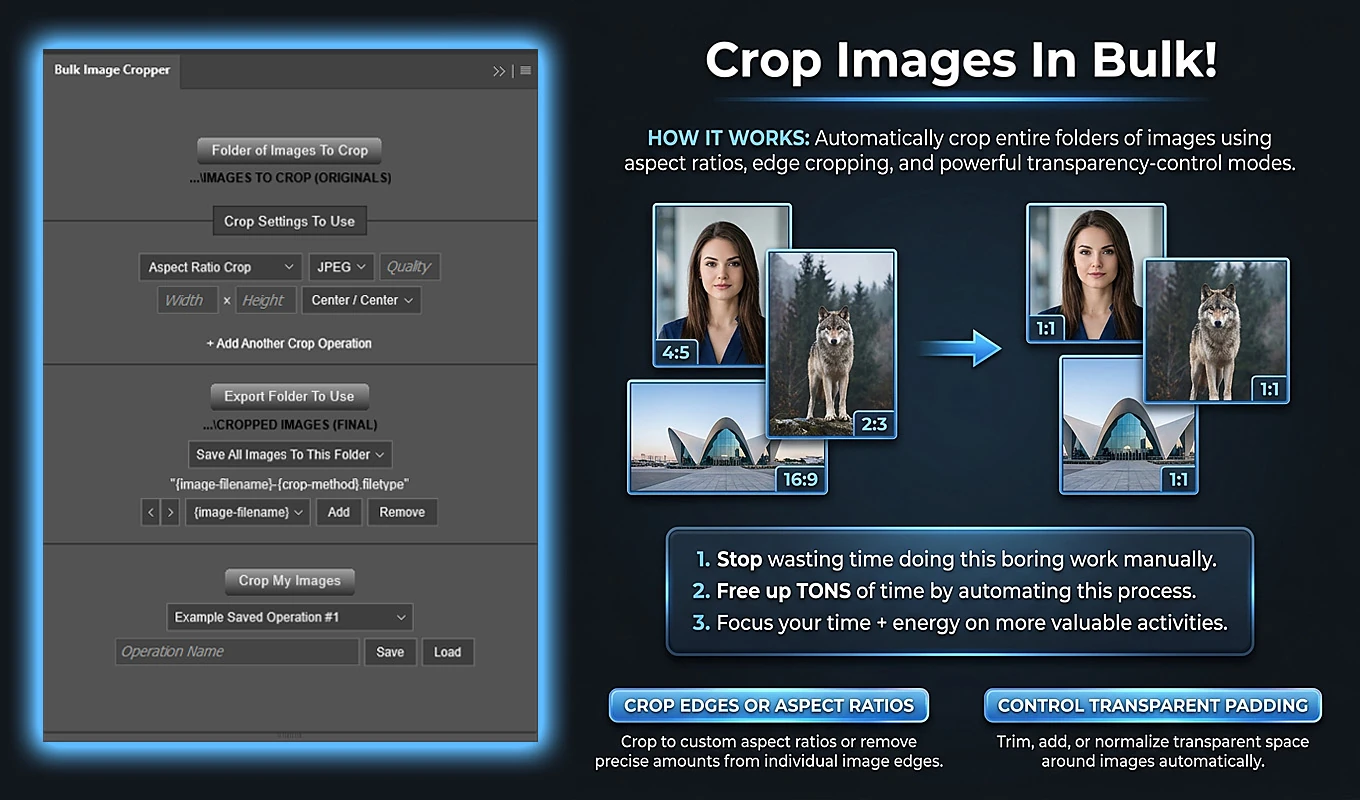
Its Aspect Ratio Crop mode uses the width and height inputs as proportions, not literal output pixel dimensions. Each rule starts from the original source image, so your 4:5 result is not cropped from an already-cropped 2:3 version.
Choose the alignment deliberately. Center alignment may suit much of a collection, while top-aligned compositions may need a separate batch or rule. Put genuinely unusual designs into an exception group rather than manually adjusting every ordinary design.
Use the plugin’s per-crop-rule output folders to keep the ratio families separate. Forty designs processed through three ratio rules produce 120 crop outputs, with each family ready for its next preparation step.
Then, produce the required pixel dimensions
Feed each ratio folder into its matching resizing setup in Bulk Image Resizer: Automated Batch Resizing.
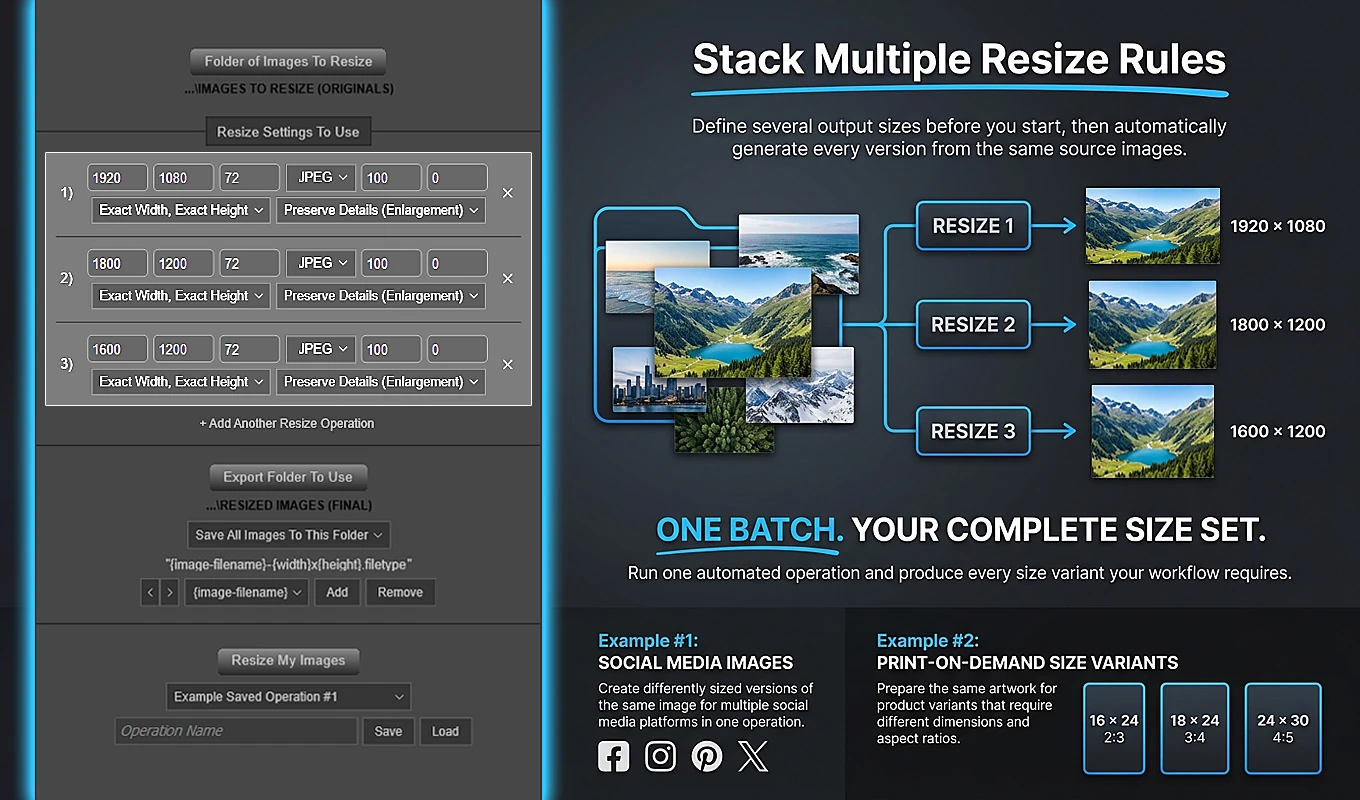
Within a 2:3 folder, for example, you could configure a 3600 × 5400-pixel output and a 4800 × 7200-pixel output if those match your supplier’s requirements. Multiple resize rules can generate both versions during one run. Each rule derives from the original source state rather than progressively resizing the preceding result.
Save recurring setups instead of re-entering dimensions, resolution, export format, and naming choices for every collection. Include actual output dimensions in filenames when that makes upload selection easier.
These are separate passes: crop into ratio families, then resize each family to compatible dimensions. Check the supplier’s templates for bleed and safe areas before treating a ratio-matched rectangle as a finished print file.
Also check whether every size actually requires a separate file. If the provider accepts one sufficiently large, correctly proportioned master across compatible variants, generating extra files may be unnecessary. The objective is fewer manual decisions, not the largest possible export folder.
Turn custom mockups into a repeatable production run
Mockups are where a manageable collection can turn into hundreds of repetitive operations. Forty designs shown in six compatible scenes mean 240 finished images—not forty.
Choose an approved set of scenes for each product family, then prepare reusable Photoshop templates rather than assembling every presentation from scratch.
Batch-Replace Smart Objects: Mockups In Bulk automates this particular job. Select a folder of PSD/PSB mockup templates, select the artwork folder, choose placement and export settings, and run the operation. The plugin processes the artwork against each template and exports the corresponding combinations.
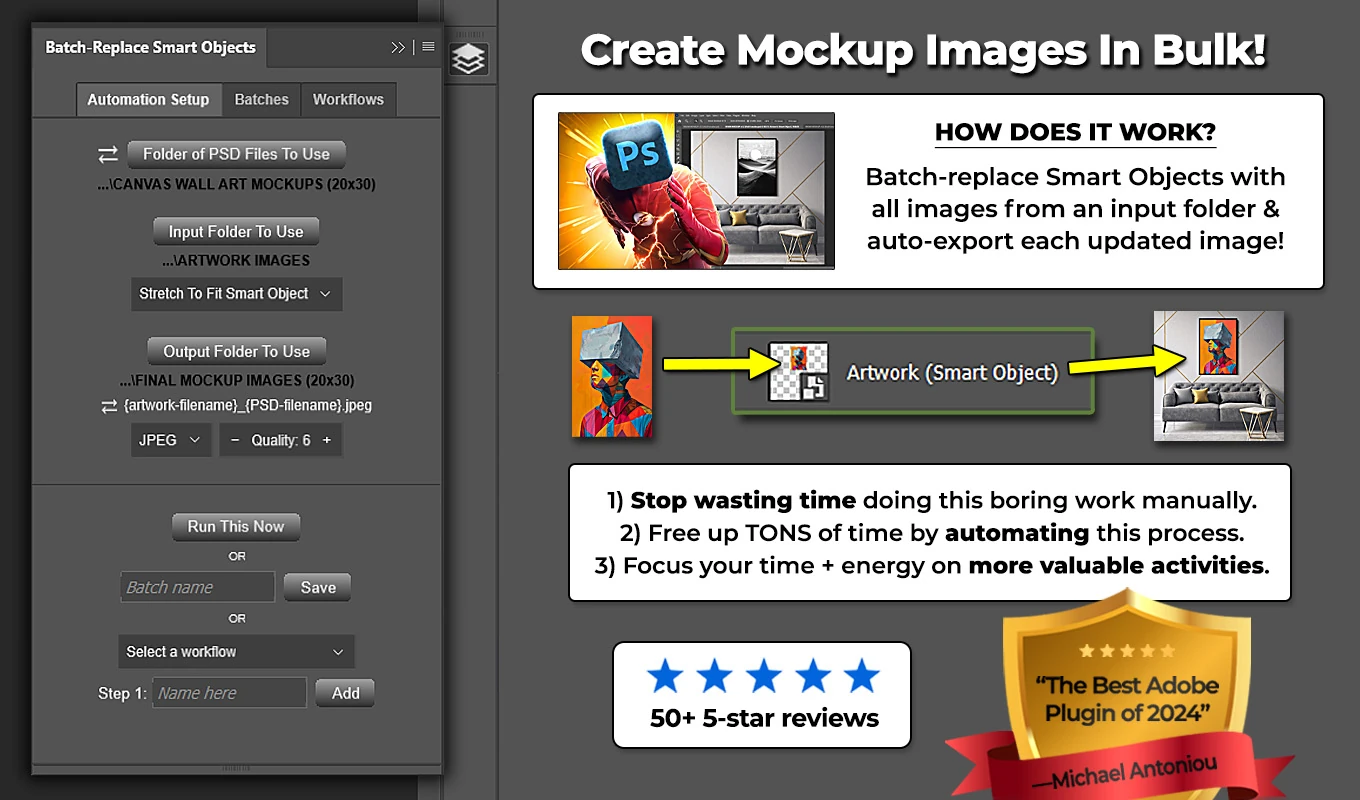
The templates need correctly prepared Smart Objects. If a template has several Smart Objects, select the intended replacement targets and save that state before relying on it for recurring runs.
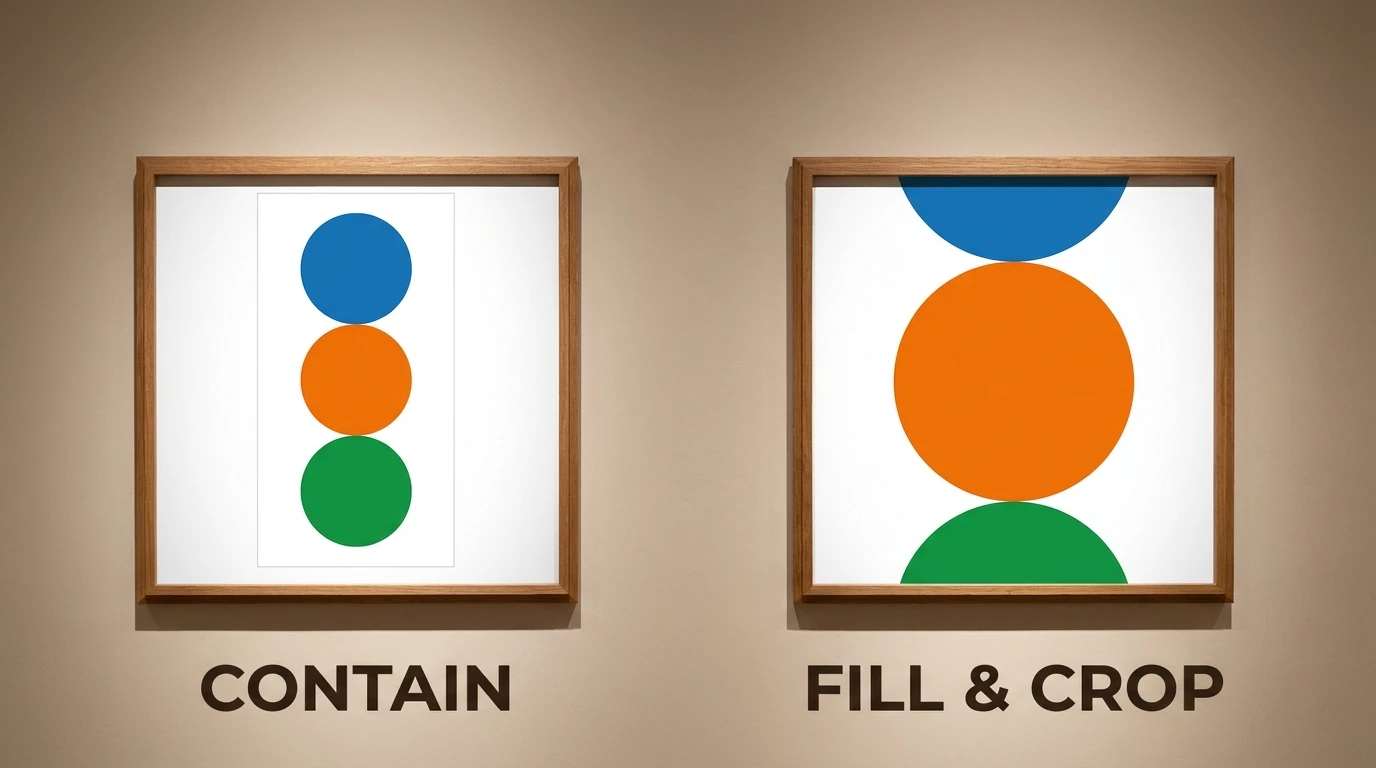
For placement, use Contain Inside Smart Object when preserving the complete artwork is essential. Use Fill Smart Object & Crop when the mockup region must be fully covered and cropping is appropriate. Do not accept stretched artwork merely because it fills the placeholder.
Test the setup with a few deliberately different designs: an edge-heavy composition, a dark image, and something with fine detail. Once the scenes work, save the operation as a Batch. If different product families require different artwork folders, templates, or settings, a Workflow can run those saved steps sequentially.
Generated filenames combine the artwork and template names, making it easier to identify which presentation belongs to which design.
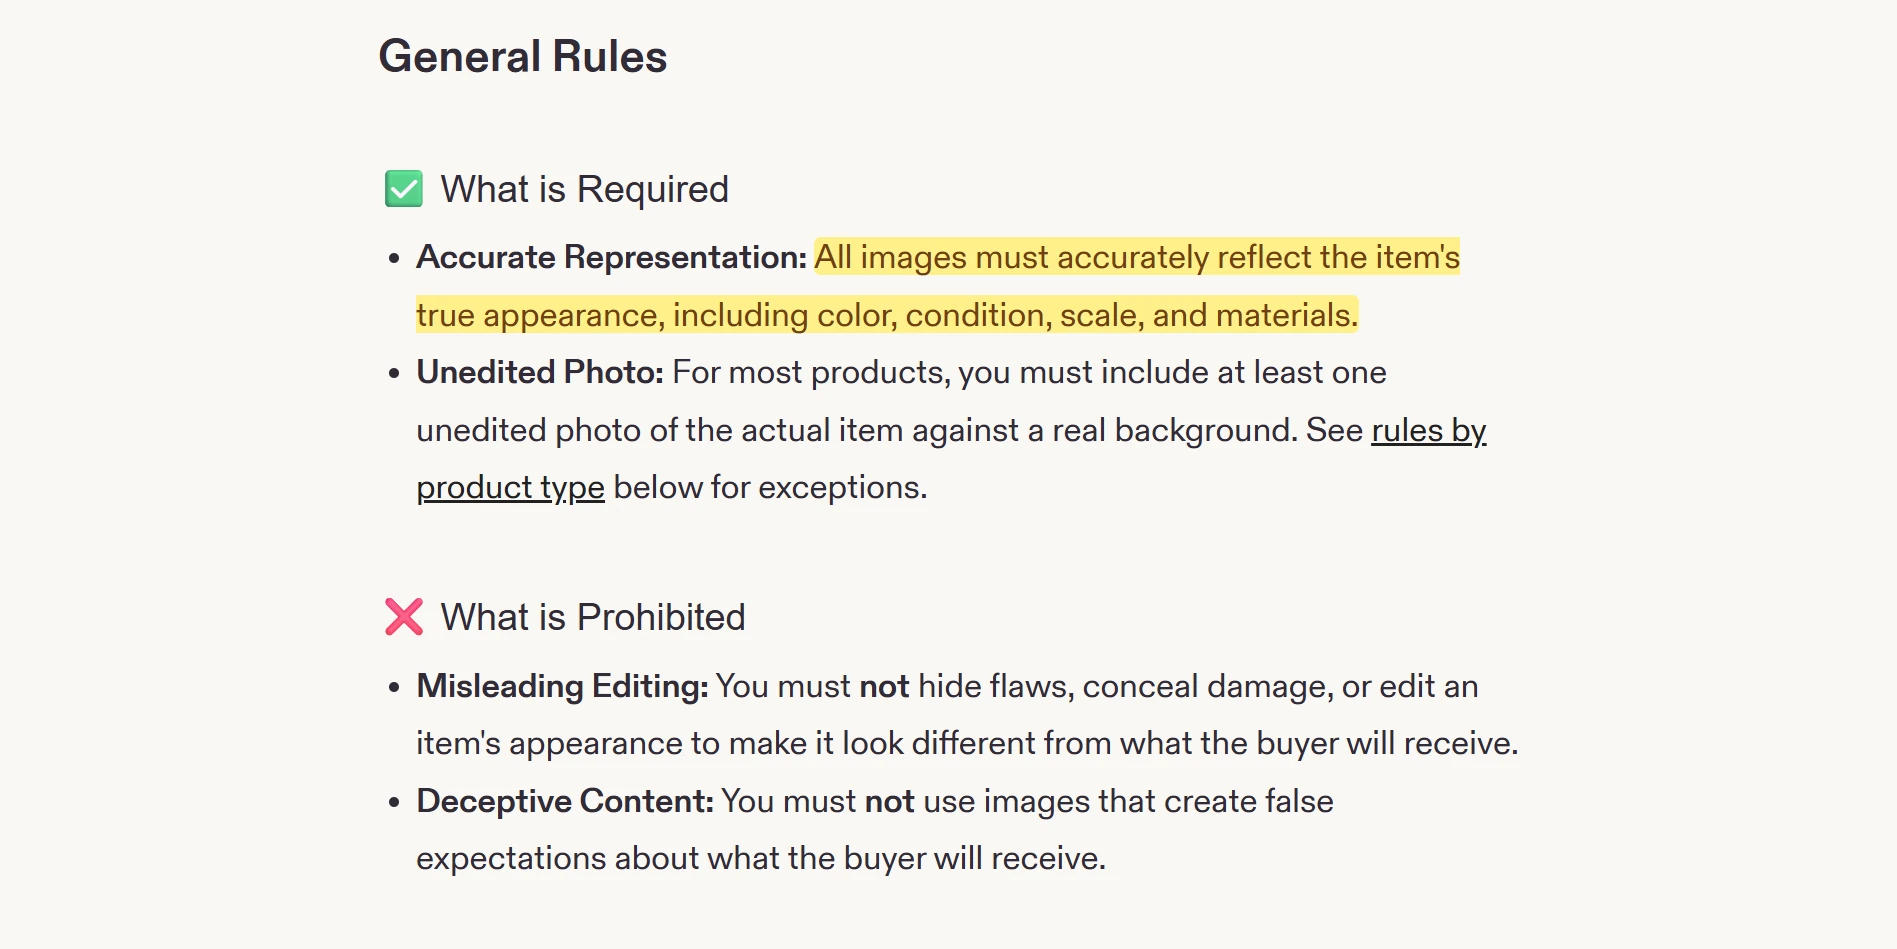
Keep the presentation honest. Match the actual product’s proportions, framing options, and print placement. Etsy’s listing-image requirements specifically address POD mockups, including permission to use authorized stock-photo mockups for original designs printed onto standard base products. Check the rules for your listing type rather than assuming every simulated presentation is acceptable.
Create POD products from a proven blueprint
Preparing the artwork and mockups does not eliminate the next bottleneck: repeatedly creating the actual products.
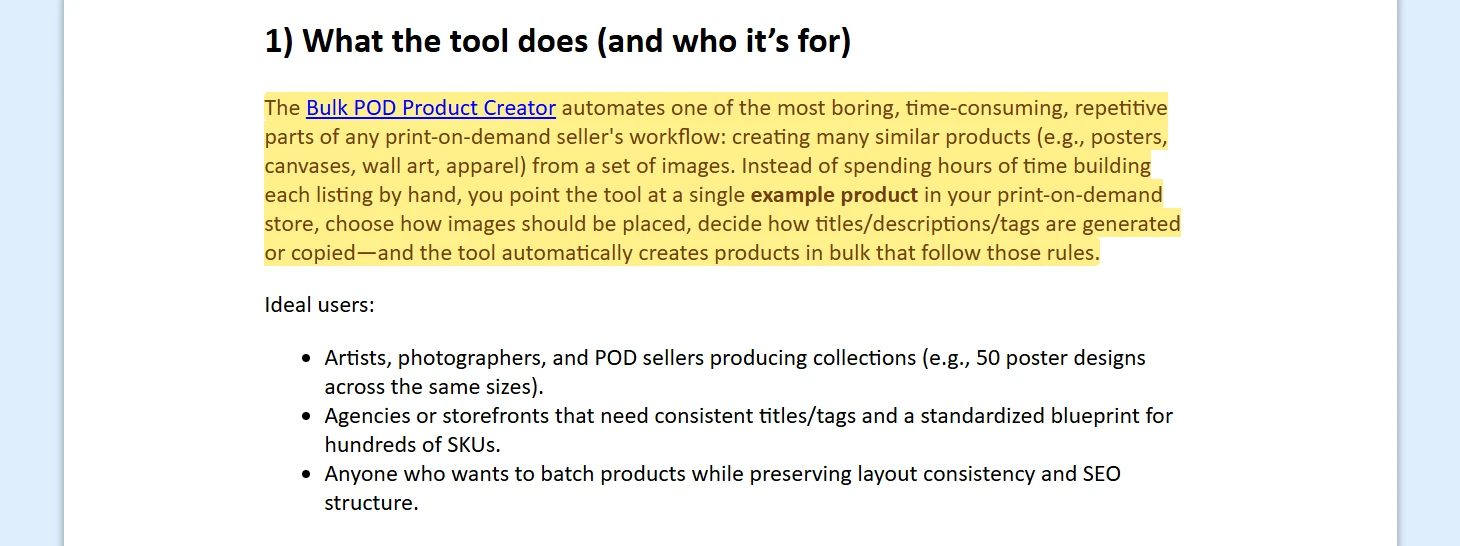
The useful pattern is to perfect one example product, then reuse its structure for the rest of a compatible collection.
Bulk POD Product Creator is designed around that approach. You select artwork images and an example product, then configure how the new products should be created. Its documented Printify workflow uses the example as a blueprint for variants and print areas, with options for reproducing the example’s image placement.
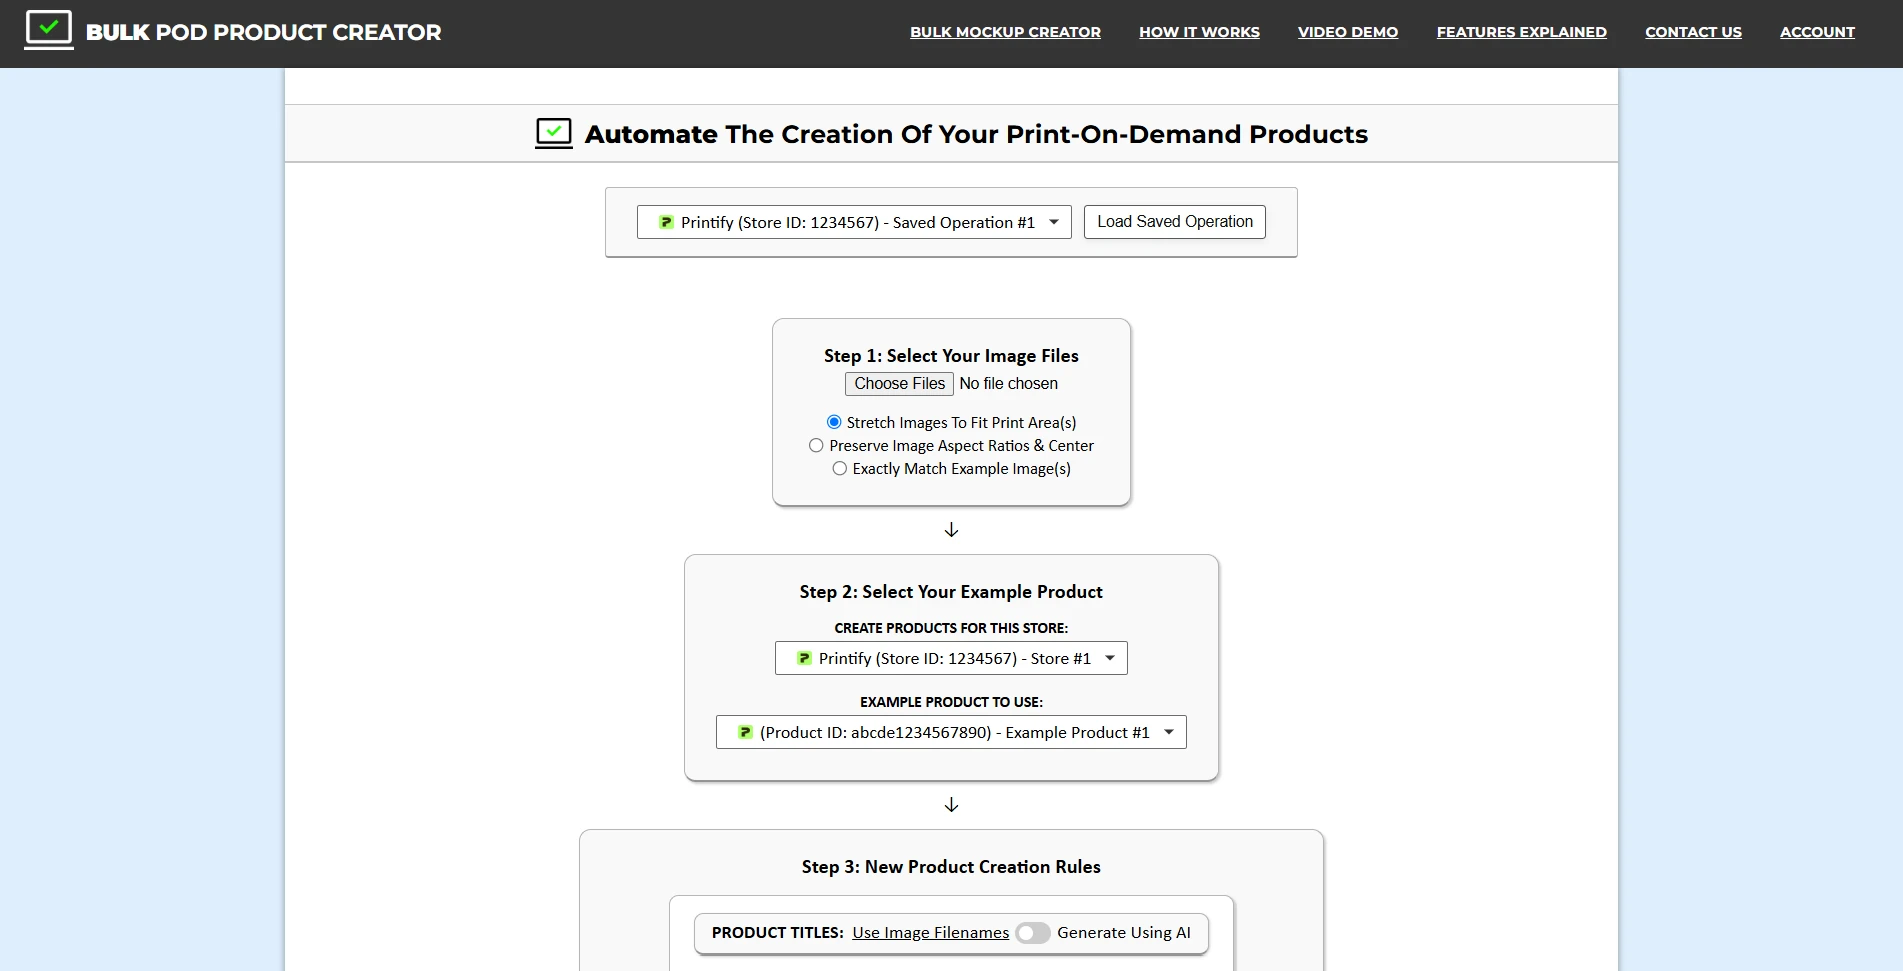
That makes your standardized product menu useful in a very concrete way. Instead of repeatedly choosing the same poster sizes and rebuilding the same layout, you prepare the example once and apply it across the collection.
Use a small pilot:
- Finish the example product, including its variants, prices, and artwork placement.
- Select a few approved images from one compatible product family.
- Choose how titles, descriptions, and tags should be handled.
- Create the pilot products and inspect the results.
- Only then run the remaining collection.
The tool can use image filenames for titles or generate titles with AI; descriptions and tags can be copied from the example or generated. Keep factual product information grounded in verified specifications, whichever approach you choose.
Its workflow documentation also distinguishes product creation in Printify from the subsequent publishing or syncing step to your sales channel. Do not assume that preparing products also completes every storefront task.
This blueprint approach remains useful as a catalog grows into hundreds or thousands of products. But production capacity is not a sales forecast. Expand the combinations you have a reason to sell, rather than creating every possible combination simply because creation is easier.
Stop retyping product information
Repeated data entry often means your product information has no reliable home.
Keep a simple production register in a spreadsheet. For each design-and-product-family combination, record the design ID, approved title, print-file location, mockup location, provider product ID, storefront listing URL, and current status.
An internal design ID such as BOT-014 should remain stable even if the customer-facing title changes. Carry that ID into source filenames and your register so you can locate the right assets without relying on memory.
Separate description content into two parts:
- Verified product facts: material, available sizes, what is included, care information, and relevant fulfillment details.
- Design-specific information: subject, colors, composition, and other accurate details about the individual artwork.
Reuse the factual block within the appropriate product family. Do not repeatedly ask a writing tool to invent a new explanation of the same paper stock, or copy a framed-product description into an unframed listing.
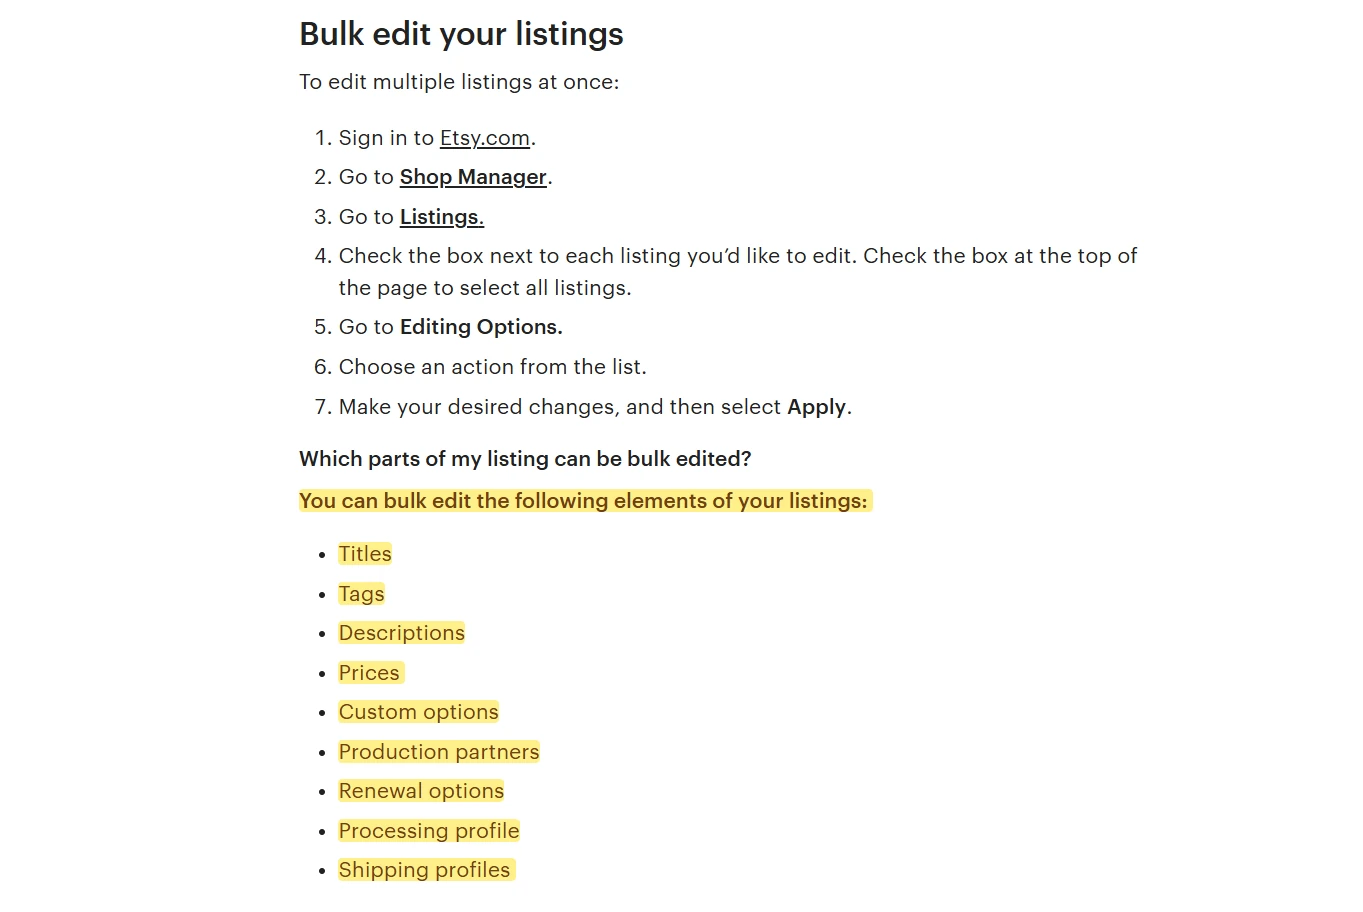
For existing listings, use the store’s own bulk-management features before opening products individually. Etsy’s bulk editing tool supports changes to fields including descriptions, prices, tags, and shipping profiles. That is different from native bulk uploading of new listings, which Etsy’s documentation says is not available.
Shopify’s bulk editor lets you edit multiple products and variants together, including properties such as prices and SKUs.
Decide which system owns each field. If your provider manages fulfillment-related variants while your storefront holds editorial descriptions, document that division before making widespread changes. A clear rule beats repeatedly wondering where the latest information lives.
Replace repeated customer-service writing with a small response library
You do not need an elaborate support system to stop writing the same answer every day.
Start with your most common questions: what is included, which size to choose, where an order is, how personalization works, and what information is needed to investigate a damaged delivery.
Etsy’s quick replies provide what its help documentation calls a “library of responses you can use to answer frequently asked questions from buyers without having to retype them.” You can create and organize your own replies rather than composing each response from nothing.
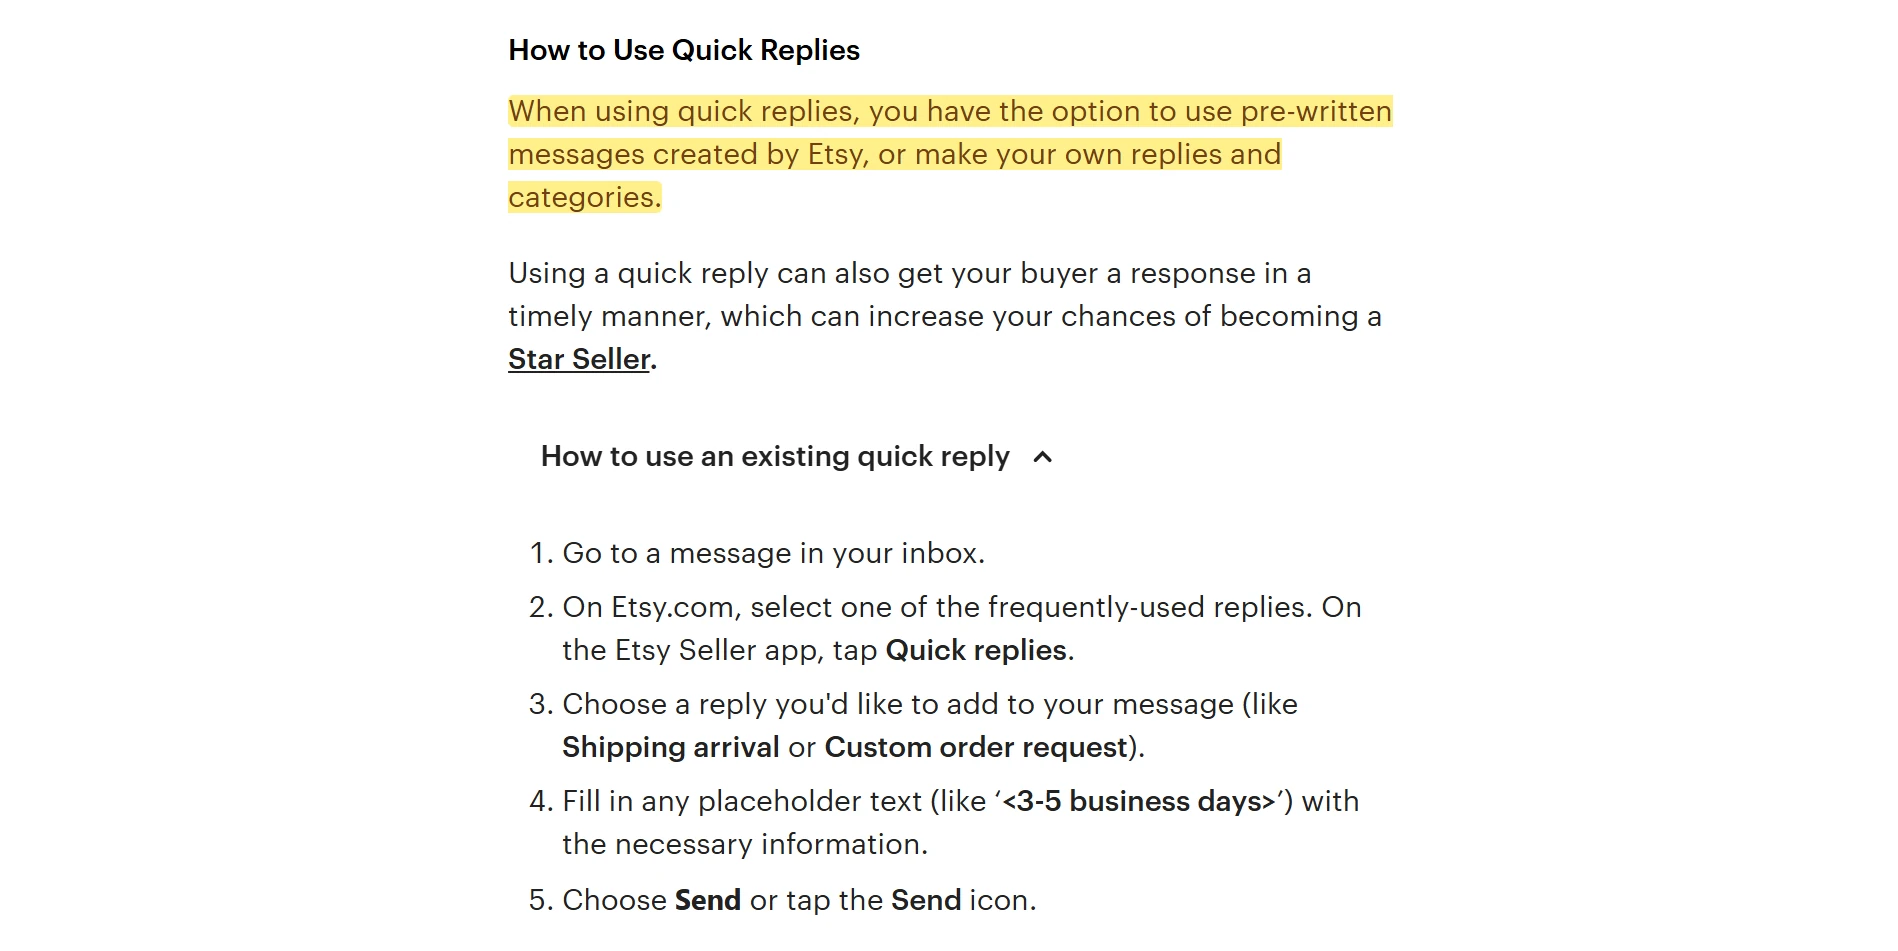
Write each template with three ingredients: a direct answer, any information you need from the buyer, and the next action. Leave obvious placeholders for details that must be checked.
For example: “Hi [name], I checked order [number]. Its current status is [verified status]. The latest tracking information is available at [tracking link]. I’ll take [specific next action] if [relevant condition].”
The template saves composition time; it does not replace checking the order. Avoid sending an old delivery estimate simply because it is already written.
Then use recurring questions as a maintenance signal. If buyers repeatedly ask whether the frame is included, improve the listing images and description. A saved reply makes the answer faster; better product information may remove the need for the question.
Handle routine messages in planned sessions that still meet your response commitments. Use an appropriate away message when needed, but do not confuse an automatic acknowledgement with resolving the customer’s problem.
Automate routine order flow and review only exceptions
Recreating every customer order in a supplier dashboard is not a task you should accept without examining your integration and approval settings.
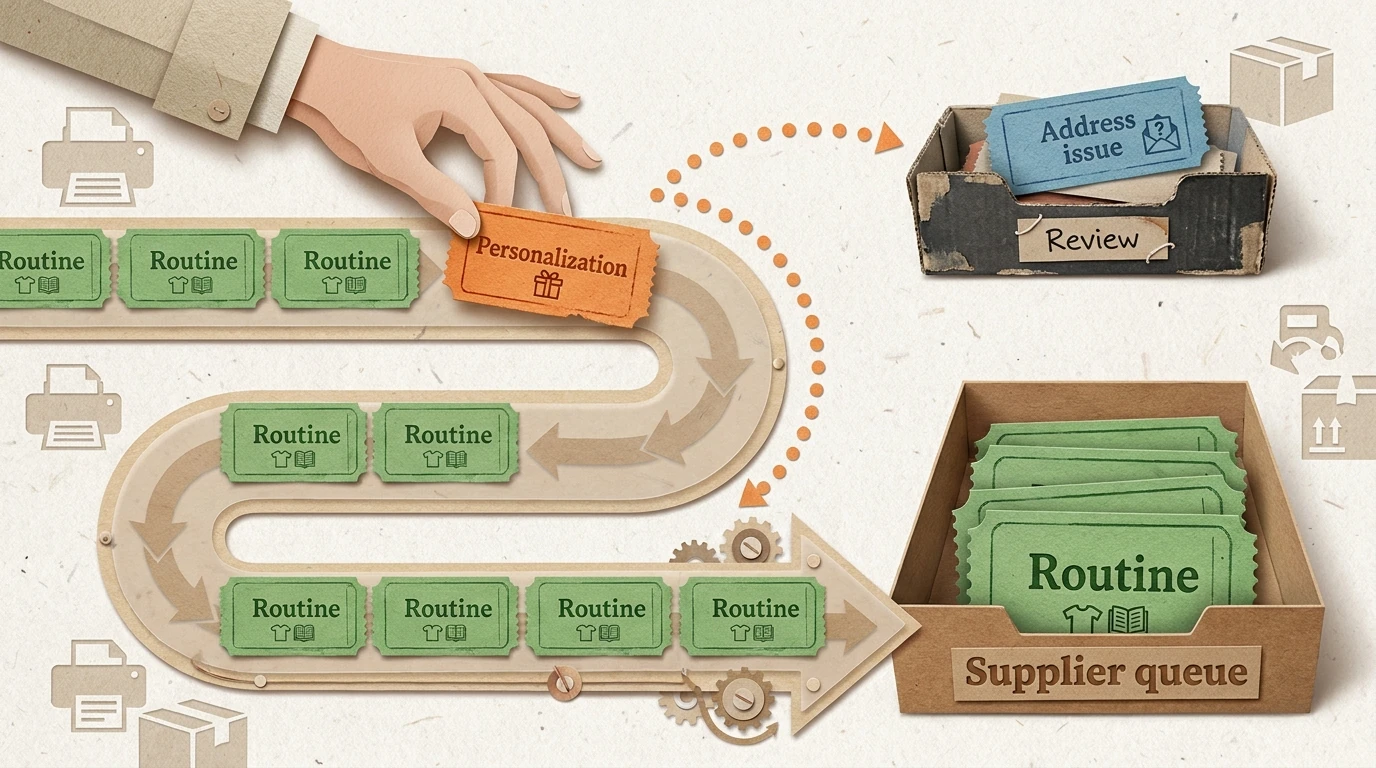
For example, Printify’s order settings allow manual approval or automatic submission after specified delays or at a set daily time. For a tested, non-personalized product, an appropriate automatic submission setting can remove a repeated approval step.
Do not apply that assumption indiscriminately. Printify has separate personalized-order submission settings, so customized work needs its own review policy.
A sensible operating model is to let the normal path proceed and inspect an exception list:
- Orders that failed to import or submit.
- Payment or address issues.
- Personalization requiring a decision.
- Unavailable variants or supplier problems.
- Production delays and customer-reported issues.
Give each unresolved issue a next action and a next review time. Otherwise, you can waste a surprising amount of effort reopening the same order without doing anything new.
Before retrying a failed-looking action, check whether the provider already created the order. The goal is to resolve the exception, not accidentally duplicate it.
Introduce automatic fulfillment only after testing the product, variant mapping, artwork, and normal order path. Keep a deliberate review window wherever cancellation requests or custom details make one useful. Removing routine clicks should not remove the controls that prevent expensive mistakes.
Put the pieces together into one manageable production system
Consider a collection of forty approved designs offered in three poster formats, with two compatible mockup scenes for each format. Instead of treating that as hundreds of separate mini-projects, organize it as a series of production stages.
- Develop and approve the designs. If you use AI, draft and review the prompts, run the generation queue, and curate each artwork individually.
- Enlarge only the approved files that need additional resolution.
- Create the three aspect-ratio versions, then resize them according to the supplier specifications. With one final file per format, that produces 120 print files.
- Process each format’s artwork through its two matching mockup templates. That produces 240 presentation images across the collection.
- Create products from the appropriate example product for each family.
- Review individual product accuracy, attach the correct presentation assets, finalize listing information, and publish.
- Let tested routine orders follow the configured fulfillment path while you handle exceptions.
Those are file counts, not automatically storefront-listing counts. Whether sizes belong in one listing or several depends on your actual product structure.
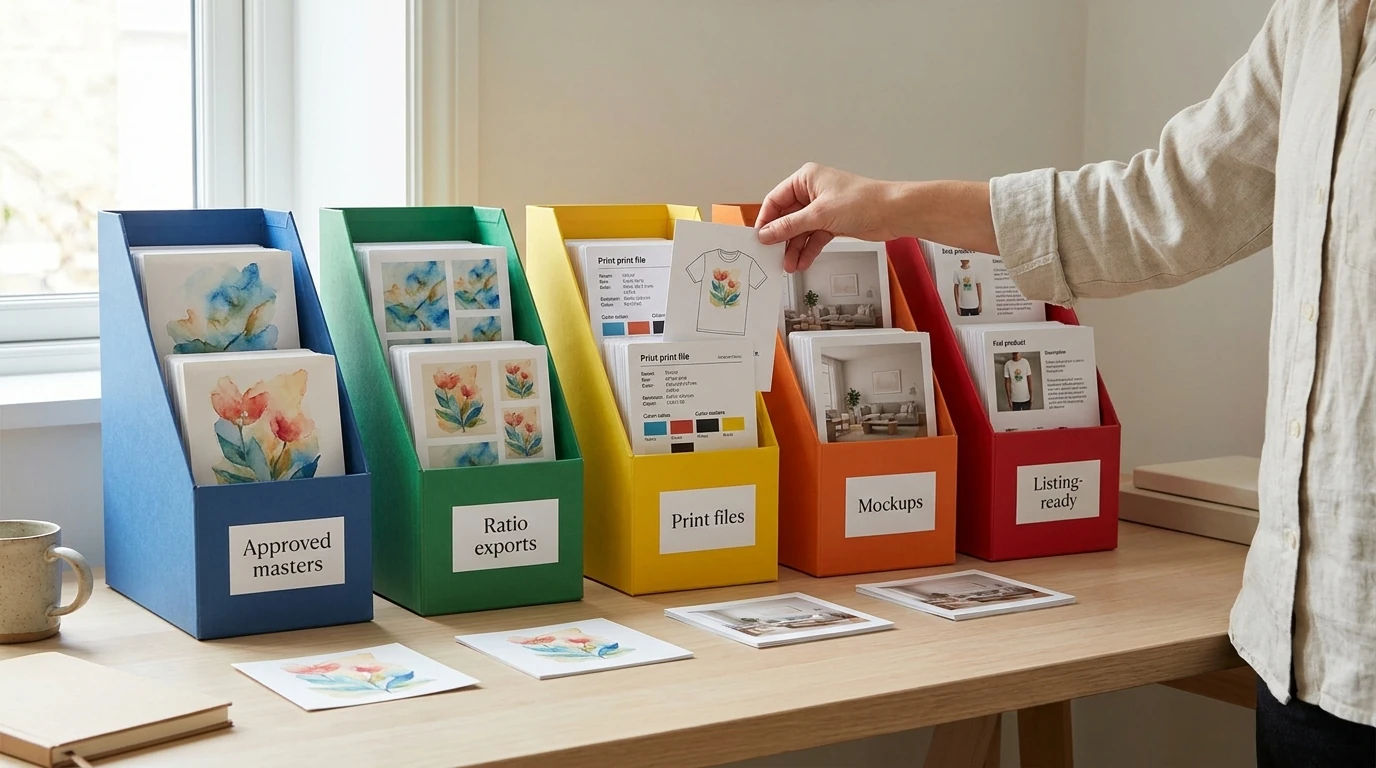
Use clear stage folders such as approved-masters, ratio-exports, print-files, mockups, and listing-ready. Keep incomplete work out of the folders used for production runs, and record completed products in your register so a restart does not become a guessing exercise.
The tools described here form a workflow, not a guaranteed native one-click integration. You still need to pass files between stages and start the relevant operations unless you separately build and test additional integration. A few reliable handoffs are preferable to a complicated system you cannot diagnose.
Save the recurring configurations. Batch similar work together. Inspect outputs at the points where a mistake would otherwise multiply: before generation, before a large export run, before product creation, and before publication. Once a standard setup is proven, spend individual attention on the exceptions rather than rebuilding the ordinary cases.
Start with one product family and five designs. Measure your hands-on time, fix the awkward handoffs, and expand only when the process is dependable. You do not need to automate the entire business this week to remove its most irritating hour.
The aim is not a print-on-demand business with no human involvement. It is a business where your involvement goes toward choosing worthwhile products, making better artwork, understanding buyers, and solving real problems—not repeating yesterday’s clicks.