Photoshop Tutorial: Batch Resize Images And Set A Specific DPI

To batch resize images and set a specific DPI in Photoshop, you need to define two things: the output pixel dimensions and the resolution value. Setting an image to 300 DPI does not, by itself, make it the right size for printing or change its dimensions on a screen.
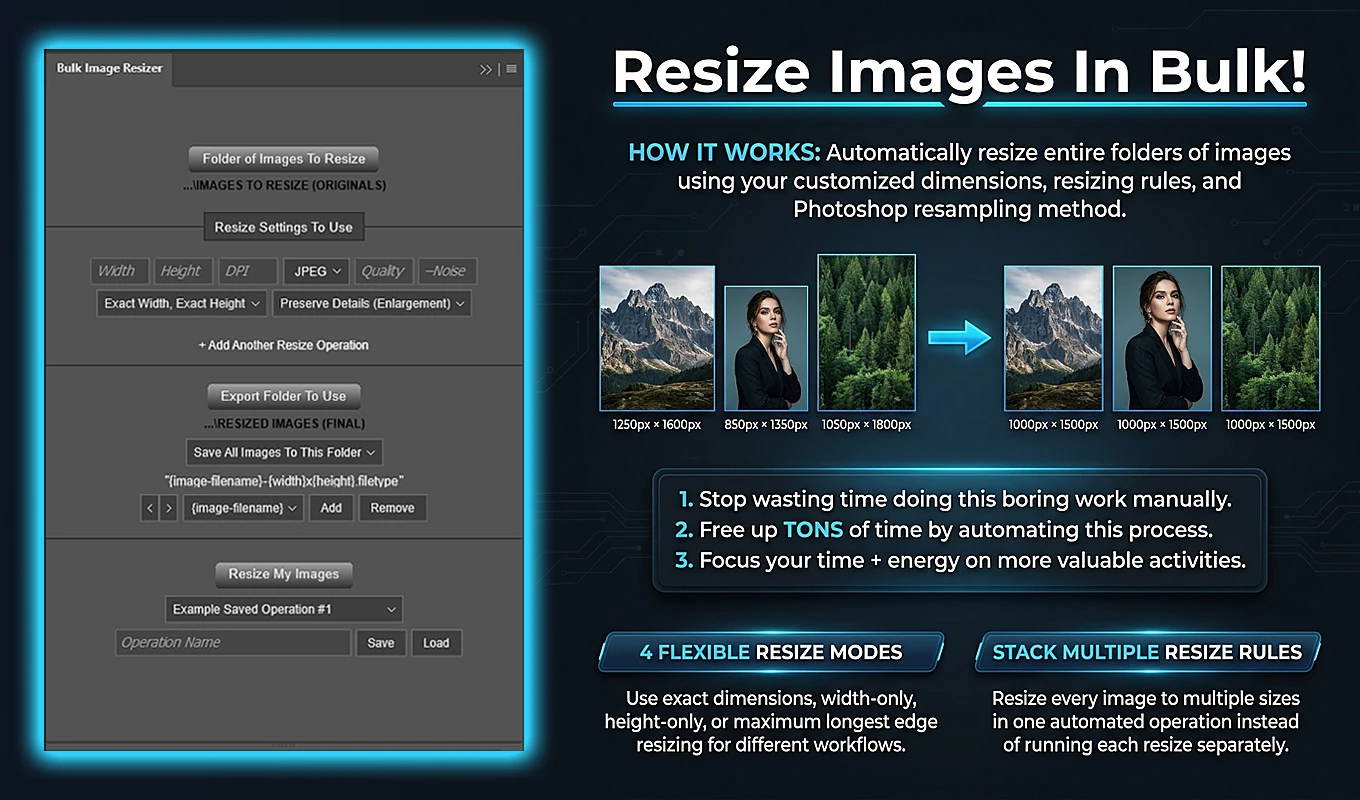
Bulk Image Resizer: Automated Batch Resizing lets you configure both settings and apply them across a folder of images. You select the source folder, create a resize rule, enter the required DPI, choose an export format, and run the batch. The plugin generates resized copies while leaving your original files unchanged.
This tutorial uses a practical example: resize photographs to 2400 pixels wide, preserve their proportions, and set their resolution to 300 DPI. You will also learn how to add a second output size with a different DPI and verify the exported results.
DPI, Pixel Dimensions, and Print Size Are Different Settings
Before configuring the batch, separate pixel dimensions from print resolution.
Pixel dimensions describe how many pixels an image contains across its width and height. A 2400 × 1800 image has the same pixel dimensions whether its resolution is set to 72, 150, or 300 pixels per inch.
The resolution value determines how those pixels translate into a physical size. Although delivery specifications often call this DPI, Photoshop’s image-resolution field uses pixels per inch, or PPI. Bulk Image Resizer labels its corresponding setting DPI.
The calculation is:
Print size in inches = pixel dimension ÷ pixels per inch
For a 2400 × 1800 image:
- At 300 pixels per inch, its nominal print size is 8 × 6 inches.
- At 150 pixels per inch, its nominal print size is 16 × 12 inches.
Conversely, an 8 × 10-inch image at 300 pixels per inch requires 2400 × 3000 pixels. The resolution number alone cannot establish those dimensions.
In Photoshop’s Image Size dialog, changing resolution with Resample disabled changes the relationship between pixels and print size without changing the pixel count. This tutorial performs a different task: resizing to a chosen pixel target and applying a specified resolution as part of the same batch operation.
For screen use, pixel dimensions are the controlling measurement. Changing an image from 72 to 300 DPI without changing its pixels does not automatically make it sharper on a website.
Install the Plugin and Select a Folder of Source Images
Bulk Image Resizer is a third-party Photoshop plugin available through Adobe Exchange and Adobe’s Creative Cloud plugin marketplace. Acquire it through Adobe’s installation flow, allow the Creative Cloud desktop application to install it, and open or restart Photoshop if necessary. Access the installed plugin through Photoshop’s Plugins menu.
For your first run, prepare a small test folder containing representative images. Include the kinds of files you expect to process, such as a landscape photograph, a portrait photograph, and an image near the lower end of your source-size range.
- Open Bulk Image Resizer in Photoshop.
- Click Folder of Images To Resize.
- Select your test folder.
- Confirm the shortened folder path displayed in the interface.
The plugin processes supported image files directly inside the selected folder. It does not recursively search nested subfolders, so place the files for this batch in the folder you actually select.
The folder contents are read immediately before processing begins. If you add or remove files after selecting the folder, the batch uses its current contents.
The Photoshop Image Size Routine You No Longer Need to Repeat
For a single image, the equivalent manual task would involve opening the file and choosing Image > Image Size. You would enable resampling to change the pixel dimensions, preserve proportions when appropriate, set the required resolution, and choose an interpolation method. You would then save a separate output copy and close the source without overwriting it.
That is manageable once. Across a folder, however, you have to repeat the same decisions and actions for every photograph:
- Enter the target width or height.
- Set the resolution to the required value.
- Apply the appropriate resampling method.
- Save a copy in the correct format and location.
- Name the output and move to the next source file.
Bulk Image Resizer automates that repeated sequence. It still uses Photoshop’s image-resampling functionality; the benefit is that you define the resizing and export requirements once rather than manually reproducing them for each image.
Choose How Width and Height Should Be Resized
In Resize Settings To Use, select the sizing mode that matches your delivery requirement. The choice matters because an exact pixel size and preserved proportions are not always compatible.
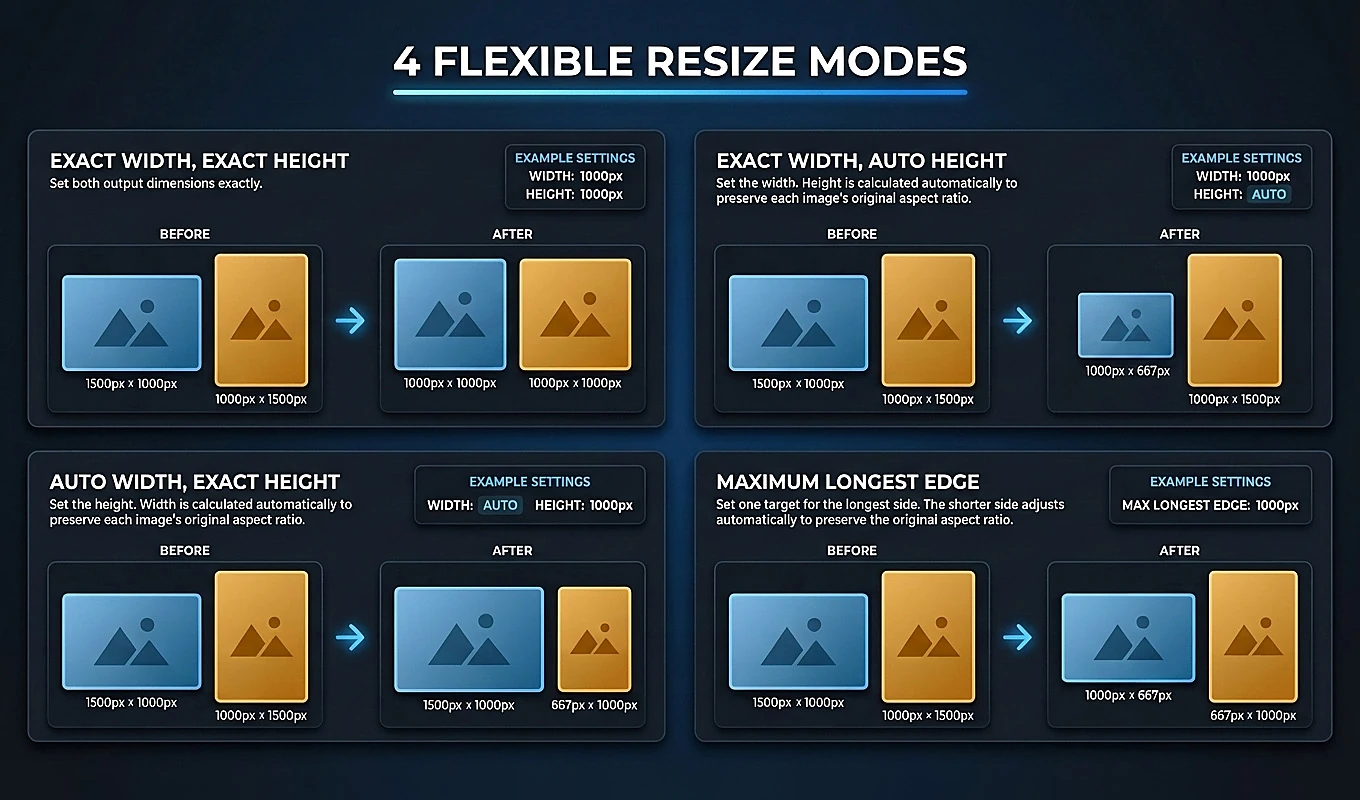
- Exact Width, Exact Height: Enter both dimensions. The output matches them exactly, but its proportions can change if the target aspect ratio differs from the source.
- Exact Width, Auto Height: Enter the width. Photoshop calculates the height proportionally.
- Auto Width, Exact Height: Enter the height. Photoshop calculates the width proportionally.
- Maximum Longest Edge: Enter one target for the longest dimension. Portrait, landscape, and square images are resized proportionally to that target.
For this tutorial, select Exact Width, Auto Height and enter 2400 in Width. The Height field becomes AUTO and cannot be manually edited while this mode is active.
A 4000 × 3000 source image will become 2400 × 1800. A portrait image with different proportions will have a different output height, but it will still be exactly 2400 pixels wide.
If you instead need every image’s longest side to be 2400 pixels, choose Maximum Longest Edge. That is often more appropriate for a folder containing mixed orientations. Be aware that this mode sets the longest edge to the target; it can enlarge smaller images rather than acting as a downscale-only limit.
For an exact 8 × 10-inch deliverable at 300 DPI, the corresponding pixel target is 2400 × 3000. Only use Exact Width, Exact Height if the source proportions already match or a change in proportions is acceptable. The plugin resizes images; it does not crop them to fit.
Set the DPI for the First Resize Operation
Enter 300 in the resize rule’s DPI field. Use the number alone, not text such as “300 DPI.” The field accepts integer values from 1 through 1500.
Your first rule now has these dimensional settings:
- Resizing mode: Exact Width, Auto Height
- Width: 2400 pixels
- Height: AUTO
- DPI: 300
The DPI value is applied as part of Photoshop’s Image Size operation for this rule. You do not need to open each exported image afterward to manually assign the same resolution.
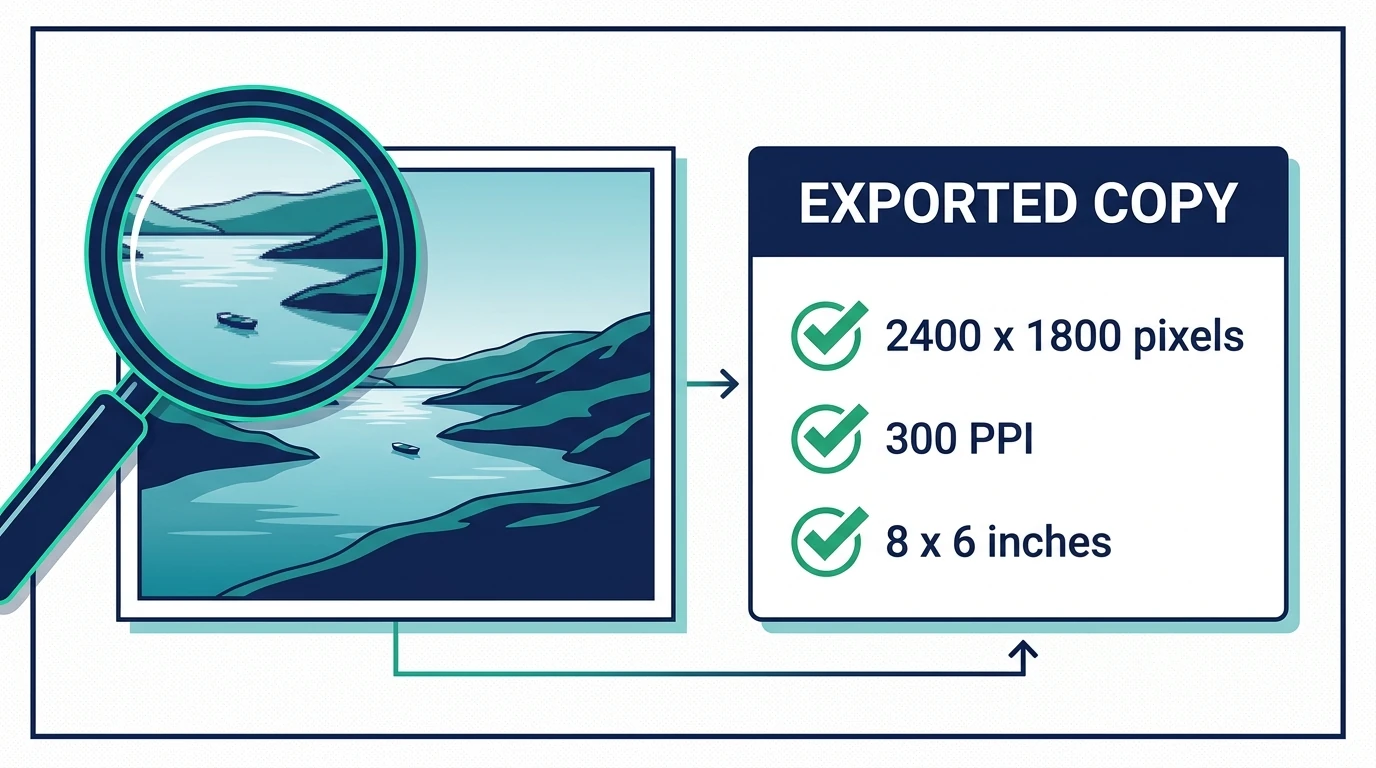
For the 4000 × 3000 example, the intended result is 2400 × 1800 pixels at 300 DPI, corresponding to an 8 × 6-inch print size before any scaling in a layout or print dialog.
If your delivery specification requires a different resolution, substitute that value. Keep the pixel target tied to the actual output requirement: setting 300 DPI does not tell the plugin whether the image should be 800, 2400, or 6000 pixels wide.
Keep Different Image Requirements in Separate Batches
A consistent output rule does not mean every source image is equally suitable for it. Before running a large batch, check whether the files share the same delivery requirements and have enough source pixels.
Reducing a 4000 × 3000 photograph to 2400 × 1800 is different from enlarging an 800 × 600 image to those same dimensions. Both outputs can be assigned 300 DPI, but the enlarged image does not acquire the original detail of a photograph captured at a higher resolution.
If you want to avoid enlargement, separate smaller sources from larger ones before processing. Neither the proportional sizing modes nor Maximum Longest Edge should be treated as an automatic “never enlarge” safeguard.
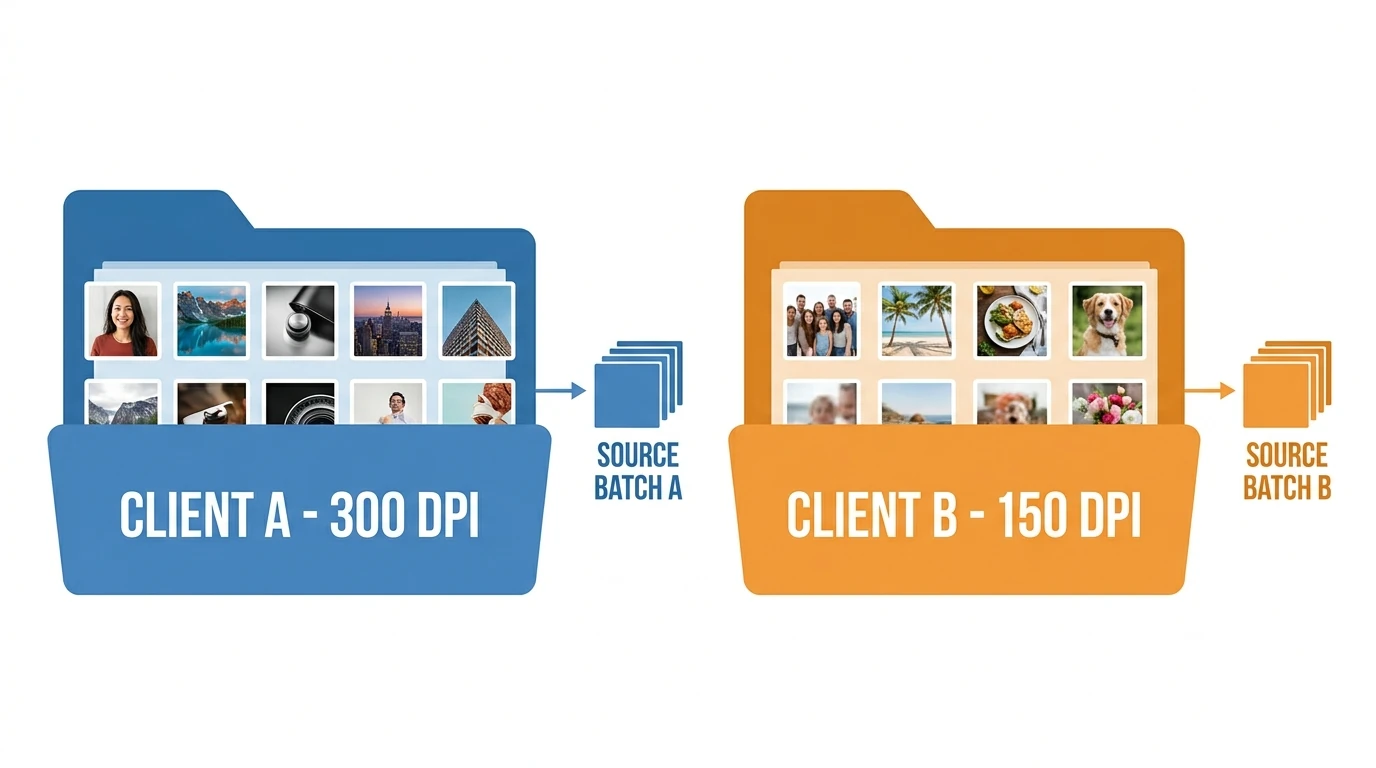
Also distinguish mixed orientations from genuinely different requirements. Maximum Longest Edge can handle portrait and landscape photographs with one proportional rule. But if one client needs 300-DPI outputs and another needs 150-DPI outputs from a different subset of files, those subsets need separate batch configurations.
Every source image receives every configured resize rule. Adding a second rule creates another output variant for all images in the folder; it does not assign that rule only to selected files.
Match Resampling and Export Quality to the Job
Next, choose the resampling method and export settings for the first rule. These settings affect how the resized copy is generated and saved, but they are separate from its DPI.
For the tutorial’s reduction from 4000 × 3000 to 2400 × 1800, Bicubic Sharper (Reduction) is a relevant Photoshop resampling choice. Selecting it also hides the Reduce Noise field because that particular control does not apply.
If you are enlarging images, Preserve Details (Enlargement) or Preserve Details 2.0 provides Photoshop’s corresponding enlargement method. With either selected, the –Noise field becomes visible and requires an integer from 0 through 100. Automatic is also available if you want Photoshop’s automatic interpolation behavior.
For this example, complete the rule with:
- Resampling method: Bicubic Sharper (Reduction)
- Export filetype: JPEG
- Quality: 90
The Quality value is illustrative; use the setting your delivery requires. The plugin’s JPEG Quality field uses a 0–100 scale, which it converts to Photoshop’s JPEG quality scale.
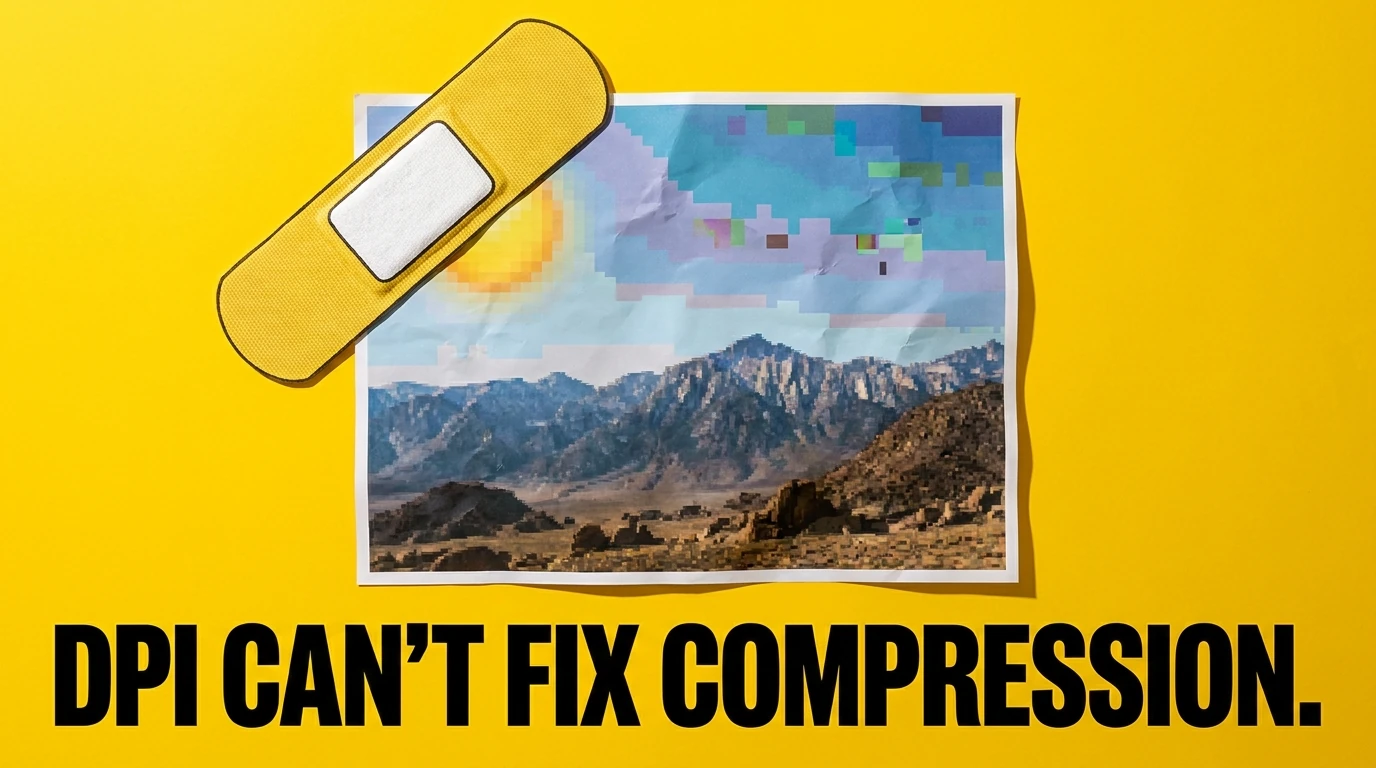
Do not confuse Quality with DPI. JPEG quality controls lossy compression, while DPI describes the relationship between pixel dimensions and physical output size. Raising DPI does not undo compression artifacts.
If your recipient requires TIFF instead, choose TIFF for the rule. Its Quality field is fixed at 100 in the plugin rather than offering the editable adjustment used for JPEG, PNG, and WebP.
Include Dimensions and DPI in Your Output Filenames
Click Export Folder To Use and select the destination for the resized copies. A separate output folder makes it easier to distinguish deliverables from source files.
For a single output variant, Save All Images To This Folder provides a straightforward flat structure. If you will generate several variants, Create A Subfolder For Each Resize Rule groups files by their rule settings, including dimensions and DPI.
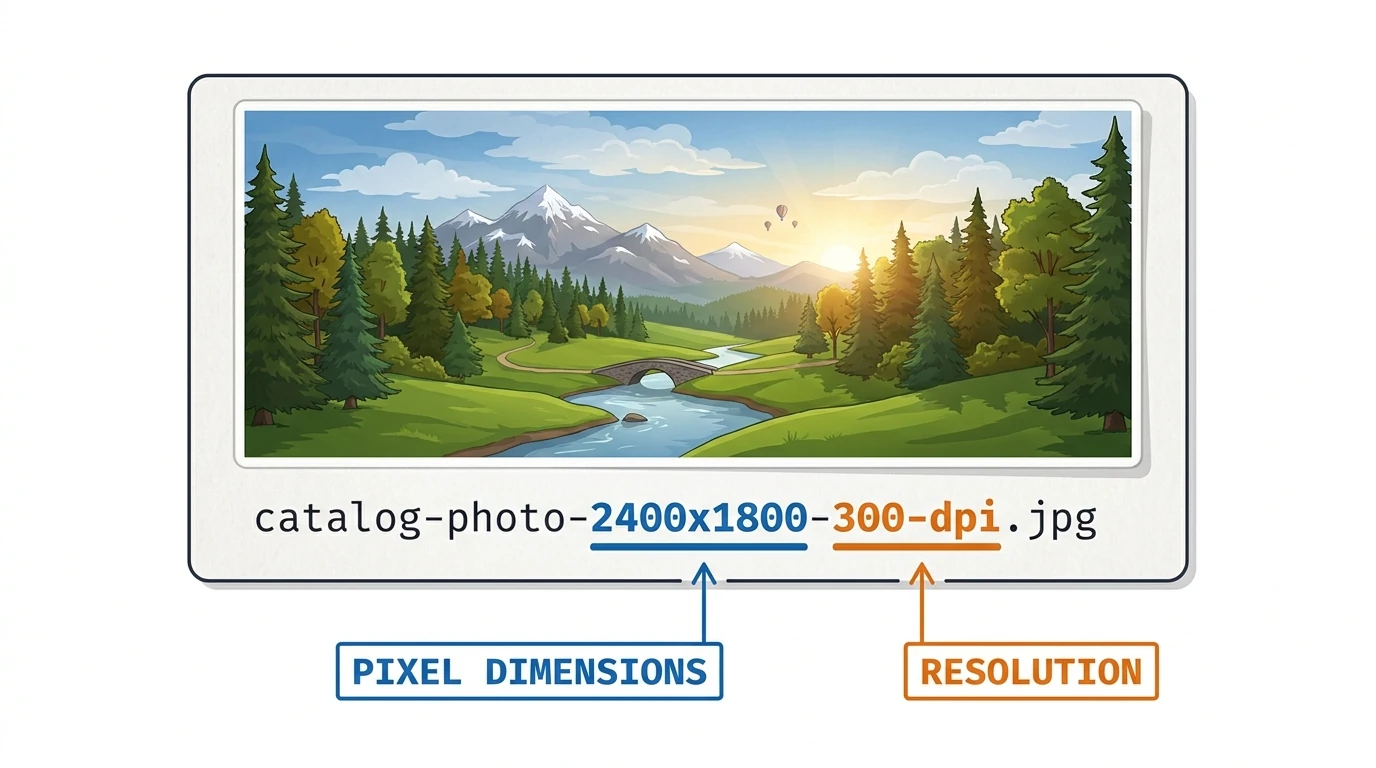
Then adjust the filename builder so that exported files identify their size and resolution. Starting from the default source-name and dimensions components, add {dpi} using the component dropdown and Add button.
A useful component order is:
{image-filename}-{width}x{height}-{dpi}
For a source named catalog-photo.jpg, the example output becomes:
catalog-photo-2400x1800-300-dpi.jpg
The dimensions component uses the actual final output dimensions, including the height calculated by AUTO. The file extension is supplied by the selected export format.
This naming pattern makes different deliverables easier to distinguish, but the filename is not a substitute for checking the file itself. The plugin also handles filename collisions by adding numbered suffixes rather than blindly overwriting an existing output.
Add a Second Size and DPI Without Running Another Batch
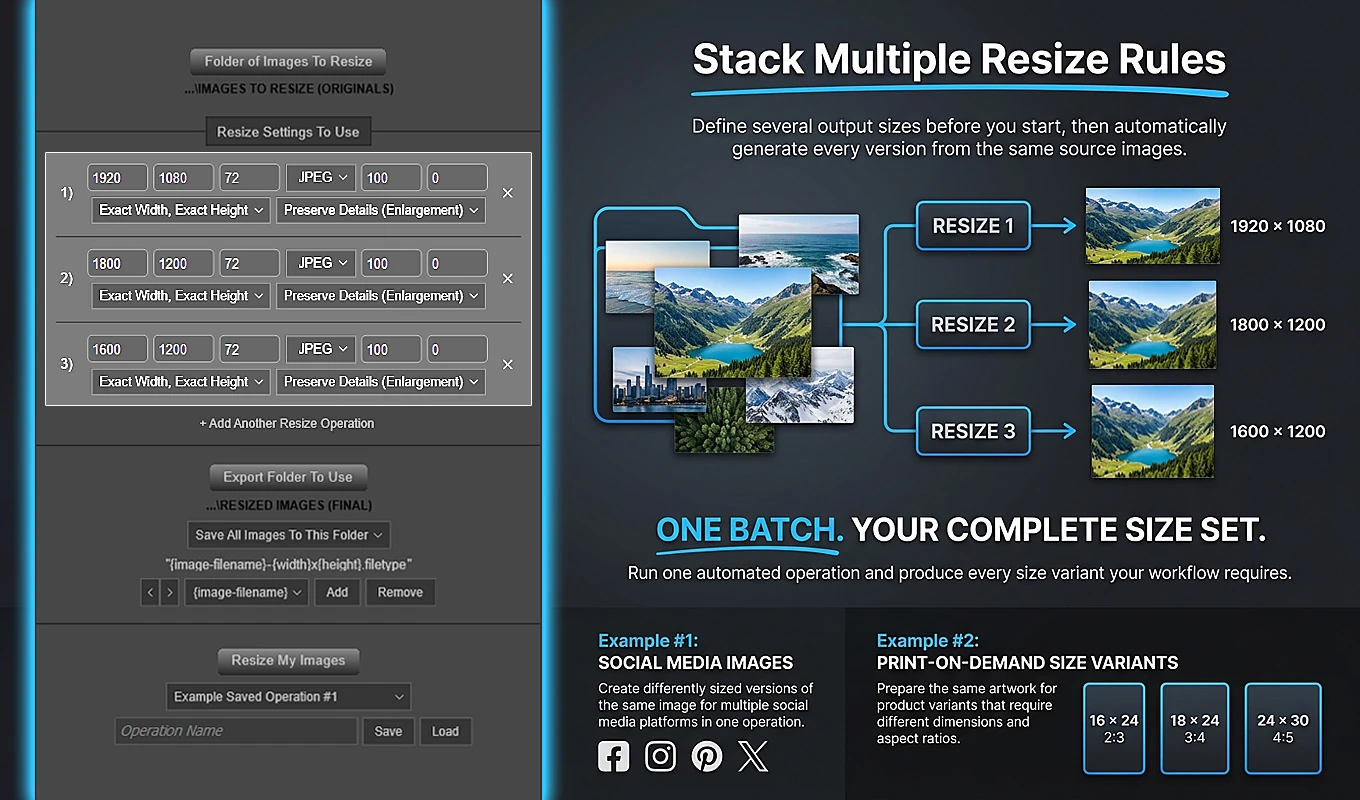
If you need both print and screen versions, click + Add Another Resize Operation. The new rule has its own dimensions, DPI, resampling method, format, and quality settings.
For example, keep the first rule for the 300-DPI deliverable and configure a second rule for a smaller JPEG:
- Rule 1: 2400 pixels wide, AUTO height, 300 DPI, JPEG, Quality 90, Bicubic Sharper (Reduction).
- Rule 2: 1200 pixels wide, AUTO height, 72 DPI, JPEG, Quality 80, Bicubic Sharper (Reduction).
Use 72 DPI in the second rule only if that is part of your delivery specification. It is not necessary to make an image suitable for the web; the smaller pixel dimensions and export compression are what matter for that purpose.
From the 4000 × 3000 source, these rules produce a 2400 × 1800 print version and a 1200 × 900 screen version. With {dpi} included in the filename, their resolution settings are also visible in their names.
The second rule does not resize the first rule’s output. Before applying the next standard resize rule, the plugin restores the original source-document state. Both versions are therefore generated independently from the original image rather than successively resampling one version into another.
Run the Batch, Then Check an Exported File
Before processing your full collection, complete the small test run. It is easier to correct a sizing decision after a few representative files than after generating every deliverable.
- Confirm the source folder and export folder.
- Review each rule’s dimensions, DPI, resampling method, filetype, and applicable quality or noise settings.
- Check the output-folder organization and filename components.
- Click Resize My Images.
The plugin validates the configuration and confirms that the folders are accessible and the source folder contains supported images. During processing, the Resizing Images... modal displays status and progress.
The progress count measures resize/export operations, not just source files. A folder of 100 images with two resize rules represents 200 operations.
If you notice an incorrect setting, use Cancel Operation or press Escape while the progress modal is open. Cancellation is checked between operations, so Photoshop may need to finish its current command first.
After the test completes, open an exported JPEG in Photoshop and choose Image > Image Size. For the landscape example’s first rule, confirm:
- Pixel dimensions: 2400 × 1800
- Resolution: 300 pixels per inch
- Corresponding print size: 8 × 6 inches
Check the exported copy, not the original file or just its filename. Also inspect the image visually for proportions and acceptable detail. For resolution-dependent delivery, checking the actual output is more reliable than assuming every application will interpret resolution metadata identically.
Once the test results are correct, select the full source folder and run the same configuration. The plugin exports the resized copies and closes source documents without saving changes back into the originals.
Save the Verified Configuration for Future Deliveries
After approving the test outputs, save the operation so you can reproduce the same dimensions and DPI later.
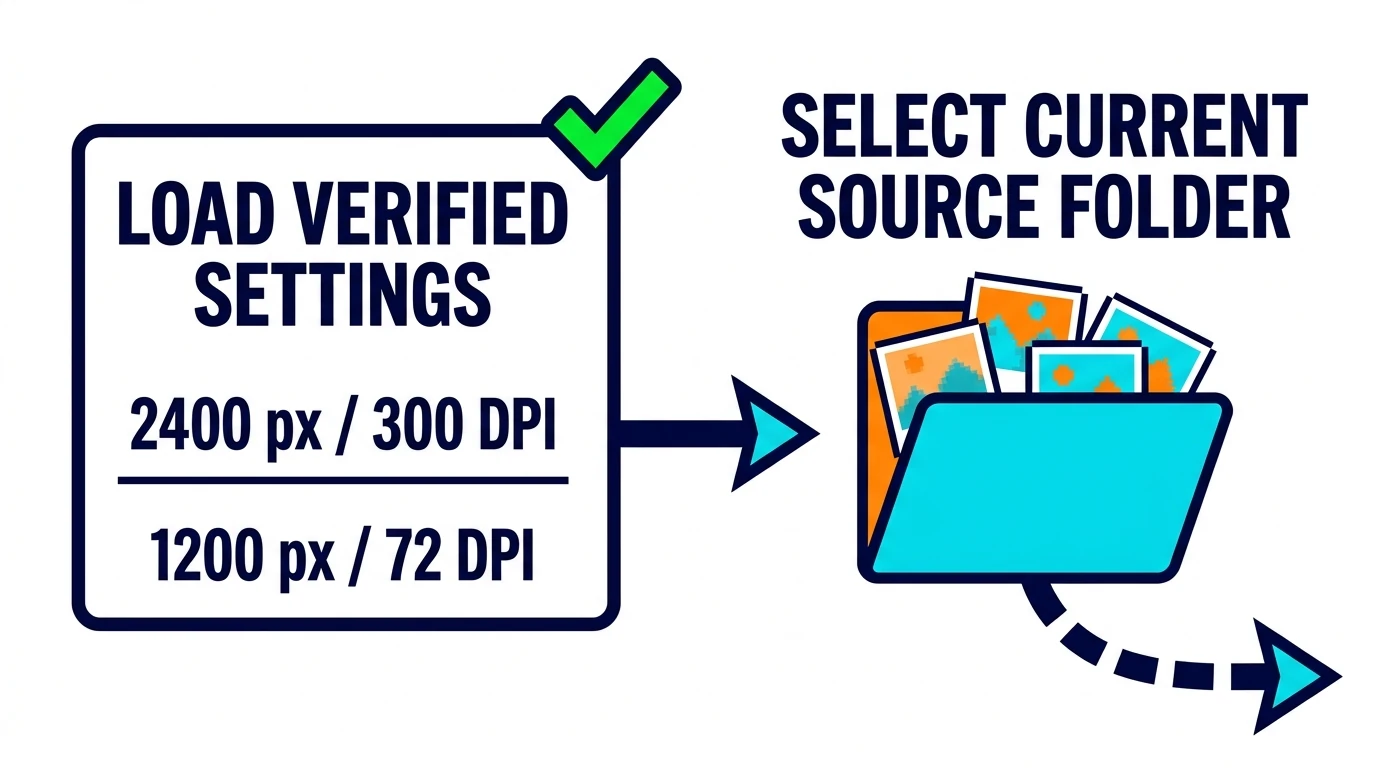
Enter a descriptive name in Operation Name, such as “2400-Wide 300-DPI Print and 1200-Wide Web,” and click Save. Saving requires a valid configuration, just as running the batch does.
A saved operation retains the resize rules, their DPI and export settings, the selected folders, output organization, and filename components. To reuse it, choose it from the saved-operation dropdown and click Load.
Because loading restores the saved folder selections too, choose the current source folder afterward if the next job uses a different location. If a stored folder has moved or can no longer be restored, select the affected folder again.
For recurring delivery work, this turns an approved test into a reusable production setup. Bulk Image Resizer gives you a practical way to load the required dimensions and DPI, select the current images, and generate organized output copies without repeating Photoshop’s Image Size and saving steps for every file.